

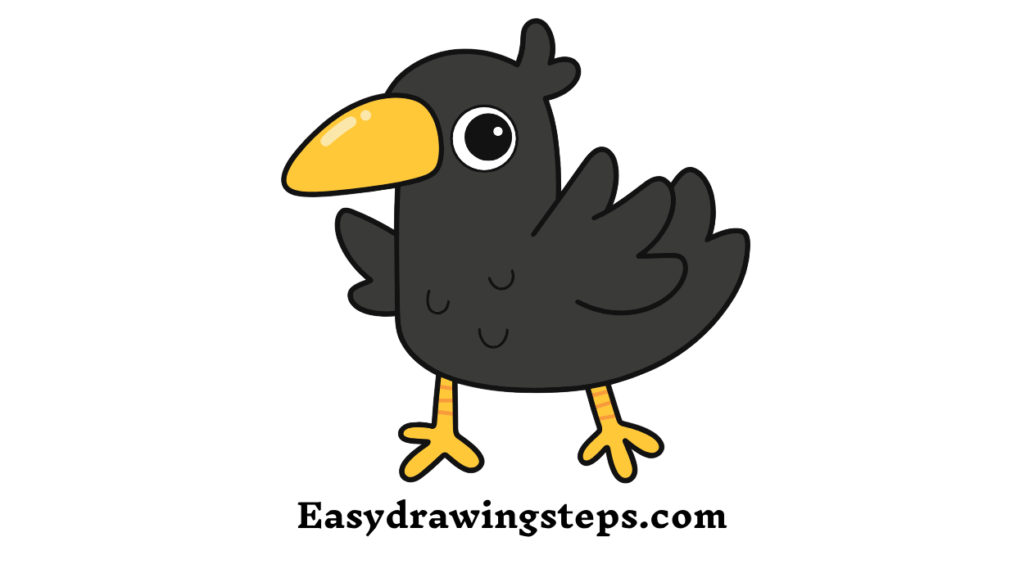
Drawing a crow is a fun and creative activity that anyone can enjoy. Whether you’re a beginner or someone looking to refine your skills, these ten easy steps will guide you through the process of creating a stunning crow drawing.
Step 1: Gather Your Supplies
Before starting, make sure you have:
- A pencil
- An eraser
- A sheet of drawing paper
- Black pen or marker (optional for outlining)
- Coloring materials like crayons or colored pencils (optional)

Step 2: Draw the Body Outline
Start with a simple oval shape for the crow’s body. This will act as the base for the entire drawing. Position the oval slightly tilted to one side to give your crow a natural posture.
Step 3: Add the Head
Above the body, draw a smaller circle for the crow’s head. Connect the head to the body with two short curved lines to form the neck.
Also Read : 10 Easy Steps to Draw Chota Bheem Drawing
Step 4: Sketch the Beak
On the front of the head, draw a slightly curved triangular shape for the beak. Make sure it’s proportionate to the size of the head. Add a small line inside the beak to separate the upper and lower parts.
Step 5: Draw the Eye
Inside the head circle, sketch a small oval for the crow’s eye. Add a tiny dot inside the oval for the pupil. You can also leave a small white spot in the pupil to make the eye look shiny.

Step 6: Add the Wings
Extend two curved lines from the body to form the wings. The wing should start from the upper part of the body and curve downward. Add small, feather-like details along the edge of the wing for a realistic effect.
Step 7: Draw the Tail
From the bottom of the body, draw a rectangular shape that tapers slightly towards the end. This will be the crow’s tail. Add lines within the tail to represent feathers.
Also Read : 10 Easy Steps to Draw Algeria Flag Drawing
Step 8: Add the Legs and Feet
Underneath the body, sketch two thin legs using straight and slightly curved lines. Draw three small toes on each leg, pointing forward, and one toe pointing backward to complete the feet.
Step 9: Refine and Outline
Go over your drawing with a pen or marker to outline the crow. Erase any extra pencil lines to make your drawing clean and crisp. Add more feather details on the wings, body, and tail if desired.
Step 10: Color Your Crow
Most crows are black, but feel free to use shades of grey, blue, or even purple to add depth and dimension. Use a white pencil or crayon to highlight certain areas like the beak or wing edges.
Crow Drawing FAQ
Yes! This guide is specifically designed for beginners with simple and easy-to-follow steps. With basic shapes and gradual detailing, anyone can draw a crow successfully.
You’ll need a pencil, eraser, paper, and optionally, a black pen or marker for outlining. Coloring tools like crayons or colored pencils can be used to enhance your drawing.
Focus on adding details like feather textures, shading, and highlights. Use soft strokes to create depth and experiment with shadows to give your drawing a three-dimensional look.
Absolutely! While crows are naturally black, you can use shades of grey, blue, or purple to add depth or make your artwork unique.
The time required depends on your experience and the level of detail you want to include. A basic crow drawing might take 15-20 minutes, while a detailed one could take up to an hour.