Monitor Drawing : Drawing a monitor can be a simple and enjoyable project for both kids and beginners. This step-by-step guide will help you create a realistic and colorful monitor drawing.
Whether you’re looking for an easy drawing activity or a fun way to teach kids about computer components, these steps will make the process straightforward and enjoyable.
Materials You’ll Need:
- A sheet of drawing paper
- A pencil
- An eraser
- A ruler
- Colored pencils or markers
Step 1: Draw the Outline of the Monitor
Start by drawing a large rectangle in the center of your paper. This will be the screen of the monitor. Use a ruler to ensure the lines are straight.
Step 2: Add the Bezel
Inside the large rectangle, draw a slightly smaller rectangle, leaving a margin around the edges. This margin represents the bezel, the frame around the monitor screen.
Also Read : 10 easy steps to draw Cute Baby Drawing
Step 3: Draw the Stand
Below the large rectangle, draw a narrow rectangle to represent the base of the monitor stand. Then, draw two lines extending downwards from the center of the bottom edge of the monitor screen to connect to the stand base.

Step 4: Add the Stand Neck
Connect the base of the stand to the monitor by drawing two vertical lines that form the neck of the stand. This neck should be narrower than the base.
Also Read : 10 easy steps to draw Chandra Dinam Drawing
Step 5: Refine the Shapes
Go over your drawing to refine the shapes and make sure everything is proportioned correctly. Use the eraser to clean up any unnecessary lines.
Step 6: Draw the Buttons
On the bottom edge of the bezel, draw small circles or rectangles to represent the buttons typically found on a monitor. These might include power, menu, and adjustment buttons.
Also Read : 10 easy steps to draw keyboard drawing
Step 7: Add Details to the Screen
Inside the screen rectangle, you can add details such as a background image, icons, or text to make the monitor look more realistic. Keep these details simple and light.

Step 8: Outline the Drawing
Once you are satisfied with your pencil drawing, use a black marker or pen to outline the monitor and its components. This will make your drawing stand out.
Also Read : 10 easy steps to draw Night Oil Pastel Scenery Drawing
Step 9: Add Color
Use colored pencils or markers to color your monitor drawing. You can stick to realistic colors like black or silver for the monitor frame and stand, and add any colors you like to the screen and buttons.
Step 10: Final Touches
Add any final touches to your drawing to enhance its appearance. This could include shading to add depth or highlighting certain areas to make the monitor look more three-dimensional.
Monitor Drawing with Colour
Adding color to your monitor drawing makes it more visually appealing and realistic. You can use traditional colors for the monitor frame and stand, while getting creative with the screen content and button colors.
Monitor Drawing for Kids
Drawing a monitor is a great activity for kids as it helps them learn about computer components while practicing their drawing skills. This step-by-step guide makes it easy for kids to follow along and create a recognizable and colorful monitor.
Monitor Drawing Easy
This guide simplifies the process of drawing a monitor by breaking it down into ten easy steps. Each step is straightforward, making it accessible even for beginners.
Computer Monitor Drawing
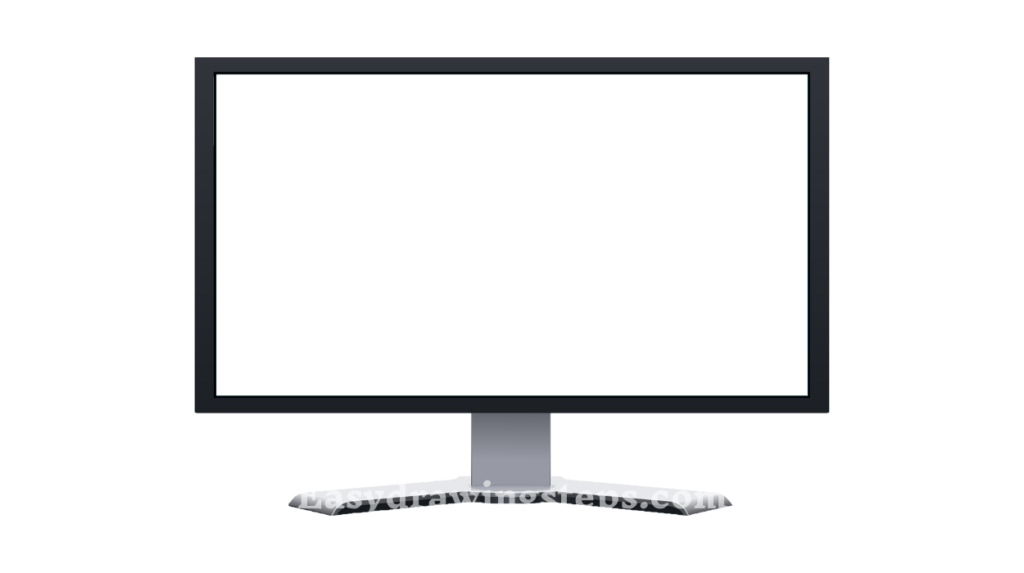
This tutorial focuses on drawing a computer monitor, including its screen, bezel, stand, and buttons. By understanding these different parts, you can create a detailed and realistic monitor drawing.
By following these ten easy steps, you can create a detailed and colorful monitor drawing. Whether you’re doing this as an educational activity for kids or just for fun, these steps will guide you through the process smoothly. Happy drawing!
FAQ
How do you start drawing a computer monitor?
Begin by drawing a rectangle for the monitor’s screen. This will be the main shape of the monitor. Ensure the proportions are correct, as this will form the basis for the rest of the drawing.
What are the key components to include in a monitor drawing?
Key components of a monitor drawing include the screen, the bezel (the frame around the screen), the stand, and any visible buttons or ports. You might also want to include details like the brand logo or icons if you’re drawing a specific monitor model.
How can you make a monitor drawing look realistic?
To make a monitor drawing look realistic, pay attention to proportions and angles. Use shading to give depth and dimension to the screen and stand. Adding reflections on the screen and slight shadows under the monitor can enhance the realism.
What tools can be used for drawing a computer monitor?
You can use a variety of tools for drawing a computer monitor, including pencils for sketching, fine liners for outlining, and markers or colored pencils for adding color. For digital drawing, software like Adobe Illustrator or Photoshop, along with a drawing tablet, can be very effective.
How can you draw a computer monitor from different perspectives?
To draw a computer monitor from different perspectives, understand basic perspective drawing principles. Use vanishing points to create the illusion of depth. Practice drawing the monitor from a front view, side view, and three-quarter view to capture all angles accurately.


2 thoughts on “10 Easy Steps to Draw a Monitor Drawing”