

Aeroplane Drawing : Drawing an aeroplane can be an enjoyable and rewarding activity, especially when you break it down into simple steps.
Whether you’re looking to create a fun project for kids or just want to refine your drawing skills, this guide will walk you through the process.
Let’s dive into the 10 easy steps to draw an aeroplane!
Step 1: Gather Your Materials
Before you start, make sure you have all the necessary materials. You will need paper, a pencil, an eraser, and colored pencils or markers if you want to add color to your drawing.
Also Read : 10 easy steps to draw Spiderman Drawing
Step 2: Draw the Fuselage
Begin by drawing a long, horizontal oval shape in the center of your paper. This will be the main body of the aeroplane, known as the fuselage.
Step 3: Add the Nose and Tail
Draw a curved line at one end of the fuselage to form the nose of the aeroplane. At the opposite end, draw a smaller, vertical oval to represent the tail section.
Also Read : 10 easy steps to draw Lotus Drawing
Step 4: Sketch the Wings
On both sides of the fuselage, draw two large, slightly angled rectangles for the wings. Position these towards the top of the fuselage, with one wing on each side.

Step 5: Add the Tail Wings
At the back of the aeroplane, draw two smaller, vertical rectangles on either side of the tail to represent the tail wings. These should be aligned with the main wings.
Also Read : 10 easy steps to draw Mushroom Drawing
Step 6: Draw the Windows
Draw a series of small, evenly spaced circles or squares along the upper side of the fuselage to represent the windows of the aeroplane. Add a few larger windows near the nose for the cockpit.
Step 7: Add the Engines
Under each wing, draw a small rectangle or oval shape to represent the engines. Ensure they are positioned symmetrically and aligned with the wings.
Also Read : 10 easy steps to draw Zoro Drawing
Step 8: Outline the Drawing
Once you are satisfied with your pencil sketch, outline the entire drawing with a black pen or marker. This will make your drawing more defined and polished.
Step 9: Erase Unnecessary Lines
Erase any unnecessary pencil lines left from the initial sketching. Make sure only the outlined drawing remains clean and clear.
Also Read : 10 easy steps to draw Madara Uchiha Drawing
Step 10: Color Your Drawing
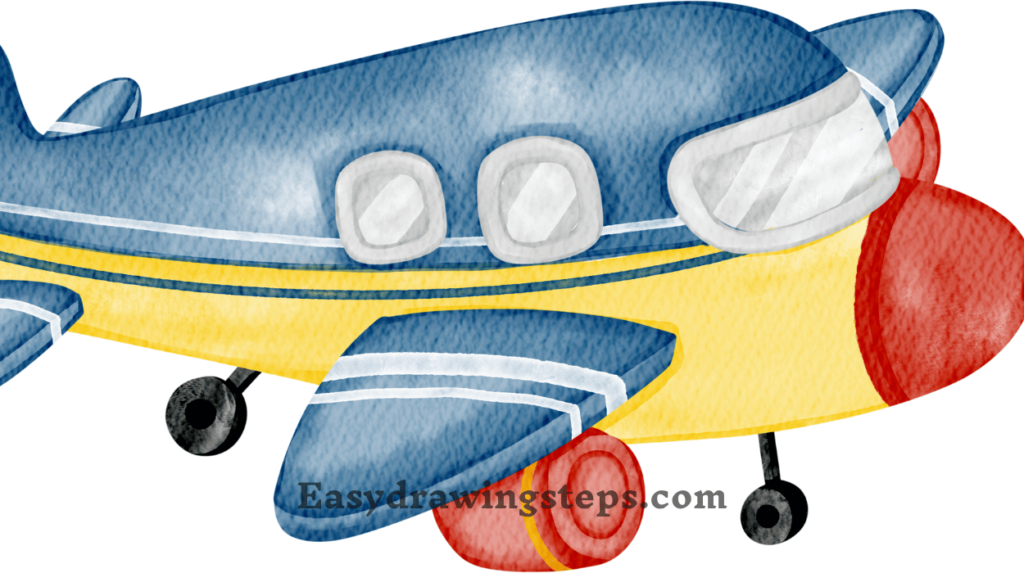
Finally, add color to your aeroplane drawing. Use shades of blue, white, or any other color you prefer for the body of the aeroplane. Add details like the airline logo, colored windows, and any other design elements to make your drawing vibrant and realistic.
Drawing Ideas and Variations
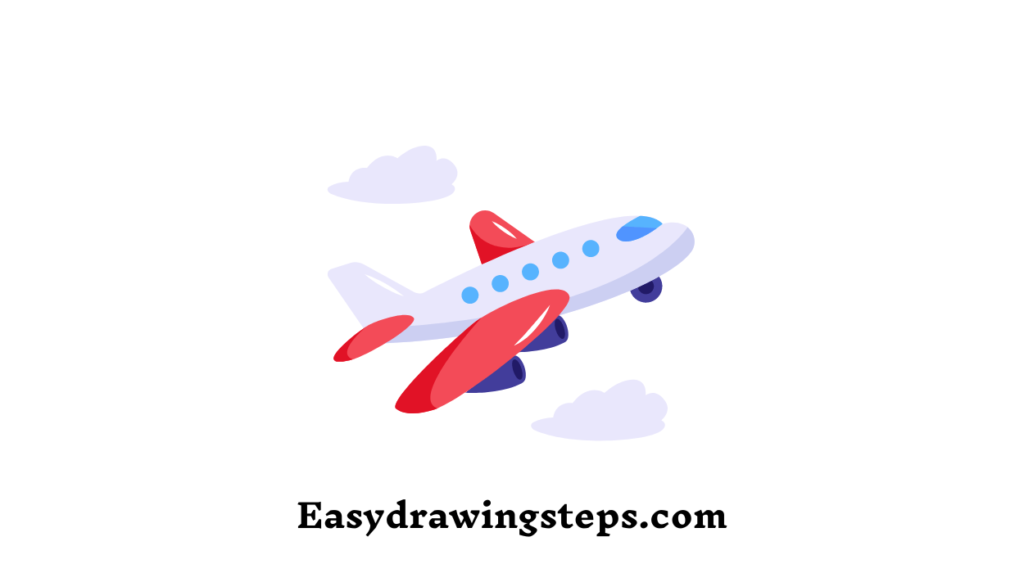
- Aeroplane Drawing for Kids: Simplify the drawing process by focusing on basic shapes and fewer details. Use bright and bold colors to make the drawing fun and engaging for kids.
- Easy Aeroplane Drawing: Stick to the essential shapes and avoid intricate details. This makes the drawing process quick and satisfying, perfect for beginners.
- Aeroplane Drawing Easy: Focus on simple and clean lines. This approach is ideal for creating a minimalistic and elegant aeroplane drawing.
- Colour Aeroplane Drawing: Experiment with different color schemes and designs. Use a variety of colors to make your aeroplane drawing stand out and look visually appealing.
Drawing an aeroplane can be a fun and rewarding experience, suitable for artists of all ages and skill levels.
By following these 10 easy steps, you can create a detailed and vibrant aeroplane drawing. This guide provides a structured approach that caters to different artistic preferences, making it accessible for everyone.
So grab your drawing materials, follow the steps, and enjoy the process of creating your aeroplane masterpiece!
FAQ
What materials do I need to start an aeroplane drawing?
To start an aeroplane drawing, you’ll need a piece of paper, a pencil for sketching, an eraser for corrections, and colored pencils or markers for adding color. A black pen or marker can also be useful for outlining your drawing to make it more defined and polished.
How can I simplify an aeroplane drawing for kids?
To simplify an aeroplane drawing for kids, focus on using basic shapes such as ovals and rectangles. Avoid intricate details and keep the design simple and easy to follow. Bright and bold colors can make the drawing more engaging and fun for children.
What are some tips for making an easy aeroplane drawing?
For an easy aeroplane drawing, start with basic shapes like ovals for the body and rectangles for the wings and tail. Keep the lines clean and avoid adding too many details. Simplifying the windows and engines can also make the drawing process quicker and easier.
How can I make my aeroplane drawing look more realistic?
To make your aeroplane drawing look more realistic, pay attention to proportions and symmetry. Use reference images to get the details right, such as the shape of the wings and tail. Adding shading and highlights can create a sense of depth and dimension. Don’t forget to include small details like the windows, engines, and airline logos.
How do I add color to my aeroplane drawing?
To add color to your aeroplane drawing, use colored pencils or markers. Start by coloring the main body of the aeroplane in shades like white, blue, or any other color you prefer. Add colors to the wings, tail, and engines. Use a black pen or marker to outline the details and make them stand out. Adding shading and blending different colors can enhance the visual appeal of your drawing.
2 thoughts on “10 easy steps to draw Aeroplane Drawing”