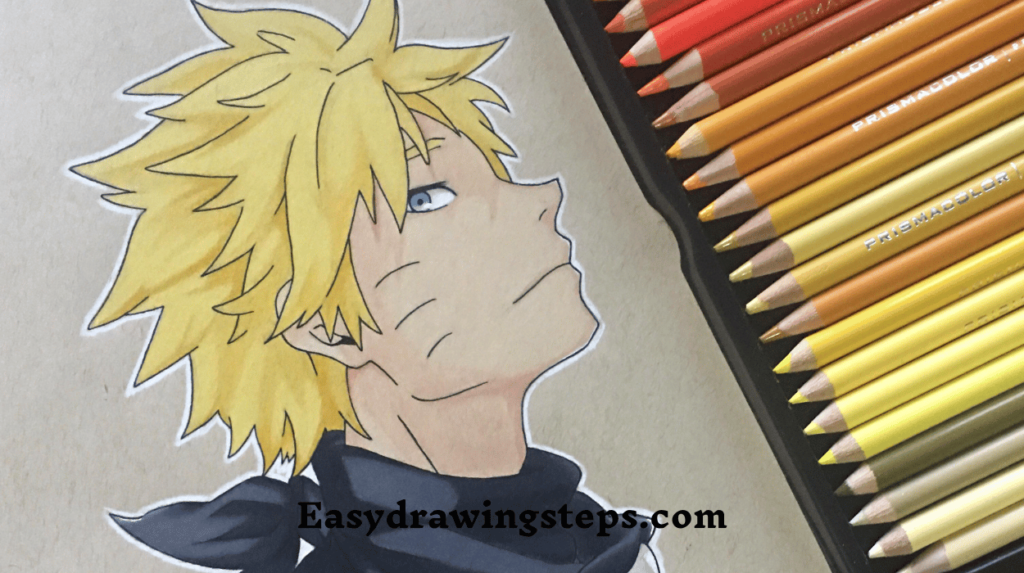
Anime Drawing Naruto : Naruto Uzumaki, the iconic ninja from the Naruto series, has captured the hearts of fans worldwide with his bright personality and trademark spiky hair.
Drawing anime characters like Naruto may seem challenging at first, but by breaking it down into manageable steps, anyone can create a great-looking sketch.
In this guide, we’ll walk you through 10 easy steps to draw Naruto, focusing on his distinctive features, from his hair to his ninja headband and signature expression.
Step 1: Start with Basic Shapes
Begin by sketching a circle for Naruto’s head. Add a vertical line down the center to serve as a guide for his face’s symmetry. Draw a horizontal line slightly below the center of the circle to mark the position of his eyes. You can also sketch a rough jawline, which is pointed, as Naruto has a youthful face.

Step 2: Draw the Eyes
Naruto’s eyes are large and expressive, a common trait in anime characters. Draw two almond-shaped eyes on either side of the vertical line, resting on the horizontal guide. Add thick upper and lower lashes to emphasize the eyes. Inside the eye shape, draw the iris and pupil, leaving some space for light reflections to give them a lively look.
Also Read : 10 Easy Steps to Draw Naruto Anime Drawing
Step 3: Sketch the Eyebrows
Naruto’s eyebrows are thin but sharp, adding to his determined expression. Draw them above his eyes, following the same angle as the top of the eye. Since his headband will cover part of his forehead, the top part of the eyebrows will be hidden, so only draw the visible lower portions.
Step 4: Draw Naruto’s Nose and Mouth
Naruto’s nose is subtle and simple. A small vertical line in the middle of the face will represent the nose, just below the eye line. His mouth is small but typically shows a confident or mischievous grin. Draw a slight curve for his lips, and add a tiny line under it to define the lower lip.

Step 5: Add the Whisker Marks
One of Naruto’s most distinct features is his whisker-like marks on his cheeks, which represent his connection to the Nine-Tails fox. Draw three short, slightly curved lines on each side of his face, extending from the outer edges of the nose toward the cheeks.
Step 6: Draw the Headband
Naruto’s ninja headband is another iconic feature. Start by sketching a rectangle that goes across his forehead, with the sides wrapping around his head. Add a slight curve to show the headband’s fabric. In the middle of the headband, draw the Leaf Village symbol – a swirl with a straight line extending from its top and a small triangle at the end.
Also Read : 10 Easy Steps to Draw Boy Anime Drawing
Step 7: Sketch Naruto’s Hair
Naruto’s spiky blonde hair is one of his signature traits. Starting from the sides of the headband, draw outward-pointing triangular spikes. His hair is uneven, with different spike lengths, so make sure to vary the sizes. Add some hair falling over the band for a realistic effect.
Step 8: Draw the Ears and Neck
On both sides of Naruto’s head, draw his ears in line with the eyes. Inside the ears, add small details to define them. Then, sketch his neck below the jawline, keeping it relatively narrow, as Naruto has a slim build.
Also Read : 10 Steps to Draw Anime Drawing Easy
Step 9: Add Naruto’s Clothing
Naruto is known for his jacket with a high collar. Draw two parallel lines from his neck downward to form the collar, and add a zip down the center. You can make the collar high and thick to capture Naruto’s look. Continue drawing the outlines of his jacket, keeping the shapes loose and comfortable, just like his ninja outfit.
Step 10: Finalize the Drawing with Details
Once the basic sketch is done, start refining the lines, cleaning up any rough sketches or extra guidelines. Add more detail to the clothing, headband, and hair. If you’re using ink, trace over your pencil lines carefully. Once the ink dries, erase the pencil marks. You can finish by adding shading or color to make Naruto come to life. His hair is blonde, his headband is navy blue, and his jacket is orange with blue accents.
You’ve now completed a simple yet effective drawing of Naruto Uzumaki! Whether you’re just starting or are a seasoned artist, breaking down the character into these easy steps helps simplify the process. Remember, practice makes perfect, so don’t hesitate to experiment and refine your skills. Soon enough, you’ll be drawing Naruto and other anime characters with ease!
Anime Drawing Naruto FAQ
What materials do I need to draw Naruto?
You’ll need basic materials such as a pencil, eraser, paper, and optional ink pens for outlining. Colored pencils or markers can be used for adding color to your drawing.
How do I make Naruto’s hair look spiky?
To achieve Naruto’s spiky hair, draw triangular shapes that point outward from his head. Vary the lengths and angles of the spikes to create a more dynamic and natural look.
What should I focus on when drawing anime eyes?
Pay attention to the shape and size of the eyes, as they are a crucial part of anime style. Make them larger and more expressive, adding details like highlights in the iris to bring them to life.
How can I improve my drawing of Naruto?
Practice is key! Study reference images of Naruto from different angles, and focus on mastering one feature at a time, such as his facial expressions or clothing details.
Can I customize Naruto’s outfit in my drawing?
Absolutely! While drawing Naruto in his classic outfit is fun, feel free to get creative and design your own variations. Change colors, styles, or even add accessories to make the character unique!


