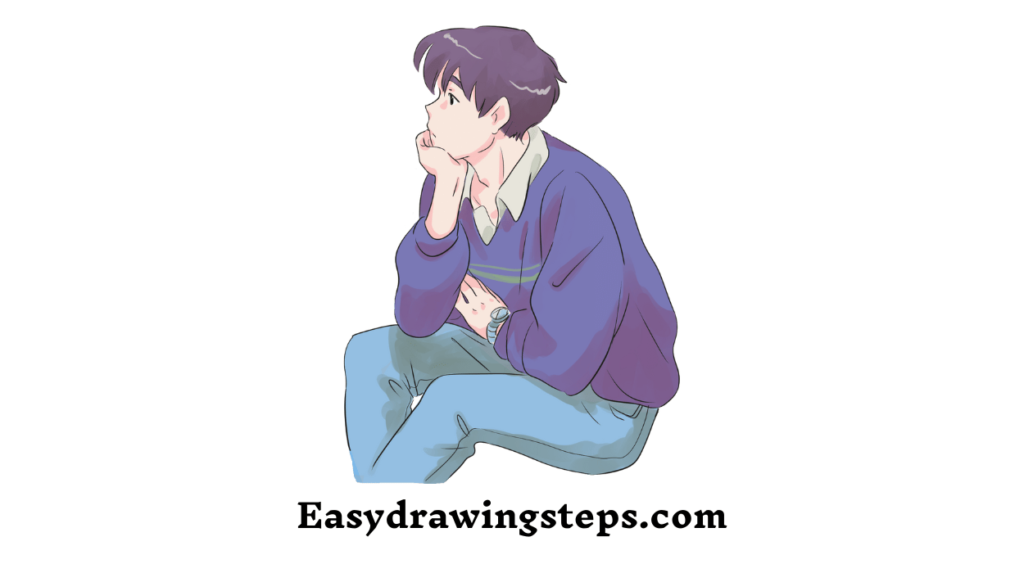
Anime Drawing Sketch : Drawing anime can be a fun and rewarding experience, especially for beginners.
This guide will walk you through ten easy steps to create your own anime character sketch. Grab your pencils, and let’s get started!
Step 1: Gather Your Materials
Before you begin, gather your drawing materials. You’ll need:
- Pencils (HB and 2B)
- Eraser
- Sketchbook or drawing paper
- Reference images (optional)

Step 2: Draw a Basic Circle
Start by drawing a circle for the head. This will be the foundation of your anime character’s face. Keep it light, as you will refine it later.
Also Read : 10 Easy Steps to Draw Naruto Anime Drawing
Step 3: Add Guidelines
Divide the circle with two light lines: one vertical and one horizontal. The vertical line helps you center the facial features, while the horizontal line indicates where the eyes will sit.
Step 4: Shape the Face
Using the circle as a base, outline the shape of the face. Anime characters often have a narrower chin. Create a gentle curve from the sides of the circle down to the chin.

Step 5: Position the Eyes
On the horizontal guideline, draw two large eyes. Anime eyes are typically oversized, so feel free to exaggerate their size. Add the upper and lower eyelids, and draw the iris and pupils within each eye.
Step 6: Add the Nose and Mouth
Below the eyes, sketch a small, simple nose. Anime noses are often minimalistic, just a small line or dot. Then, draw the mouth—this can be a simple line or a slightly curved shape, depending on the character’s expression.
Also Read : 10 Easy Steps to Draw Girl Anime Drawing
Step 7: Outline the Hair
Anime hair can vary greatly in style. Choose a hairstyle for your character and lightly sketch the outline. Hair is often spiky or flowing, so feel free to experiment with shapes and layers.
Step 8: Refine the Features
Go back to the eyes, nose, and mouth, refining their shapes and adding details. Enhance the eyes with highlights and eyelashes, and adjust the mouth to match the character’s expression.
Also Read : 10 Easy Steps to Draw Anime Drawing Boy
Step 9: Draw the Ears
Add ears on either side of the head, just above the horizontal guideline. Anime ears can be simple, often just a curved line, but feel free to add more detail if desired.
Step 10: Finalize and Add Details
Once you’re satisfied with your sketch, go over your lines with a darker pencil or ink pen. Erase any unnecessary guidelines, and add additional details like clothing or accessories to complete your character.
Congratulations! You’ve completed your anime drawing sketch. Practice is key, so don’t hesitate to create multiple characters and experiment with different styles. The more you draw, the better you’ll become. Happy sketching!
Anime Drawing Sketch FAQ
What materials do I need to start drawing an anime sketch?
You’ll need pencils (HB and 2B), an eraser, a sketchbook or drawing paper, and optionally, reference images for inspiration.
How do I draw the face shape for my anime character?
Start with a basic circle for the head, then outline a narrower chin shape to create the characteristic anime face.
Why are anime eyes so large?
Large eyes are a hallmark of anime style, allowing for more expressive features and emotions. They draw the viewer’s attention and convey a range of feelings.
What is the best way to position the facial features?
Use guidelines! Divide the circle into sections with vertical and horizontal lines to help place the eyes, nose, and mouth proportionately.
How can I make my anime character’s hair look more dynamic?
Experiment with different hairstyles and shapes. Anime hair often has volume and exaggerated spikes or flowing strands, so don’t hesitate to play around with these elements.


1 thought on “10 Easy Steps to Draw Anime Drawing Sketch”