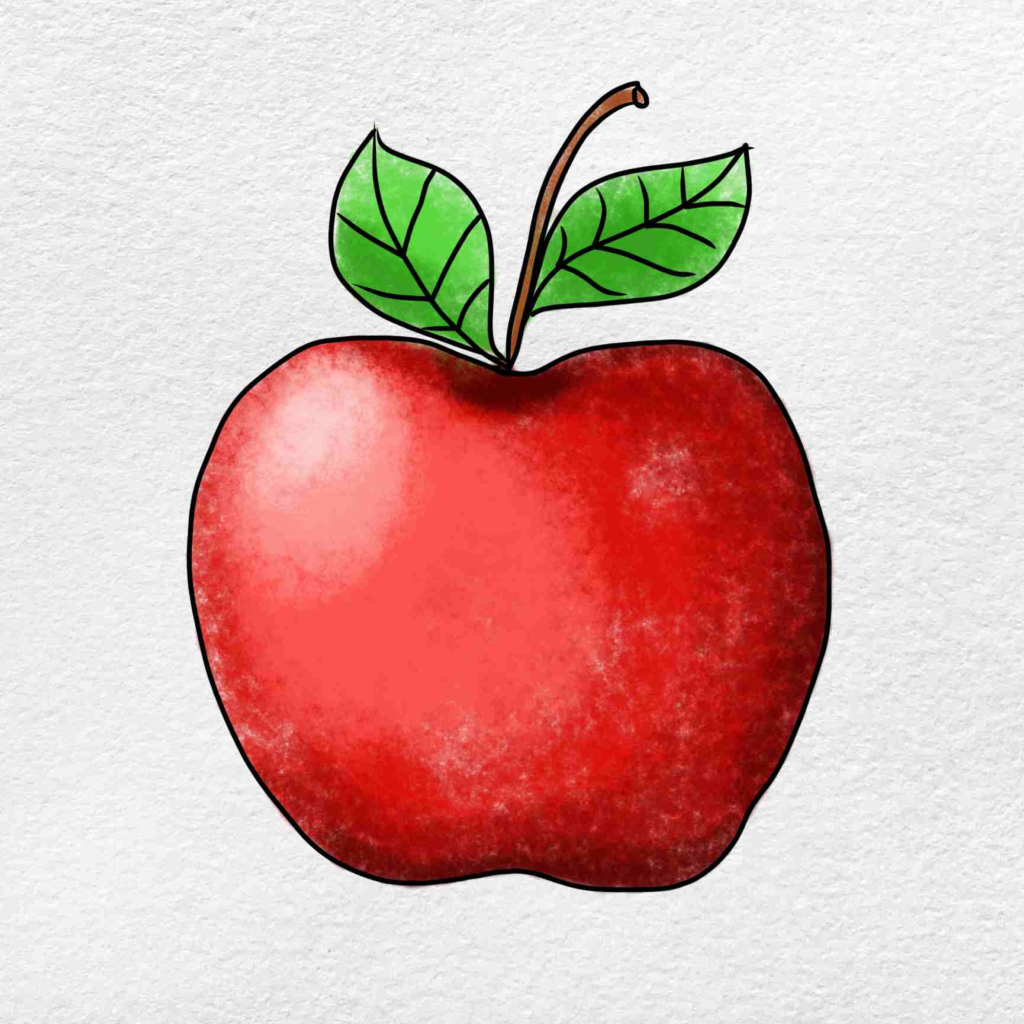
Apple Drawing : Drawing an apple is a great way to practice your sketching skills. This simple guide will help you create a realistic apple drawing in just ten easy steps. Whether you’re a beginner or looking to enhance your artistic skills, follow along to bring your apple to life on paper.
Step 1: Draw the Outline of the Apple Drawing
Start by sketching a rough circle. This will be the basic shape of your apple. Don’t worry about making it perfect; apples have natural irregularities.
Step 2: Add Indentations
On the top of the circle, draw a small inward curve to represent the apple’s indentation where the stem will be. At the bottom, add a slightly smaller curve to represent the bottom dimple.
Also Read : 10 easy steps to draw lotus flower drawing
Step 3: Refine the Shape
Smooth out the outline of the apple, making the edges slightly more irregular to give it a natural look. Apples aren’t perfectly round, so add gentle curves to mimic its organic shape.

Step 4: Draw the Stem
At the top indentation, draw a short, slightly curved line to represent the stem. The stem should be thicker at the base and taper towards the end.
Also Read : 10 easy steps to draw marigold flower drawing
Step 5: Add the Leaf
Draw a leaf attached to the stem. The leaf should be an oval shape with a pointed tip. Add a central vein line running through the middle of the leaf.

Step 6: Outline Details
Add some details to the apple’s surface by drawing faint lines to indicate slight bumps and curves. These lines will help give the apple a more three-dimensional look.
Also Read : 10 easy steps to draw marigold flower drawing
Step 7: Shade the Apple
Begin shading the apple to give it depth. Start by identifying the light source, then add shading on the opposite side. Use a gradual shading technique to create a smooth transition from light to dark.
Step 8: Shade the Stem and Leaf
Shade the stem and the leaf, keeping in mind the light source. Add a darker shade to one side of the stem and to the leaf’s veins to create depth.
Also Read : 10 easy steps to draw Tulip flower drawing
Step 9: Add Highlights
Leave some areas on the apple’s surface lighter to represent highlights where the light hits the most. This step is crucial for making the apple look shiny and realistic.
Step 10: Final Touches
Refine your drawing by smoothing out the shading and adding any final details. Ensure the apple looks balanced and realistic. You can also add a subtle shadow beneath the apple to ground it on the paper.
By following these ten easy steps, you can draw a realistic and detailed apple. Remember, the key to improving your drawing skills is practice. Don’t be afraid to experiment with different shading techniques and styles. Happy drawing!
Drawing an apple can be both fun and rewarding, providing a perfect practice for your artistic skills. With these steps, you’ll be able to create beautiful apple drawings that showcase your progress and creativity. Keep practicing, and soon you’ll be drawing a variety of fruits with ease!
How do I make my apple look more realistic?
To make your apple look more realistic, focus on shading and highlights. Use darker shades around the edges and lighter shades in the center to create a three-dimensional effect. Adding highlights to mimic light reflection can also enhance realism.
What if my apple shape isn’t perfect?
Don’t worry if your apple shape isn’t perfect! Apples come in many shapes and sizes, so variations can make your drawing look more natural. Practice makes perfect, and even slight imperfections can add character to your drawing.
Can I draw different types of apples?
Absolutely! You can draw different types of apples by varying the shape, color, and size. For example, draw a round, bright red apple for a classic look, or a green, slightly elongated apple for a Granny Smith variety. Experiment with different styles to expand your drawing skills.


3 thoughts on “10 easy steps to draw Apple Drawing”