
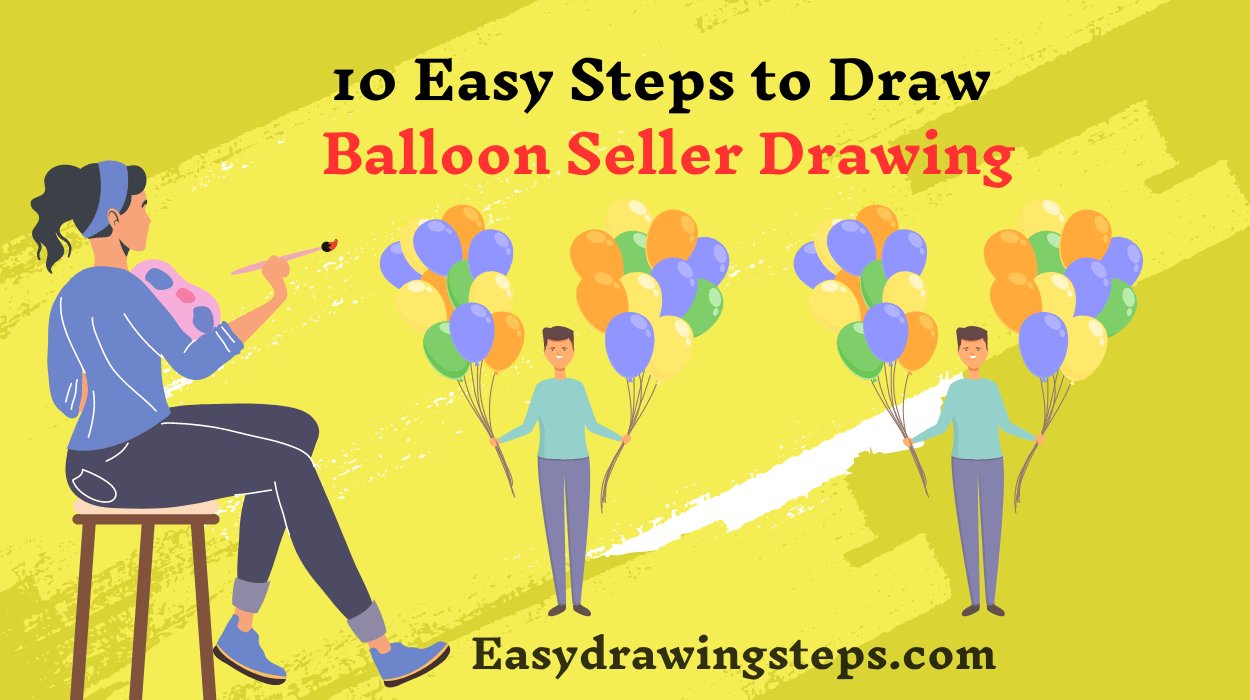
Balloon Seller Drawing : Drawing is a wonderful way to express creativity, and what could be more cheerful than a balloon seller surrounded by colorful balloons? Whether you’re a beginner or looking for a fun drawing activity for kids, this step-by-step guide will help you create a delightful balloon seller drawing.
Grab your pencils, paper, and let’s get started!
Step 1: Draw the Head
Begin by sketching a simple circle for the head of the balloon seller. You can make the head a bit oval-shaped to give it a more cartoonish look. Add two small circles for the eyes, a curved line for the smile, and a small nose.

Step 2: Outline the Body
Next, draw the body. Start with a rectangular shape under the head to form the torso. Add a slightly curved line at the bottom to indicate where the shirt meets the pants. You can add some details like a collar or buttons if you like.
Also Read : 10 Easy Steps to Draw Sidhu Moose Wala Drawing
Step 3: Add Arms
Now, it’s time to add the arms. Draw two elongated shapes on either side of the torso. Make them slightly bent, as if the seller is holding the strings of the balloons. Don’t forget to add small circles at the ends for hands.
Step 4: Create the Legs
Draw the legs by sketching two straight lines down from the bottom of the torso. You can make the legs slightly wider at the bottom to represent pants or shorts. Add simple shoes at the end by drawing small ovals.
Step 5: Sketch the Balloon Strings
From the hands, draw several lines going upwards to represent the strings of the balloons. Make sure to have varying lengths for the strings to add some dynamism to the drawing.
Step 6: Draw the Balloons
At the end of each string, draw the balloons! Start by creating rounded shapes for each balloon. You can vary the size and shape of the balloons to make your drawing more interesting. Don’t forget to draw a small knot at the bottom of each balloon where the string connects.
Also Read : 10 Easy Steps to Draw Pencil Krishna Drawing
Step 7: Add Details to the Balloons
Make your balloons pop by adding details. You can draw lines across the balloons to show light reflections, making them look shiny. Feel free to give each balloon a unique design—polka dots, stripes, or solid colors.
Step 8: Refine the Features
Go back to the balloon seller and add details to their face and clothing. You can give them hair by drawing some simple curves or spikes. Add more clothing details, like patterns or pockets, to make the seller look more stylish.
Also Read : 10 Easy Steps to Draw Gandhiji Drawing
Step 9: Outline the Drawing
Once you are satisfied with your sketch, go over your lines with a darker pencil or a fine-tip marker. This will help make your drawing stand out. Erase any unnecessary guidelines or overlapping lines to clean up your work.
Step 10: Color Your Drawing
Finally, it’s time to add color! Use vibrant colors for the balloons to make them eye-catching. You can color the seller’s clothing in bright or pastel shades. Feel free to be creative with your color choices—there are no rules in art!
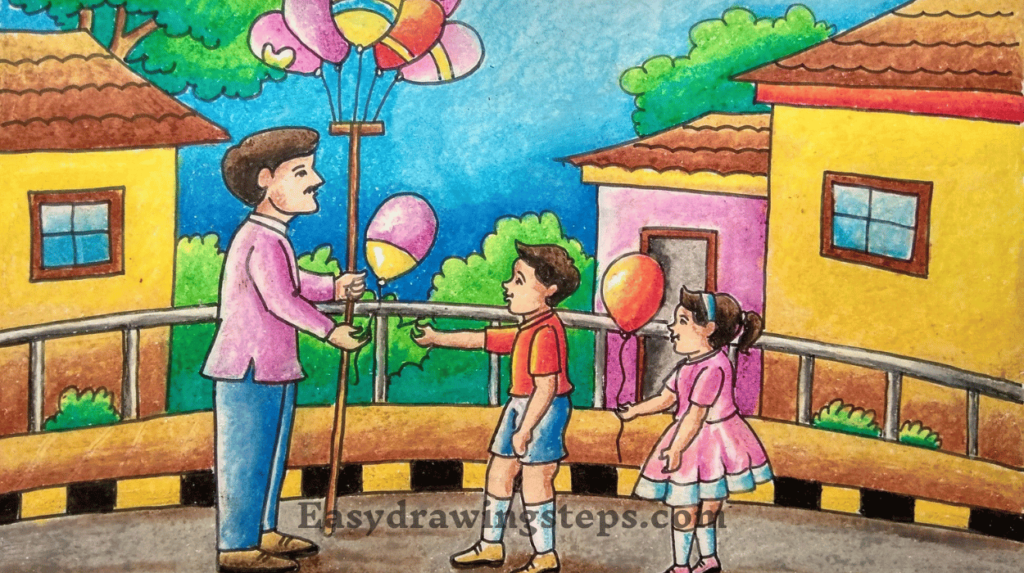
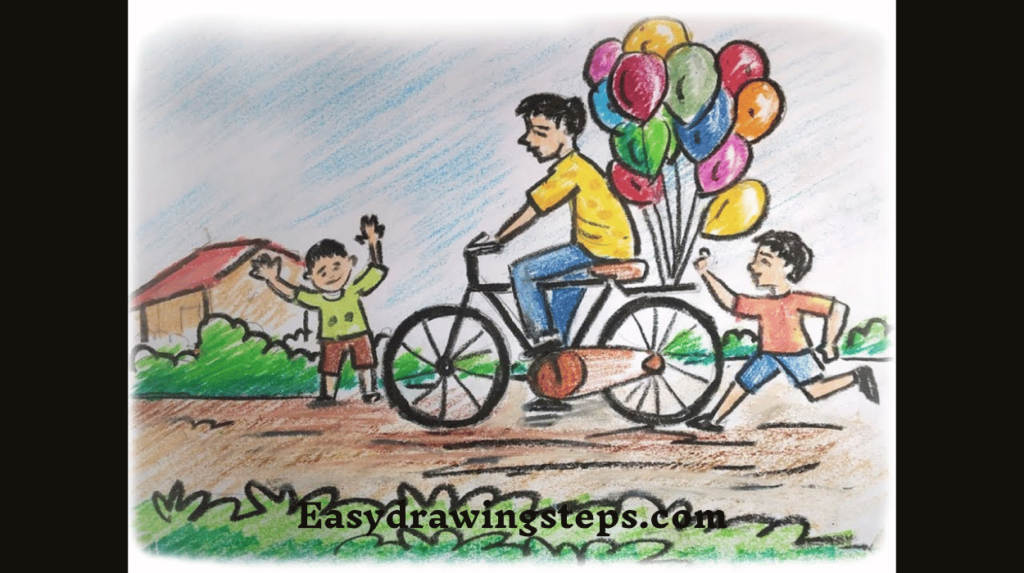
Congratulations! You’ve successfully drawn a Balloon Seller Drawing surrounded by colorful balloons. This step-by-step guide is perfect for kids and beginners, encouraging creativity and imagination. Remember, the key to drawing is practice, so don’t hesitate to try this again or add your unique touches. Happy drawing!
Balloon Seller Drawing FAQ
What materials do I need to start a Balloon Seller Drawing?
To draw a balloon seller, you’ll need basic materials like paper, pencils, an eraser, and optional colored pencils or markers for coloring. If you prefer, you can also use fine-tip markers for outlining.
Can I add my own designs to the balloons?
Absolutely! Feel free to get creative with your balloons. You can draw them in various shapes, sizes, and patterns, such as polka dots, stripes, or even characters. Personalizing your balloons adds a unique touch to your drawing.
What if I make a mistake while drawing?
Mistakes are a natural part of the drawing process! If you make a mistake, simply use your eraser to correct it or incorporate it into your design. You can always refine your lines or add details to distract from any errors.
Is this drawing suitable for young children?
Yes, this drawing is great for young children! The step-by-step approach is simple and easy to follow, making it a fun activity for kids. It encourages creativity and helps develop their motor skills.
How can I improve my drawing skills?
To improve your drawing skills, practice regularly and try drawing different subjects. Study other artists’ works for inspiration, and don’t hesitate to experiment with various styles and techniques. Over time, you’ll notice significant progress!