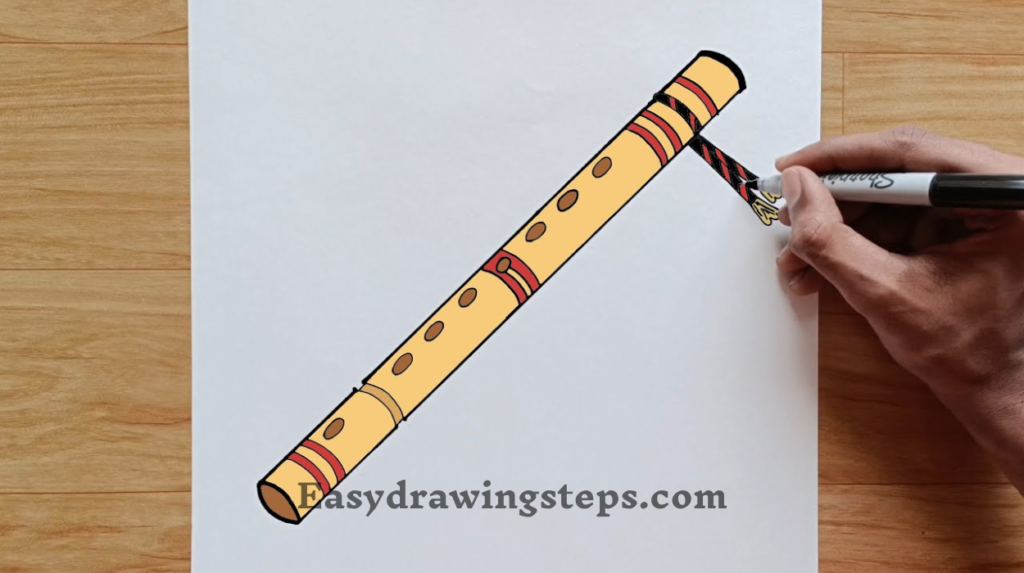
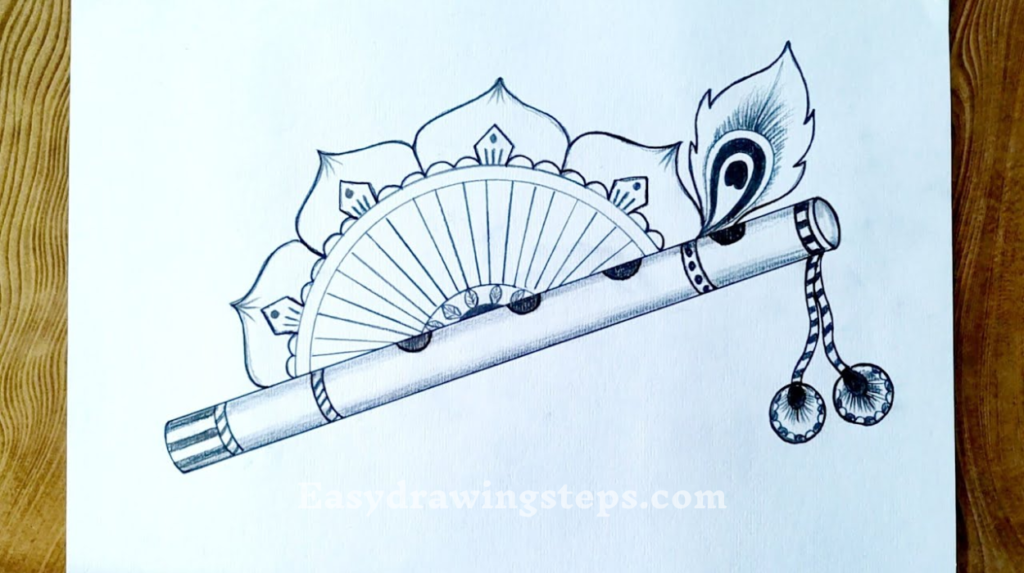
Bansuri Drawing : The Bansuri, a traditional Indian flute, holds a special place in art, culture, and mythology. It’s especially significant in the depiction of Lord Krishna, who is often portrayed playing this beautiful instrument.
Whether you’re preparing for Janmashtami or just want to create a piece of art that reflects the serenity of the Bansuri, this guide will help you draw it with ease.
Let’s dive into 10 easy steps to draw a stunning Bansuri.
Step 1: Start with a Basic Outline
Begin by drawing a straight line to represent the main body of the Bansuri. This line should be slightly curved to give a natural look, similar to how a real Bansuri is shaped. Keep the length of the line proportional to the size of your drawing paper.
Step 2: Draw the Bansuri’s Ends
At each end of the line, draw two small circles. These circles represent the open ends of the Bansuri. Ensure that one circle is slightly larger than the other to show perspective and depth in your drawing.
Also Read : 10 Steps to Draw Janmashtami Drawing Easy
Step 3: Add the Mouthpiece
On the left side of the Bansuri (the smaller circle), draw a short line extending outward. This will be the mouthpiece, where the player blows air into the flute. Make sure it’s aligned properly with the Bansuri’s body.

Step 4: Sketch the Finger Holes
Moving along the body of the Bansuri, draw six evenly spaced small circles. These are the finger holes, which are crucial to the instrument’s functionality. The placement and size of these holes should be consistent to maintain the authenticity of the Bansuri.
Also Read : 10 Steps to Draw Radha Krishna Drawing Easy
Step 5: Draw the Decorative Elements
The Bansuri often has decorative elements near the ends. You can draw simple bands or patterns around the top and bottom parts of the Bansuri. These decorations add a touch of artistry and elegance to your drawing.

Step 6: Refine the Shape
Refine the shape of the Bansuri by thickening the outline. Make sure the body has a consistent thickness, and smooth out any rough lines. The Bansuri should look slender and graceful, reflecting its musical nature.
Also Read : 10 easy steps to draw Village Oil Pastel Scenery Drawing
Step 7: Add Details to the Mouthpiece
The mouthpiece can be detailed by adding a slight curve or indent where it connects to the Bansuri’s body. This detail makes the drawing more realistic and gives the impression of a functional instrument.
Step 8: Use Pencil Shading
To give your Bansuri drawing depth and dimension, begin shading the body lightly. Start with the areas around the finger holes and the edges, gradually blending the shading to create a smooth, cylindrical appearance. This technique will make the Bansuri look three-dimensional.
Also Read : 10 steps to draw Easy Pencil Cute Girl Drawing
Step 9: Add Color to Your Bansuri
If you’re using colors, start by filling the Bansuri with a warm, natural wood color like brown or tan. Use darker shades for the decorative elements and the mouthpiece. Adding subtle highlights with a lighter shade will make the Bansuri appear polished and more realistic.
Step 10: Final Touches
Finally, go over the entire drawing to ensure all details are clear and precise. You can add a simple background, such as a gradient or a depiction of Krishna playing the Bansuri, to enhance the overall composition. Sign your artwork to complete the drawing.
Easy Bansuri Drawing
Creating a Bansuri drawing is an enjoyable process that can be simple yet satisfying. By following these easy steps, you’ll be able to sketch a Bansuri that looks authentic and visually appealing. Whether you’re a beginner or an experienced artist, this guide makes it easy to capture the essence of this beautiful instrument.
Janmashtami Bansuri Drawing
The Bansuri is closely associated with Lord Krishna, making it an ideal subject for Janmashtami-themed drawings. Incorporating the Bansuri into your Janmashtami artwork adds a spiritual and festive touch, celebrating the divine music of Krishna.
Bansuri Drawing Easy
This guide simplifies the process of drawing a Bansuri, breaking it down into manageable steps. The focus on basic shapes and careful detailing ensures that anyone can create a stunning Bansuri drawing with ease.
Krishna Bansuri Drawing
A Krishna Bansuri drawing is more than just an illustration of the instrument; it represents the divine connection between Krishna and his devotees. Including the Bansuri in Krishna-themed artwork highlights the significance of this flute in Hindu mythology and art.
Bansuri Drawing with Colour
Adding color to your Bansuri drawing brings it to life. Using shades that mimic natural wood and subtle highlights can transform a simple sketch into a vibrant piece of art. The addition of color enhances the visual appeal and makes the drawing stand out.
Art Bansuri Drawing
Creating an artful Bansuri drawing involves paying attention to details such as shading, decorations, and accurate proportions. This guide helps you achieve a balance between simplicity and detail, resulting in a drawing that’s both artistic and faithful to the real instrument.
Drawing the Bansuri can be a rewarding experience, allowing you to express creativity while connecting with cultural and spiritual elements. Whether for a Janmashtami celebration or as a standalone piece, this easy guide will help you create a beautiful Bansuri drawing that resonates with both artistry and tradition. Enjoy the process, and let your creativity flow like the music of the Bansuri itself!
FAQ
What are the essential steps to start a Bansuri drawing for beginners?
Beginners should start with the basics by drawing a straight line for the Bansuri’s body. Next, add small circles at each end to represent the open ends of the flute. From there, sketch the mouthpiece, finger holes, and any decorative elements. Gradually refine the shape, add shading, and then incorporate colors to complete the drawing.
How can I make my Bansuri drawing look more realistic?
To make your Bansuri drawing look more realistic, focus on refining the shape and adding depth with pencil shading. Lightly shade around the finger holes and edges to create a three-dimensional effect. You can also use color to mimic the natural wood tones of a Bansuri and add subtle highlights for a polished appearance.
Why is the Bansuri often depicted in Krishna-themed artwork?
The Bansuri is closely associated with Lord Krishna, who is often portrayed playing this instrument in Hindu mythology. It symbolizes divine music and Krishna’s playful nature. Including the Bansuri in Krishna-themed artwork highlights this connection and adds a spiritual element to the drawing, making it especially meaningful in Janmashtami celebrations.
What are some tips for adding color to a Bansuri drawing?
When adding color to a Bansuri drawing, start with a base color that represents the natural wood, such as brown or tan. Use darker shades for the decorative elements and the mouthpiece. Adding highlights with lighter shades will give the Bansuri a more realistic, three-dimensional look. Don’t forget to use subtle blending techniques to ensure smooth transitions between shades.
How can kids easily draw a Bansuri for a Janmashtami project?
Kids can easily draw a Bansuri by starting with simple shapes like lines and circles. They can then add basic details like finger holes and the mouthpiece. To make the drawing festive for Janmashtami, they can color the Bansuri using bright, cheerful colors and add a simple background like a “Happy Janmashtami” message or a picture of Krishna playing the Bansuri. This approach makes the drawing fun and accessible for young artists.


2 thoughts on “10 Easy Steps to Draw Bansuri Drawing”