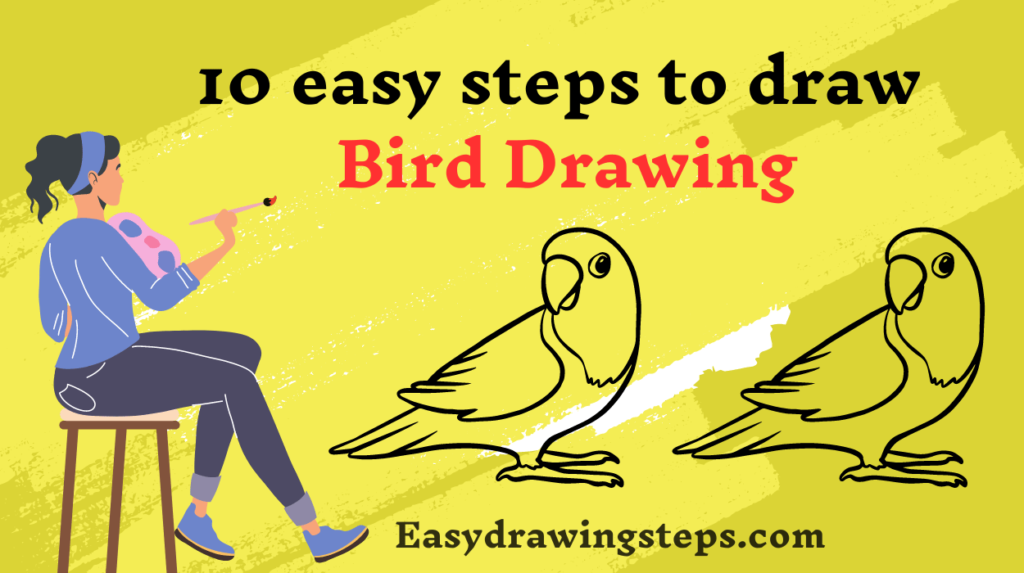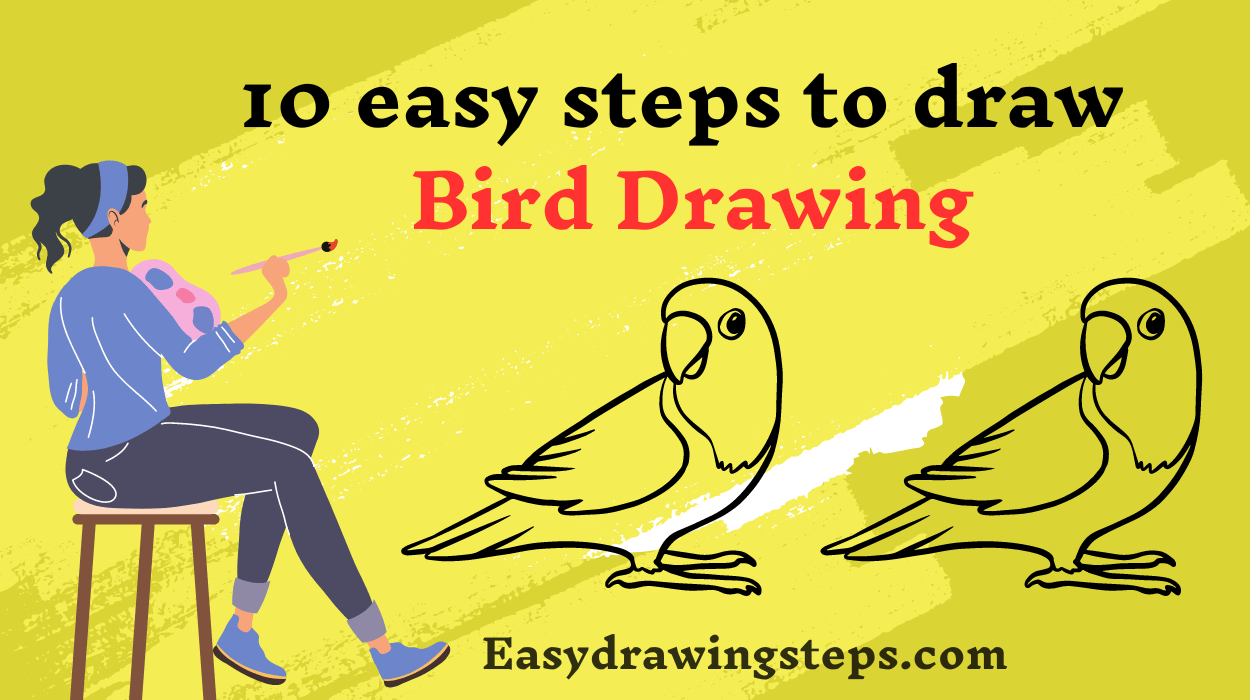
Bird Drawing : Drawing birds can be a delightful and rewarding activity, perfect for kids and adults alike.
Whether you want to create a cute bird drawing for kids, a flying bird drawing, or a bird drawing with color, these 10 easy steps will guide you through the process. Let’s get started!
Step 1: Gather Your Materials
To begin, make sure you have the following materials:
- White drawing paper
- Colored markers, crayons, or pencils
- A pencil and eraser
- A black marker or pen for outlining
Also Read : 10 easy steps to draw Pokemon Drawing
Step 2: Draw the Basic Shape
Start by lightly sketching a large oval in the center of your paper for the bird’s body. Add a smaller circle on top of the oval for the head. This basic shape will serve as the foundation for your bird drawing.
Step 3: Add the Beak
Draw a small triangle or curved shape at the front of the head for the bird’s beak. For a cute bird drawing, keep the beak short and rounded.
Also Read : 10 Easy Steps to Draw Rainbow Drawing
Step 4: Draw the Eyes
Add two small circles or ovals on the head for the eyes. Position them near the beak for a friendly, cute appearance. You can add a smaller circle inside each eye to create a pupil.

Step 5: Sketch the Wings
For a flying bird drawing, draw two elongated, curved shapes extending from either side of the body for the wings. If the bird is perched, draw the wings folded against the body.
Also Read : 10 easy steps to draw Mickey Mouse Drawing
Step 6: Add the Tail
Draw a few long, narrow rectangles or triangles extending from the bottom of the oval to form the tail feathers. These can be slightly curved for a more natural look.
Step 7: Draw the Legs and Feet
Add two short lines extending from the bottom of the oval for the legs. At the end of each leg, draw three or four small lines for the toes. For an easy bird drawing, keep the feet simple.
Also Read : 10 easy steps to draw Itachi Drawing
Step 8: Refine Your Drawing
Go over your sketch, refining the shapes and adding any additional details such as feather lines, a more defined beak, or texture on the wings and tail. Erase any unnecessary lines.

Step 9: Outline with Black Marker
Use a black marker or pen to outline your refined sketch. This will make your bird drawing bold and defined, helping the details to stand out.
Also Read : 10 easy steps to draw Tiger Drawing
Step 10: Add Color
Color your bird using markers, crayons, or pencils. Choose bright, natural colors for a realistic look or get creative with your own color scheme. Adding shading and highlights can give your bird a more three-dimensional appearance.
Bonus Tips for a Beautiful Bird Drawing
- Practice different bird poses, like flying, perched, or nesting, to improve your skills.
- Look at photos or illustrations of birds for inspiration and reference.
- Experiment with different art supplies like watercolors or pastels for unique effects.
Drawing a bird is a fun and easy way to explore your creativity.
Whether you’re creating a bird drawing for kids, a flying bird drawing, or a colorful bird drawing, following these 10 steps will help you achieve a wonderful result.
So gather your materials, pick your favorite bird, and start drawing today!
FAQ
What materials do I need for drawing a bird?
You need white drawing paper, colored markers/crayons/pencils, a pencil and eraser, and a black marker or pen for outlining.
How do I make my bird drawing look more realistic?
Study real bird photos, add feather textures, shading, and highlights, and pay attention to the bird’s anatomy.
What are some tips for drawing a flying bird?
Draw spread wings with curved lines, position the body at an angle, and add feather details and shading for depth.
How can I make a bird drawing suitable for kids?
Use simple shapes, keep the design cute with big eyes and a small beak, and use bright, bold colors.
What are common mistakes to avoid when drawing birds?
Avoid ignoring proportions, overcomplicating with too many details, using the same line thickness, and neglecting to outline and color properly.


2 thoughts on “10 easy steps to draw Bird Drawing”