
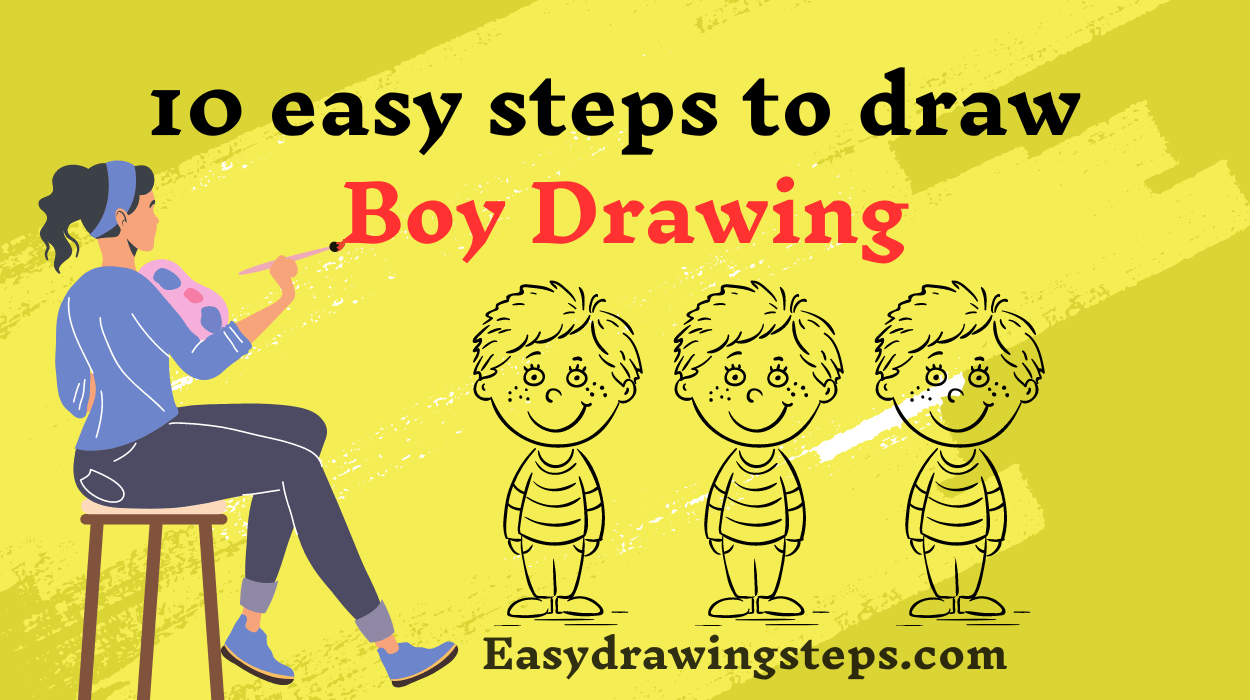

Boy Drawing : Drawing can be a fun and relaxing activity, especially when you have a clear guide to follow.
Whether you’re a beginner or looking to help a child with their art project, this step-by-step tutorial on how to draw a boy is perfect for you.
We’ll cover everything from the basic outline to adding realistic details, ensuring you have a cute and easy boy drawing by the end. So, grab your pencils and let’s get started!
Step 1: Draw the Head of Boy Drawing
Begin with a simple oval shape for the head. This will serve as the foundation for your boy drawing. Make sure the oval is not too wide or too narrow, aiming for a balanced shape.
Also Read : 10 easy steps to draw Tanjiro Drawing
Step 2: Add Facial Guidelines
Draw a vertical line down the center of the oval and a horizontal line across the middle. These guidelines will help you place the facial features accurately.
Step 3: Sketch the Eyes
On the horizontal line, draw two almond-shaped eyes. Place them equidistant from the vertical line. Add small circles inside for the pupils.
Also Read : 10 easy steps to draw Cat Drawing
Step 4: Draw the Nose and Mouth
For the nose, draw a small curved line halfway between the eyes and the bottom of the oval. Below the nose, draw a simple curved line for the mouth, slightly above the bottom of the oval.
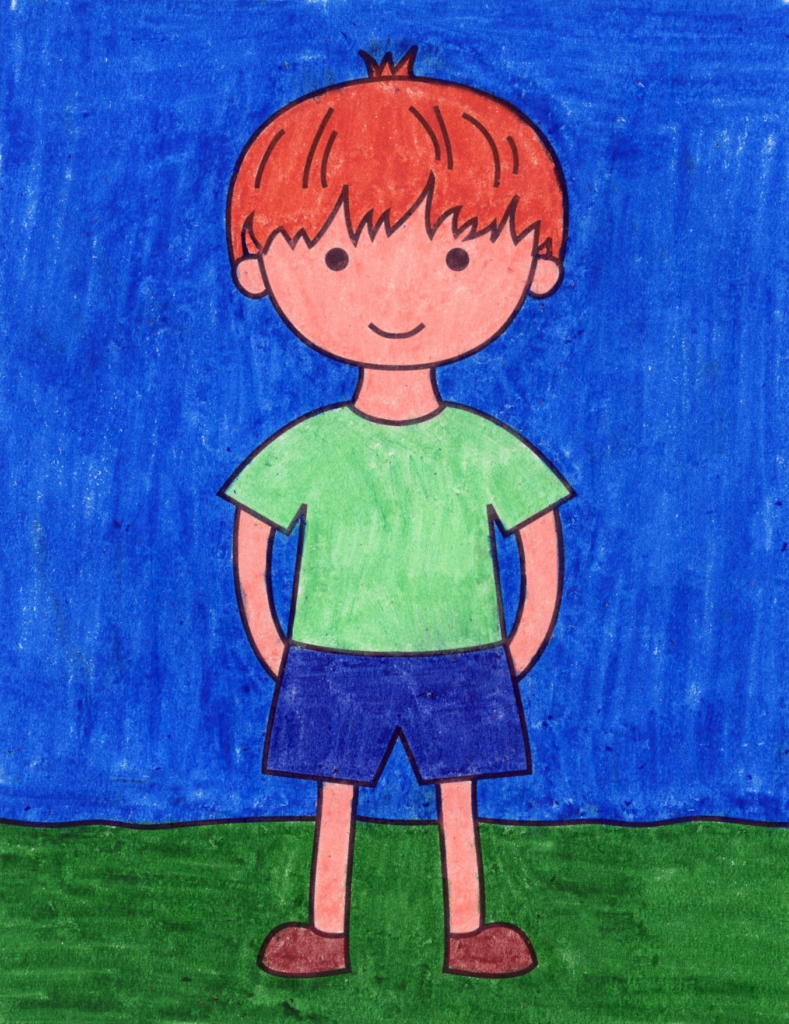
Step 5: Outline the Ears
On either side of the head, draw small C-shaped ears, aligning them with the eyes and nose.
Also Read : 10 Easy Steps to Draw Penguin Drawing
Step 6: Create the Hair
Sketch the boy’s hairstyle. You can choose any style you like – short, spiky, or wavy. Ensure the hairline starts just above the forehead and flows naturally around the head.
Step 7: Draw the Neck and Shoulders
From the bottom of the head, draw two short lines downwards for the neck. Extend lines from the neck outward to form the shoulders. Make the shoulders slightly curved to look more natural.
Also Read : 10 Easy Steps to Draw a Sunflower Drawing
Step 8: Sketch the Torso
Below the shoulders, draw a rectangle or trapezoid shape for the torso. This will be the base for the body.
Step 9: Add Arms and Hands
From the shoulders, draw two lines downward on each side to form the arms. At the end of each arm, sketch simple hands. They can be as detailed or as basic as you like.
Also Read : 10 Easy Steps to Draw Computer Drawing
Step 10: Finalize with Legs and Feet
Below the torso, draw two lines downwards for the legs. Add small oval shapes at the bottom for the feet. Your basic boy drawing is now complete!
Tips for Realistic Boy Drawing
- Shading: Add shadows to give depth to your drawing. Shade areas like under the chin, around the eyes, and the sides of the nose.
- Details: Include details like clothing folds, hair strands, and facial expressions to make your boy drawing more realistic.
- Proportions: Keep the proportions of the body parts in mind. The head should not be too big or small compared to the body.
Boy Drawing for Kids and Cute Boy Drawing
For younger children, simplify the drawing by using basic shapes and fewer details. Focus on creating a cute and approachable character with big eyes and a smiling face. For a school boy drawing, add elements like a backpack or a school uniform.
Drawing a boy can be easy and enjoyable with the right steps. Whether you’re aiming for a simple sketch or a more detailed and realistic boy drawing, these ten steps will guide you through the process. Remember to practice and experiment with different styles to improve your drawing skills. Happy drawing!
FAQ
What basic shapes should I use to start drawing a boy?
Start with an oval for the head, a rectangle or trapezoid for the torso, lines for arms and legs, and ovals for feet and hands.
How can I make my boy drawing look more realistic?
Focus on proper proportions, add details like hair and clothing folds, use shading for depth, and ensure lifelike facial expressions.
What techniques can I use to draw a cute boy character?
Exaggerate features like large, round eyes, use soft lines, keep the head slightly larger in proportion, draw a big smile, and add cute accessories.
How can children learn to draw a boy easily?
Children can start with basic shapes, follow step-by-step guides, use light guidelines, add personal touches, and practice regularly.
What common mistakes should I avoid when drawing a boy?
Avoid incorrect proportions, overcomplicating details, skipping guidelines, ignoring shading, and rushing the process. Take your time and build up the drawing gradually.
2 thoughts on “10 easy steps to draw Boy Drawing”