

Brinjal Drawing : Drawing a brinjal (also known as an eggplant) can be a delightful and straightforward task.
This guide will take you through 10 easy steps to create a beautiful brinjal drawing. Whether you’re drawing for kids, looking for a simple sketch, or aiming to add shading for a realistic effect, these steps will help you achieve your goal.
Let’s get started!
Step 1: Gather Your Materials
Before you begin, make sure you have the necessary materials: paper, a pencil, an eraser, and colored pencils or markers. If you want to add shading, a set of graphite pencils of varying hardness will be useful.
Also Read : 10 easy steps to draw Aeroplane Drawing
Step 2: Draw the Outline of the Brinjal
Start by drawing a large, oval shape for the body of the brinjal. The oval should be slightly tapered at the top to represent the natural shape of a brinjal.
Step 3: Add the Stem
At the top of the oval, draw a small rectangle or a slightly curved shape to represent the stem. Make sure it connects smoothly with the body of the brinjal.
Also Read : 10 easy steps to draw Spiderman Drawing
Step 4: Define the Top of the Brinjal
Draw a wavy line where the stem meets the body of the brinjal. This will represent the natural curves at the top of the vegetable.
Step 5: Add Details to the Stem
Enhance the stem by adding a few lines to indicate texture. Draw small, curved lines at the base of the stem to show where it attaches to the brinjal.
Also Read : 10 easy steps to draw Lotus Drawing
Step 6: Sketch the Basic Shape of the Leaves
Draw a few simple leaf shapes around the stem. These leaves should be small and slightly curved, following the natural look of brinjal leaves.

Step 7: Refine the Shape of the Brinjal
Smooth out the outline of the brinjal, making it more organic and less geometric. Ensure the body of the brinjal looks natural and not too symmetrical.
Also Read : 10 easy steps to draw Mushroom Drawing
Step 8: Add Shading
To add depth and realism, start shading the brinjal. Use light, gentle strokes with your pencil to create a gradient effect. Darken the areas where shadows would naturally fall, such as the bottom and the side opposite the light source.
Step 9: Outline the Drawing
Once you are satisfied with your sketch, outline the entire drawing with a black pen or marker. This step will make your drawing stand out and look more polished.
Also Read : 10 easy steps to draw Zoro Drawing
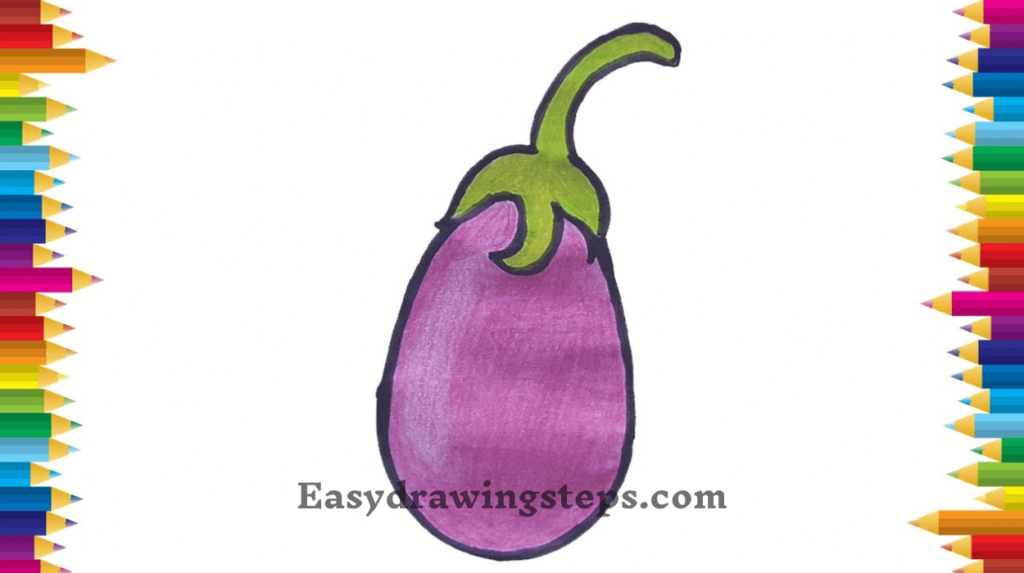
Step 10: Color the Brinjal
Finally, use colored pencils or markers to add color to your brinjal drawing. Typically, brinjals are purple with a green stem. Add variations in color to enhance realism, such as darker purple shades for shadows and lighter purple for highlights.
Drawing Ideas and Variations
- Brinjal Drawing for Kids: Simplify the drawing process by focusing on basic shapes and bright colors. Keep the design easy and fun, avoiding complex details.
- Brinjal Drawing Easy: Stick to the essential shapes and simple lines. This approach is ideal for beginners who want to create a recognizable brinjal drawing without spending too much time on intricate details.
- Brinjal Drawing Shading: To add a realistic touch, focus on shading techniques. Use a range of graphite pencils to create gradients and shadows, enhancing the three-dimensional effect of your drawing.
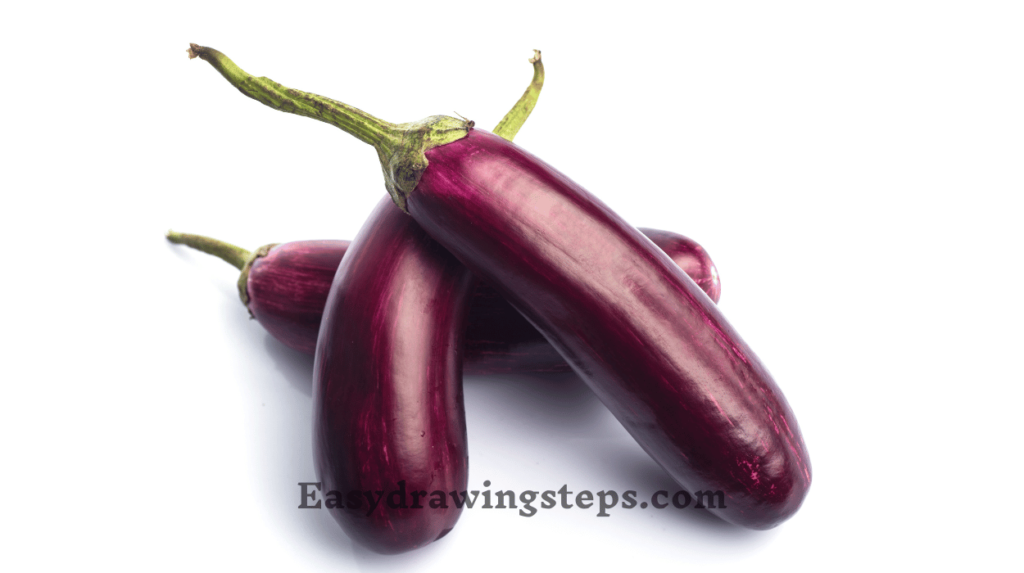
- Brinjal Drawing Images: Look at various brinjal images for inspiration and reference. Observing different shapes, colors, and textures can help you improve your drawing skills and create a more accurate representation.
Drawing a brinjal can be a fun and educational experience, suitable for all ages and skill levels. By following these 10 easy steps, you can create a detailed and colorful brinjal drawing.
This guide provides a structured approach that caters to different artistic preferences, making it accessible for everyone.
So grab your drawing materials, follow the steps, and enjoy the process of bringing your brinjal drawing to life!
FAQ
What materials do I need to draw a brinjal?
To draw a brinjal, you will need a piece of paper, a pencil for sketching, an eraser for corrections, and colored pencils or markers for adding color. If you want to add shading, a set of graphite pencils with varying hardness levels will be useful.
How can I make a brinjal drawing easy for kids?
To make a brinjal drawing easy for kids, focus on using basic shapes like ovals and rectangles. Simplify the details, such as the leaves and stem, and use bright and bold colors to make the drawing more engaging and fun for children.
What are some tips for adding shading to a brinjal drawing?
For adding shading to a brinjal drawing, start by identifying the light source. Use light, gentle pencil strokes to create a gradient effect, darkening the areas where shadows naturally fall. Blend the shading smoothly to enhance the three-dimensional effect and make the brinjal look more realistic.
How can I make my brinjal drawing look more realistic?
To make your brinjal drawing look more realistic, pay attention to the proportions and shape of the brinjal. Add details like texture to the stem and natural curves to the body. Use shading techniques to create depth and dimension, and observe real brinjal images for reference.
What are some creative variations for drawing a brinjal?
Some creative variations for drawing a brinjal include experimenting with different colors and designs. You can create a cartoon-style brinjal with exaggerated features, a realistic brinjal with detailed shading, or a simple and easy brinjal for beginners. Adding elements like a background scene or other vegetables can also make your drawing more interesting.
1 thought on “10 easy steps to draw Brinjal Drawing”