

Car Drawing : Drawing a car can be a fun and rewarding activity for both kids and beginners.
Whether you’re looking for a simple car drawing, a front view, or just an easy method, this guide will walk you through the process.
Let’s get started with these 10 easy steps to draw a car!
Materials Needed
- Paper
- Pencil
- Eraser
- Fine liner or black pen (optional)
- Colored pencils or markers (optional)
Step 1: Draw the Car Body Outline
Start by drawing a large rectangle in the center of your paper. This will be the main body of the car. For an easy car drawing, keep the proportions simple and balanced.
Also Read : 10 easy steps to draw Save Earth Drawing
Step 2: Add the Car Roof
On top of the rectangle, draw a smaller, narrower rectangle or trapezoid. This shape will form the roof of the car. Ensure it aligns with the main body.
Step 3: Draw the Windows
Inside the roof area, draw two rectangles for the front and rear windows. For the side windows, draw two more rectangles on either side of the roof.
Also Read : 10 easy steps to draw Earth Drawing
Step 4: Add the Wheels
Draw two circles below the main body of the car, positioned towards each end. These circles will be the wheels. Make sure they are evenly spaced and of equal size.
Step 5: Detail the Wheels
Inside each wheel, draw a smaller circle to represent the hubcaps. You can add more details like spokes or simple designs to make the wheels look more realistic.
Also Read : 10 easy steps to draw India Map Drawing
Step 6: Draw the Front and Rear Bumpers
At the front and rear ends of the car body, draw small rectangles extending outward slightly. These will be the bumpers.
Step 7: Add the Headlights and Taillights
At the front of the car, draw two small circles or ovals for the headlights. At the rear, draw two rectangles or circles for the taillights.
Also Read : 10 easy steps to draw Panda Drawing
Step 8: Draw the Car Doors and Handles
On the sides of the car, draw vertical lines to indicate the doors. Add small horizontal rectangles or lines near the edges of the doors for the handles.

Step 9: Outline and Add Details
Go over your pencil lines with a fine liner or black pen to make the drawing more defined. Add any extra details like side mirrors, a grill on the front, or a license plate.
Also Read : 10 easy steps to draw Anime Girl Drawing
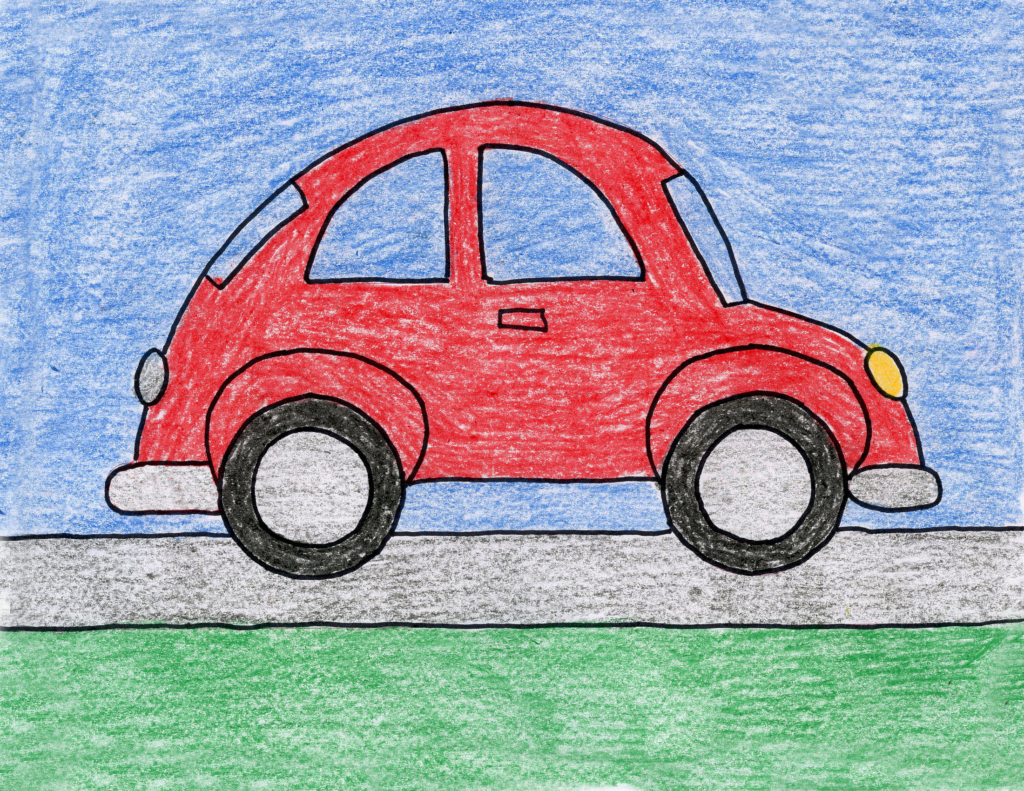
Step 10: Color Your Car
Use colored pencils or markers to bring your car drawing to life. Choose colors for the body, windows, wheels, and other details to make your car unique and vibrant.
Car Drawing for Kids
- Keep the shapes simple and use bright, fun colors.
- Encourage kids to add their own designs or decorations to personalize their car.
Car Drawing Easy
- Focus on basic shapes and clear, bold lines.
- Simplify details to make the drawing process quick and enjoyable.
Easy Car Drawing
- Use step-by-step instructions to break down the process.
- Start with basic shapes and gradually add details to build confidence.
Front Car Drawing
- Begin with a wide rectangle for the front view.
- Add the headlights, grill, and bumper details prominently.
Simple Car Drawing
- Stick to basic geometric shapes.
- Use clear outlines and minimal details for a clean, simple look.

By following these steps, you can create a beautiful and straightforward car drawing.
Whether it’s for a school project, a fun activity, or just to practice your drawing skills, these easy steps will help you achieve a great result.
Grab your drawing materials and start creating your car masterpiece today!
FAQ
What basic shapes should you start with when drawing a car?
Start with a large rectangle for the body, a smaller rectangle/trapezoid for the roof, and circles for the wheels.
How can beginners make a car drawing more realistic?
Add details like windows, door handles, headlights, taillights, bumpers, and hubcaps. Use shading for depth.
What are tips for drawing a car from the front view?
Use a wide rectangle for the front, add circles/ovals for headlights, a smaller rectangle for the grill, and bumper details. Ensure symmetry.
How can kids make car drawings more fun?
Use bright colors, add racing stripes, custom license plates, and stickers. Encourage creativity for an enjoyable experience.
What materials are recommended for a detailed car drawing?
Use paper, pencil, eraser, fine liner or black pen, colored pencils or markers, and a ruler for precise lines and shapes.
2 thoughts on “10 easy steps to draw Car Drawing”