
Car Drawing for Kids : Drawing is a fantastic way for kids to express their creativity while improving their fine motor skills. Today, we’ll embark on a fun journey to draw a car!
This easy-to-follow guide will help children of all ages create their very own car drawing in just ten simple steps.
So grab your pencils, markers, or crayons, and let’s get started!
Step 1: Gather Your Materials
Before diving into the drawing, gather all the materials you’ll need:
- A sheet of paper
- Pencils (for sketching)
- Erasers (for corrections)
- Markers or crayons (for coloring)
- A ruler (optional, for straight lines)

Step 2: Draw the Car Body
Start by drawing a rectangle in the middle of your paper. This rectangle will be the main body of the car. Make sure it’s wide enough to give your car a sturdy look.
Also Read : 10 Easy Steps to Draw Gandhiji Drawing
Step 3: Add the Top of the Car
On top of the rectangle, draw a smaller rectangle or a curved line. This will represent the car’s roof. You can make it a convertible by adding a curved line to indicate an open top!
Step 4: Create the Front and Back Bumpers
At both ends of the rectangle, draw slightly rounded shapes. These will be the bumpers of the car. Feel free to make them as round or angular as you like!

Step 5: Draw the Wheels
Next, it’s time for the wheels! Draw two circles at the bottom of the rectangle, one on each side. Make sure they are proportionate to the body of the car. You can add smaller circles inside for the hubcaps.
Step 6: Add Windows
Now, let’s give your car some personality! Draw rectangles or curves for the windows. You can create a windshield at the front and side windows. If you want, add a rearview mirror on the side!
Also Read : 10 Easy Steps to Draw Pencil Krishna Drawing
Step 7: Detail the Car
Enhance your car with some details. Add lines to indicate the doors, headlights, and taillights. You can draw lines on the wheels to represent tires and add designs on the car’s body for a sporty look.
Step 8: Erase Unnecessary Lines
Now, it’s time to clean up your drawing. Use your eraser to remove any extra lines or mistakes. This will help your car look neat and tidy!
Also Read : 10 Easy Steps to Draw Balloon Seller Drawing
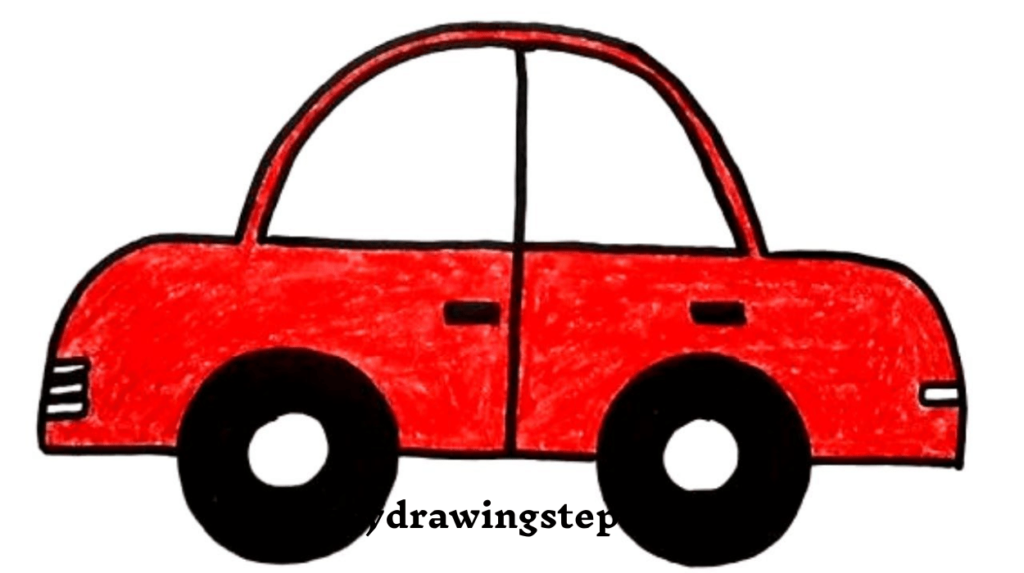
Step 9: Color Your Car
Bring your drawing to life with colors! Use your markers or crayons to fill in your car. Choose bright and vibrant colors to make it stand out. You can color the body, windows, and wheels however you like!
Step 10: Add Background Elements (Optional)
To make your drawing even more exciting, consider adding background elements. You can draw a road, trees, or even a sunny sky to complete the scene. This will give your drawing context and make it more engaging!
Tips for Parents:
- Encourage your child to explore their creativity by adding their own designs or features to the car.
- If your child is struggling, offer assistance without taking over the drawing.
- Display their artwork proudly at home to boost their confidence!
With these steps, drawing a car can be a fun and rewarding experience for kids. So, what are you waiting for? Grab your drawing supplies and start creating!
Car Drawing for Kids FAQ
What materials do I need to start Car Drawing for Kids ?
To start drawing a car, you’ll need a sheet of paper, pencils for sketching, erasers for corrections, markers or crayons for coloring, and optionally a ruler for straight lines.
Can I customize my car drawing?
Absolutely! You can customize your car drawing by changing the shape of the body, adding different types of wheels, or incorporating unique designs and colors. Let your creativity shine!
What if I make a mistake while drawing?
Mistakes are a part of the drawing process! Use an eraser to remove any unwanted lines or shapes. Remember, you can always make adjustments and enhance your drawing as you go along.
How can I make my car drawing look more realistic?
To make your car drawing look more realistic, pay attention to details such as shadows, reflections on the windows, and the texture of the tires. You can also research real cars for inspiration!
Is there a specific age range for kids to draw cars?
Kids of all ages can enjoy drawing cars! Younger children may need more guidance, while older kids can take on more complex designs. Adjust the difficulty of the steps based on your child’s skill level and interest.