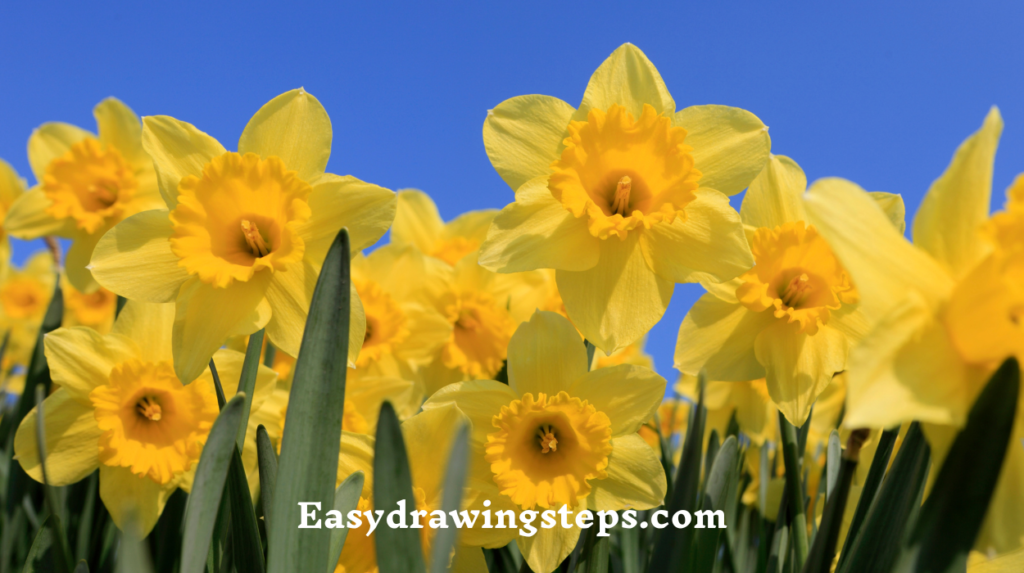
Daffodils Drawing : Drawing daffodils can be a delightful and rewarding experience for both beginners and seasoned artists.
These beautiful, trumpet-shaped flowers are not only a symbol of spring but also an excellent subject for practicing floral illustrations.
Follow these ten easy steps to create your own daffodil drawing, and by the end, you’ll have a lovely piece of art showcasing the vibrant beauty of these flowers.
Step 1: Gather Your Supplies for Daffodils Drawing
Before you start, gather your drawing supplies. You’ll need paper, a pencil, an eraser, and colored pencils or markers. Make sure you have a comfortable workspace with good lighting.
Also Read : 10 easy steps to draw Rose Drawing
Step 2: Draw the Basic Shape
Start by drawing a small circle in the center of your paper. This circle will serve as the guide for the daffodil’s trumpet or corona. Then, draw six equally spaced lines radiating from the circle to outline where the petals will go.
Step 3: Outline the Petals
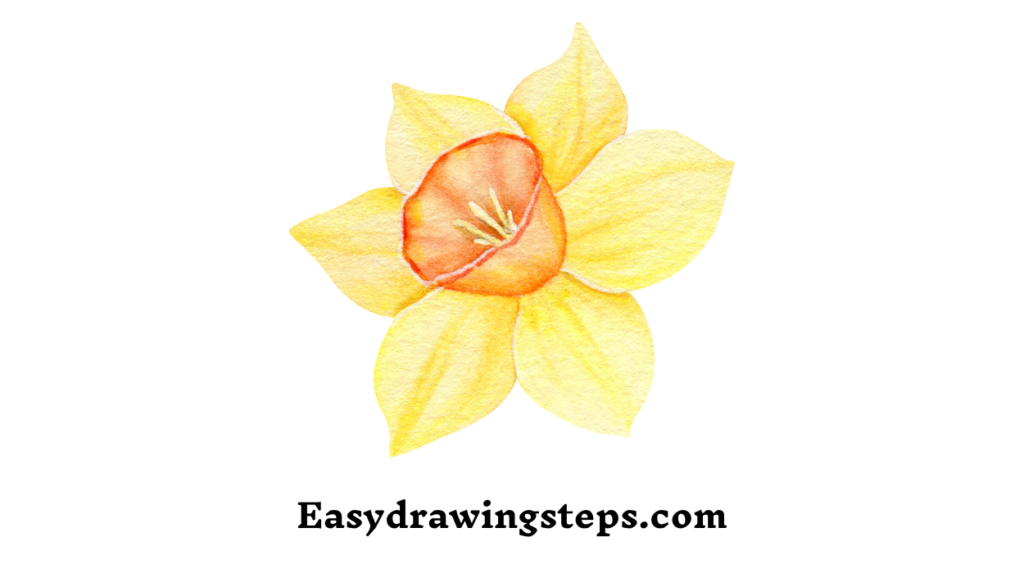
Using the guidelines, draw the daffodil petals. Each petal should have a slightly curved, elongated shape. Make them broad at the base and pointed at the tips. Daffodils typically have six petals, so ensure they are evenly spaced.
Also Read : 10 easy steps to draw Mouse Drawing
Step 4: Shape the Trumpet
Inside the initial circle, draw the trumpet or corona of the daffodil. This part should look like a small cup or cone with a wavy edge. The corona often has a slightly ruffled or frilled appearance, so feel free to add some gentle curves to its edge.

Step 5: Add Details to the Petals
Daffodil petals have subtle lines and veins. Add these details by drawing gentle, curved lines from the base of each petal toward the tips. This step adds realism and texture to your drawing.
Also Read : 10 easy steps to draw Cheetah Drawing
Step 6: Draw the Stem and Leaves
Extend a long, slightly curved line downward from the base of the flower to create the stem. Then, draw two long, narrow leaves on either side of the stem. Daffodil leaves are typically straight with a slight curve and taper to a point at the end.
Step 7: Refine Your Drawing
Take a moment to refine your drawing. Erase any unnecessary guidelines and darken the outlines of the petals, trumpet, stem, and leaves. Ensure your lines are clean and smooth.
Also Read : 10 easy steps to draw Telegram Logo Drawing
Step 8: Add Color
Now, it’s time to bring your daffodil to life with color. Daffodils are usually bright yellow, but some varieties have white petals with yellow or orange centers. Use colored pencils or markers to fill in the petals, trumpet, stem, and leaves. Add shading to give your drawing depth and dimension.

Step 9: Enhance with Shading and Highlights
To make your daffodil drawing more realistic, add shading to the petals and trumpet. Lightly shade the areas where shadows naturally fall, such as the base of the petals and the lower parts of the trumpet. Add highlights to the edges of the petals and trumpet to give them a three-dimensional look.
Also Read : 10 easy steps to draw TikTok Logo Drawing
Step 10: Final Touches
Take a step back and look at your drawing. Make any final adjustments to the colors, shading, and outlines. Once you’re satisfied with your daffodil, sign your artwork and show it off!
Exploring Different Daffodil Drawing Ideas
- Daffodils Drawing Easy: If you’re a beginner, focus on simple and easy steps to capture the essence of daffodils. Follow the basic shapes and gradually add details as you gain confidence.
- Field of Daffodils Drawing: Create a stunning scene by drawing multiple daffodils together. Vary the sizes and positions of the flowers to create a natural, field-like appearance.
- Daffodils Drawing Simple: Keep your drawing minimalistic with clean lines and basic shapes. Simple drawings can be very elegant and effective.
- Bunch of Daffodils Drawing: Draw a bunch of daffodils tied together with a ribbon or in a vase. This composition is perfect for greeting cards or spring-themed artwork.
- Daffodils Drawing for Kids: Simplify the steps even further for children. Use basic shapes and bright colors to make the drawing process fun and engaging for young artists.
Drawing daffodils can be a joyful activity, whether you’re creating a single flower or an entire field. By following these ten easy steps, you’ll be able to capture the beauty of daffodils in your own unique style. Happy drawing!
FAQ
What are some tips for beginners to draw daffodils easily?
For beginners, start with simple shapes like circles for the trumpet and lines for the petals. Use light strokes to sketch the basic form and gradually add details like veins and ruffles. Practice individual parts first to build confidence before drawing a complete daffodil.
How can I make my daffodil drawing look more realistic?
To enhance realism, focus on shading and highlighting. Apply gentle shading to add depth, especially in shadowed areas, and highlight the petal edges for a three-dimensional effect. Paying attention to natural textures and imperfections also adds to the realism.
What colors should I use for drawing daffodils?
Daffodils are typically bright yellow, with some having white petals and yellow or orange centers. Use varying shades of yellow for the petals, darker hues for the trumpet, and green for the stem and leaves. Experiment with different combinations to capture various daffodil species.
How can I draw a field of daffodils?
To draw a field, sketch detailed and larger foreground flowers, gradually reducing the size and detail for background flowers to create depth. Vary the positions and orientations, use lighter shades for distant flowers, and add elements like grass to enhance the scene.
What are some common mistakes to avoid when drawing daffodils?
Avoid symmetrical petals, overly dark outlines, ignoring petal veins and ruffled edges, using flat colors, and uniformly spacing the flowers. Natural variation and subtle shading can make your drawing more dynamic and realistic.


2 thoughts on “10 easy steps to draw Daffodils Drawing”