
Deadpool Drawing : Deadpool, the wisecracking antihero from Marvel Comics, is known for his distinctive costume and mischievous personality.
Drawing Deadpool can be a fun and rewarding challenge, especially for fans of comic book art.
Whether you’re a beginner or an experienced artist, following these 10 easy steps will help you create a striking Deadpool drawing. Let’s get started!
Step 1: Sketch the Basic Shape
Begin by sketching the basic shape of Deadpool’s head and body. Start with an oval for the head and a simple rectangular shape for the torso. Draw light lines to represent the shoulders and arms, and a basic outline for the legs. This will serve as the foundation for your detailed drawing.

Step 2: Outline the Face
Deadpool’s face is one of his most recognizable features. Draw two large, almond-shaped eyes within the oval head shape. Position them symmetrically and leave space between them. Add Deadpool’s signature mask design by sketching the outline of his eye patches. This will help define the overall expression and character of the drawing.
Also Read : 10 Easy Steps to Draw Fall Leaves Drawing
Step 3: Draw the Mask and Facial Features
Refine the mask by adding details to the eye patches. Deadpool’s mask covers most of his face, so ensure that the mask extends around the head, leaving only the eye patches exposed. Add details like the stitching or seams of the mask to give it texture and depth.
Step 4: Sketch the Body and Costume
Outline the basic shape of Deadpool’s body and costume. Draw the details of his suit, including the chest emblem, belts, and the distinctive red and black color pattern. Make sure to include the lines and segments of his costume to capture the iconic look. Add details like the utility belts and pouches to enhance the realism of the drawing.
Step 5: Add the Arms and Legs
Draw Deadpool’s arms and legs, making sure to capture the muscular build typical of the character. Add details like gloves and knee pads to the arms and legs. Ensure that the proportions are accurate and consistent with the comic book style.
Step 6: Draw Deadpool’s Weapons
Deadpool is often depicted with weapons like swords or guns. Sketch these weapons, placing them appropriately around his body. If you’re drawing a full-body version, position the weapons in holsters or strapped to his back. Add details to the weapons, like the handles and blades, to make them look realistic.
Also Read : 10 Easy Steps to Draw Vinayaka Drawing
Step 7: Refine the Drawing
Go over your initial sketch and refine the lines. Erase any unnecessary guidelines and make sure all the details are clear and precise. Pay special attention to the mask, costume details, and weapons to ensure they are well-defined.
Step 8: Add Shading and Texture
To give your drawing depth and dimension, add shading and texture. Use hatching or cross-hatching techniques to create shadows and highlights on Deadpool’s mask, costume, and weapons. This will help bring your drawing to life and make it look more three-dimensional.
Also Read : 10 Easy Steps to Draw Fall Pumpkin Drawing
Step 9: Color Your Drawing
Coloring is an essential part of capturing Deadpool’s iconic look. Use red and black for the costume, making sure to stay within the lines and use different shades to create depth. For the eyes, use white with a touch of black or gray to give them a realistic appearance. Color the weapons and any additional details accordingly.
Step 10: Add Final Touches
Review your drawing and make any necessary adjustments. Add final details such as highlights and shadows to enhance the overall look. Check for consistency in color and detail, and make sure the drawing captures Deadpool’s character and style.
Drawing Deadpool Drawing
- Creating a Deadpool drawing involves capturing the unique features of this popular character. Focus on accurately representing his costume, mask, and facial expressions to bring Deadpool to life on paper. This process helps fans and artists alike appreciate the character’s distinctive style.
Deadpool Drawing Easy
- For an easier approach, break down the drawing process into simple steps. Start with basic shapes and gradually add details. This method helps simplify the drawing process, making it more accessible for beginners.
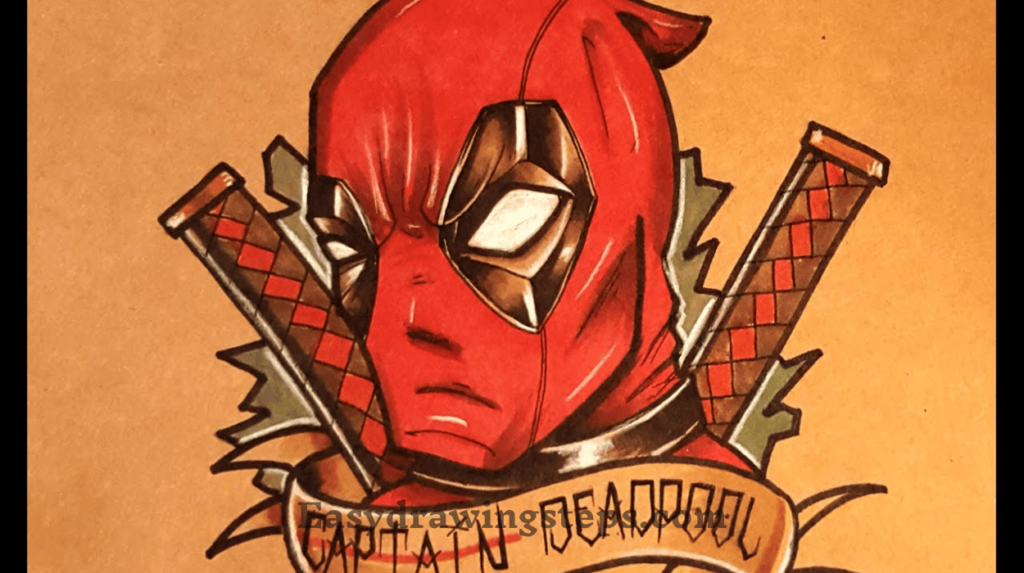
Deadpool Drawing Face
- Focusing on the face of Deadpool involves capturing his iconic mask and expressive eyes. Pay attention to the details of his eye patches and mask design to ensure the facial features are recognizable and true to the character.
Easy Deadpool Drawing
- An easy Deadpool drawing focuses on simplifying the character’s features and costume. Use basic shapes and straightforward lines to create a simplified version of Deadpool, making it easier for beginners to replicate and enjoy.
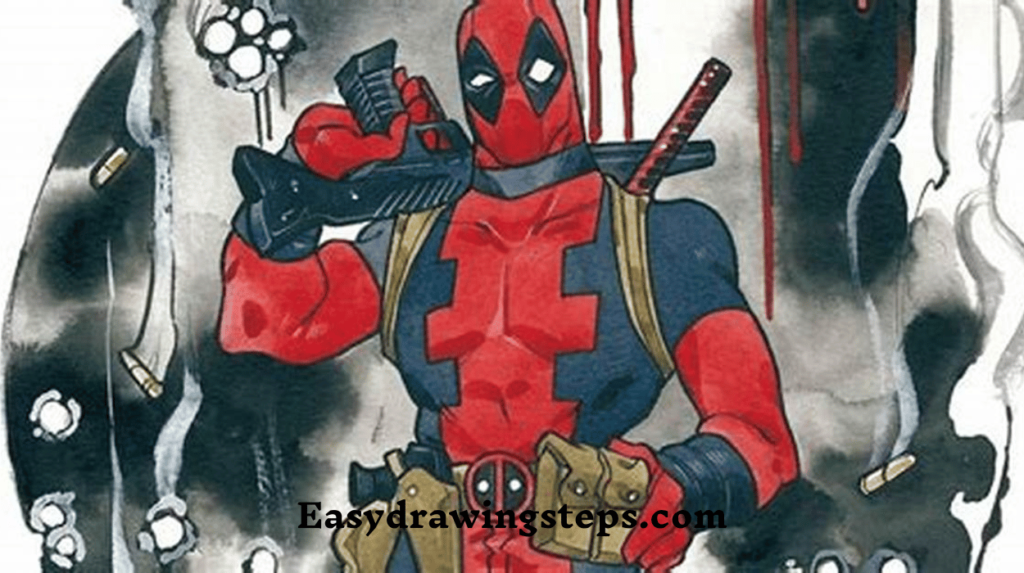
Full Body Deadpool Drawing
- Drawing Deadpool in full body involves capturing his entire costume and pose. Include details like his weapons, utility belts, and the overall stance to create a dynamic and complete depiction of the character.
Deadpool Drawing Cartoon
- Creating a cartoon-style Deadpool drawing emphasizes a playful and exaggerated version of the character. Focus on bold lines, bright colors, and simplified features to capture the essence of Deadpool in a cartoonish style.
By following these 10 easy steps, you’ll be able to create a detailed and dynamic Deadpool drawing that showcases his iconic look and personality. Enjoy the process of bringing this beloved character to life on your paper!
Deadpool Drawing FAQ
What are the key features to focus on when drawing Deadpool’s face?
The key features to focus on when drawing Deadpool’s face are his mask and eye patches. Deadpool’s mask covers most of his face, leaving only his large, almond-shaped eyes visible. Ensure that the eye patches are well-defined and positioned symmetrically. Adding details such as the stitching or seams of the mask will help capture his iconic look.
How can I make my Deadpool drawing look more dynamic?
To make your Deadpool drawing look more dynamic, consider his pose and action. Position Deadpool in an engaging stance, such as in mid-action with weapons drawn or in a fighting pose. Adding movement lines or dynamic angles can also enhance the sense of action and energy in your drawing.
What colors should I use to color Deadpool’s costume accurately?
To accurately color Deadpool’s costume, use red for the majority of the suit, with black for the eye patches, belt, gloves, and boots. You can use different shades of red to create depth and dimension. For the eye patches, a touch of white or gray can be used to give them a realistic appearance.
How can I simplify the drawing process for beginners?
To simplify the drawing process for beginners, break it down into basic shapes and steps. Start with simple outlines and gradually add details. Use light pencil strokes to sketch the initial shapes, and refine the drawing step by step. Focusing on one part of the drawing at a time, such as the face or costume, can make the process more manageable.
What techniques can I use to add texture to Deadpool’s costume?
To add texture to Deadpool’s costume, use shading techniques such as hatching or cross-hatching to create depth and dimension. Pay attention to areas where light and shadow naturally fall, such as the folds of the fabric or the contours of the mask. Adding small details like the stitching on the costume or the shine on his weapons can also enhance the texture and realism.
1 thought on “10 Easy Steps to Draw Deadpool Drawing”