Easy Scenery Drawing : Drawing a beautiful scenery is a delightful way to capture the essence of nature on paper. Whether you’re a beginner or an experienced artist, creating an easy scenery drawing can be both fun and relaxing.
In this guide, we’ll walk you through 10 simple steps to create a stunning nature-inspired drawing that you can be proud of.
Step 1: Gather Your Materials
To start, gather all the necessary materials. You’ll need a pencil, an eraser, a ruler, and some coloring tools such as crayons, colored pencils, or markers. Having a blank sheet of drawing paper is essential. If you’re drawing a village scene, having a reference image can be helpful.
| Materials Needed | Purpose |
|---|---|
| Pencil | For sketching the initial outline |
| Eraser | To correct any mistakes |
| Ruler | To create straight lines |
| Coloring Tools | To bring your drawing to life with colors |
| Drawing Paper | A blank canvas for your scenery |
Step 2: Start with the Horizon Line
Begin by drawing a horizontal line across the middle of your paper. This line represents the horizon, where the sky meets the land. This is the foundation of your easy scenery drawing.
Also Read : 10 easy steps to draw Pencil Nature Scenery Drawing
Step 3: Sketch the Basic Elements
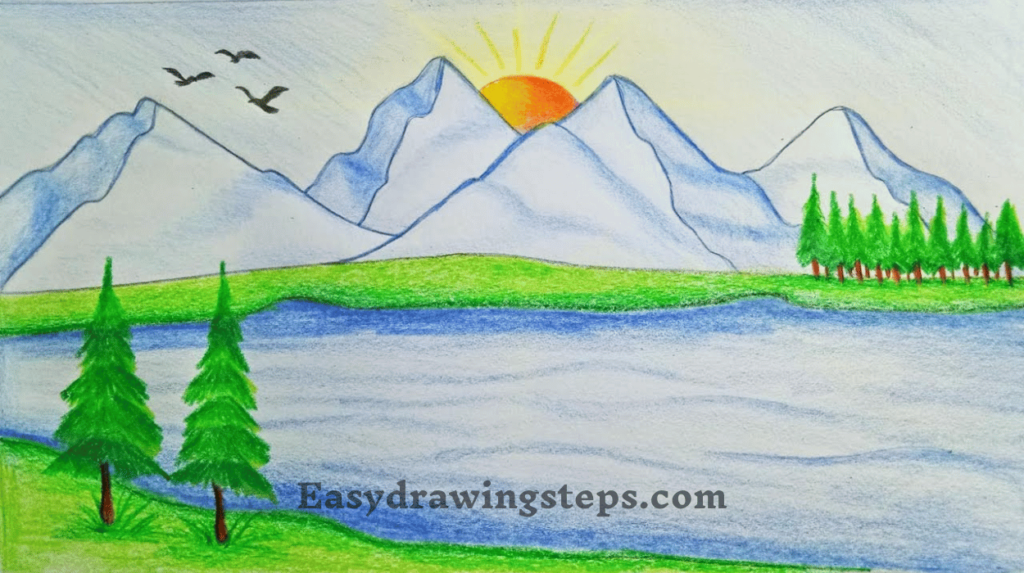
On the horizon line, sketch out the basic elements of your scenery. For a beautiful easy scenery drawing, consider adding mountains, trees, or a river. Keep your shapes simple and clean. If you’re creating an easy scenery drawing for kids, make the elements larger and more defined.

Step 4: Add Details to the Sky
Next, draw the sky above the horizon line. You can add clouds, a sun, or even a rainbow. For a nature beautiful easy scenery drawing, consider drawing a few birds flying across the sky. These small details will add depth to your drawing.
Also Read : 10 easy steps to draw Village Oil Pastel Scenery Drawing
Step 5: Draw the Foreground
In the foreground, below the horizon line, draw the elements that are closest to the viewer. This could be a path leading into the scene, some rocks, or flowers. If you’re creating a pencil easy scenery drawing, use shading to give these elements a realistic look.
Step 6: Add a Water Body
For a serene touch, consider adding a lake, pond, or river to your scenery. Draw the water body along the horizon line, reflecting the elements from the sky. This adds tranquility to your class 4 nature easy scenery drawing.
Also Read : 10 easy steps to draw Water Cycle Drawing
Step 7: Sketch a Village Scene (Optional)
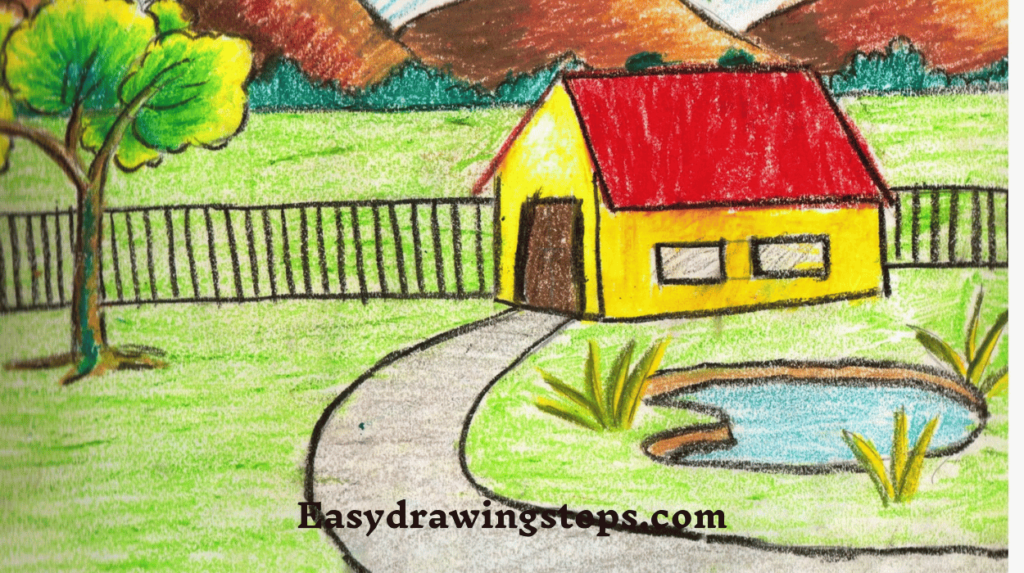
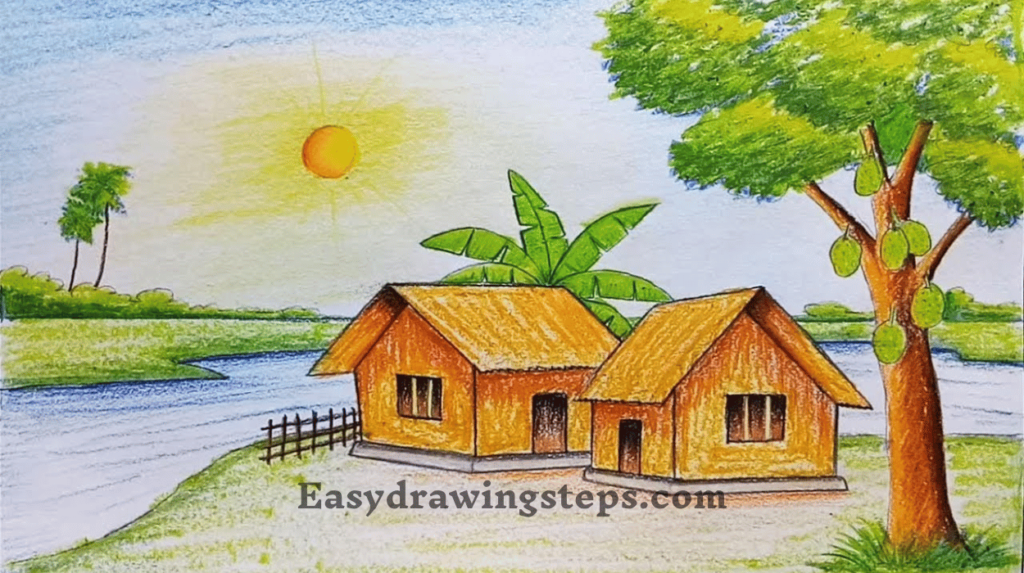
If you want to create a village nature easy scenery drawing, add small houses, huts, or a barn. Draw them on one side of the scenery, surrounded by trees or fields. This gives your drawing a charming and rustic feel.

Step 8: Refine Your Drawing
Go over your initial sketches with a darker pencil or pen to define the outlines. Erase any unnecessary lines and smooth out the details. This step helps in making your easy scenery drawing look more polished.
Also Read : 10 easy steps to draw Night Oil Pastel Scenery Drawing
Step 9: Add Colors
Now, it’s time to bring your drawing to life with colors. Use green for trees, blue for the sky, and brown for the mountains or path. For a village nature easy scenery drawing, use earthy tones to capture the rustic feel of the countryside.
| Element | Suggested Colors |
|---|---|
| Sky | Light blue, white (clouds) |
| Trees | Green, brown |
| Water Body | Blue, light gray (for reflections) |
| Village Houses | Brown, red (roofs) |
| Flowers | Bright colors like red, yellow, or purple |
Step 10: Final Touches
Finally, add any final touches to enhance your drawing. This could include adding shadows, highlighting certain areas, or adding more details to the foreground. Once you’re satisfied, your easy scenery drawing is complete!
Drawing a simple yet beautiful scenery is a wonderful way to practice your artistic skills. Whether it’s for a school project or just for fun, following these 10 easy steps will help you create a drawing that captures the essence of nature. From a peaceful village scene to a tranquil water body, each element adds to the overall beauty of your artwork. So grab your drawing materials and start creating your own masterpiece today!
Easy Scenery Drawing FAQ
What is the first step in starting an easy scenery drawing?
The first step in starting an easy scenery drawing is to gather all the necessary materials. These include a pencil for sketching, an eraser to correct any mistakes, a ruler to create straight lines, coloring tools like crayons or colored pencils to add vibrancy, and a blank sheet of drawing paper as your canvas. Having these materials ready ensures a smooth and organized drawing process.
How do you create a horizon line in your scenery drawing, and why is it important?
To create a horizon line in your scenery drawing, you simply draw a horizontal line across the middle of your paper. This line is crucial because it represents the point where the sky meets the land, providing a clear separation between these two elements. The horizon line serves as the foundation for your entire drawing, helping to organize the placement of other elements such as mountains, trees, and water bodies.
What elements can be added to the sky to enhance a nature scenery drawing?
To enhance a nature scenery drawing, adding details to the sky can make a significant difference. You can include elements like clouds, the sun, or even a rainbow to add a touch of vibrancy. Additionally, drawing birds flying across the sky or a few stars if it’s a night scene can contribute to the depth and beauty of the drawing. These sky elements help create a more dynamic and realistic scene.
How can shading be used in a pencil scenery drawing to make it more realistic?
Shading is a powerful technique in pencil scenery drawing that can add realism and depth to your artwork. By applying varying levels of pressure with your pencil, you can create shadows and highlights that give the elements in your drawing, such as trees, rocks, and water, a three-dimensional appearance. Shading helps to define the texture and contour of these elements, making your scenery look more lifelike and engaging.
What are some suggested colors to use for different elements in a scenery drawing?
In a scenery drawing, using the right colors can bring your artwork to life. For the sky, light blue combined with white for clouds works well. Trees are typically green for the leaves and brown for the trunk. A water body like a lake or river is best depicted in shades of blue, with light gray for reflections. Village houses can be colored with earthy tones, such as brown for the walls and red for the roofs, while flowers can be bright colors like red, yellow, or purple. These color choices help create a vibrant and visually appealing scenery drawing.


4 thoughts on “10 easy steps to draw Easy Scenery Drawing”