
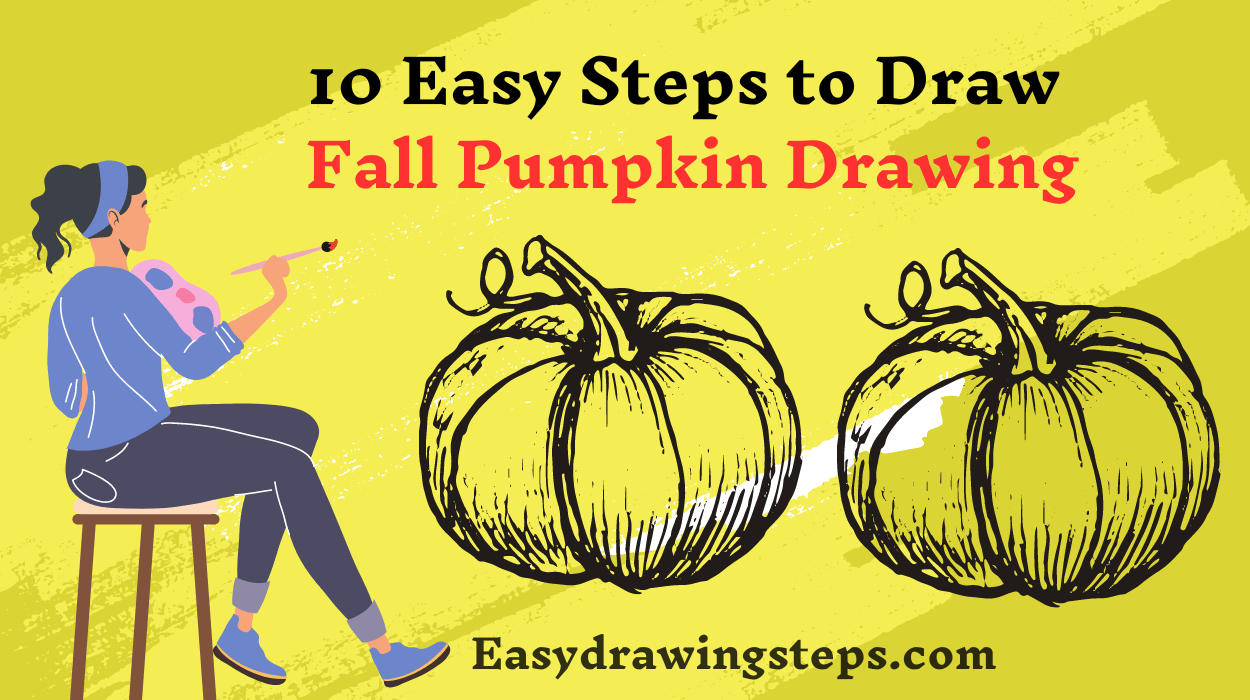
Fall Pumpkin Drawing : Fall is a season filled with cozy vibes, colorful leaves, and one of the most iconic symbols—pumpkins. Drawing a pumpkin can be a fun way to capture the essence of autumn.
Whether you’re looking to create a cute fall pumpkin drawing or are searching for fall pumpkin drawing ideas to inspire your art, this guide will help you break down the process into 10 easy steps.
From basic shapes to adding details and shading, you’ll be creating your own fall pumpkin masterpiece in no time!
Step 1: Gather Your Materials
Before starting your fall pumpkin drawing, gather the necessary materials. You’ll need a pencil for sketching, an eraser for corrections, paper, and coloring tools like markers, colored pencils, or crayons in autumn tones (orange, brown, green, and yellow). Having the right tools will make your drawing process smoother and more enjoyable.
Step 2: Start with a Simple Oval
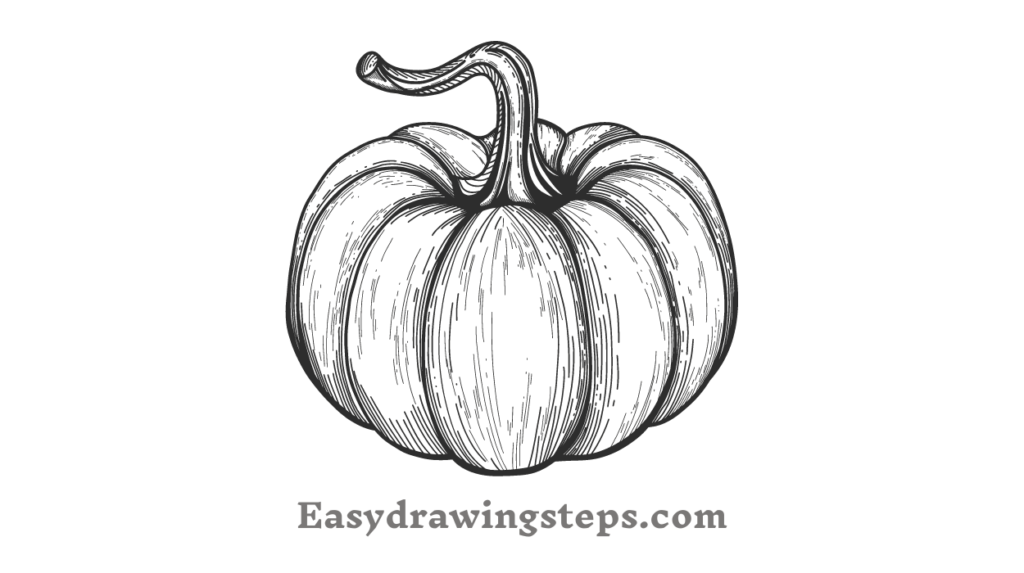
Begin by drawing a large oval shape in the center of your paper. This will serve as the base of your pumpkin. The oval doesn’t need to be perfect—it represents the round body of the pumpkin, which is naturally a bit irregular. Keeping it simple at this stage ensures that your fall pumpkin drawing easy and approachable.
Also Read : 10 Easy Steps to Draw Ganpati Bappa Drawing
Step 3: Add Vertical Segments
To give your pumpkin more structure, divide the oval into vertical segments. Draw light, curved lines from the top to the bottom of the oval to create the pumpkin’s ridges. These lines should curve slightly inward to mimic the natural shape of a pumpkin. This step will help define the classic pumpkin look and make your cute fall pumpkin drawing come to life.
Step 4: Sketch the Stem
Now, draw the pumpkin’s stem at the top. Start by drawing a short, curved line that extends upward from the top center of the pumpkin. The stem can be slightly crooked or textured, adding character to your drawing. You can experiment with different stem shapes depending on the style you’re going for, making this a fun way to play with fall pumpkin drawing ideas.
Step 5: Add Leaf and Vine Details
Pumpkins often have leaves and vines growing around them. To make your pumpkin drawing more detailed, add a few vines and leaves around the base of the stem. Draw some small, curly lines extending from the stem to represent the vines, and add simple leaf shapes to enhance the overall design. These extra elements will give your drawing a more natural, autumn feel.
Step 6: Refine the Outline
At this stage, go over your initial sketch to refine the outline of your pumpkin, stem, and vines. Make the lines more defined and erase any unnecessary guidelines. This step is crucial for cleaning up the drawing and preparing it for color. Your pumpkin’s structure should be clear and solid at this point.
Also Read : 10 Easy Steps to Draw Lord Ganesha Drawing
Step 7: Add Shading for Dimension
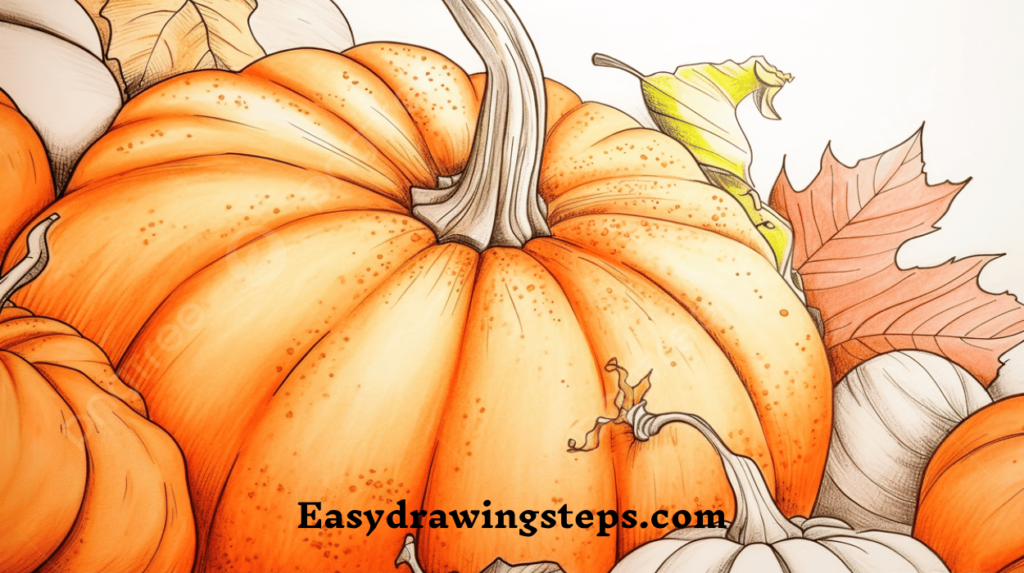
To make your fall pumpkin drawing look more realistic, add shading along the pumpkin’s ridges and stem. Use a darker shade of orange or brown to create shadows where the segments of the pumpkin meet. You can also lightly shade the base of the pumpkin to ground it. This will add depth and dimension, turning your simple sketch into a more polished artwork.
Step 8: Color the Pumpkin
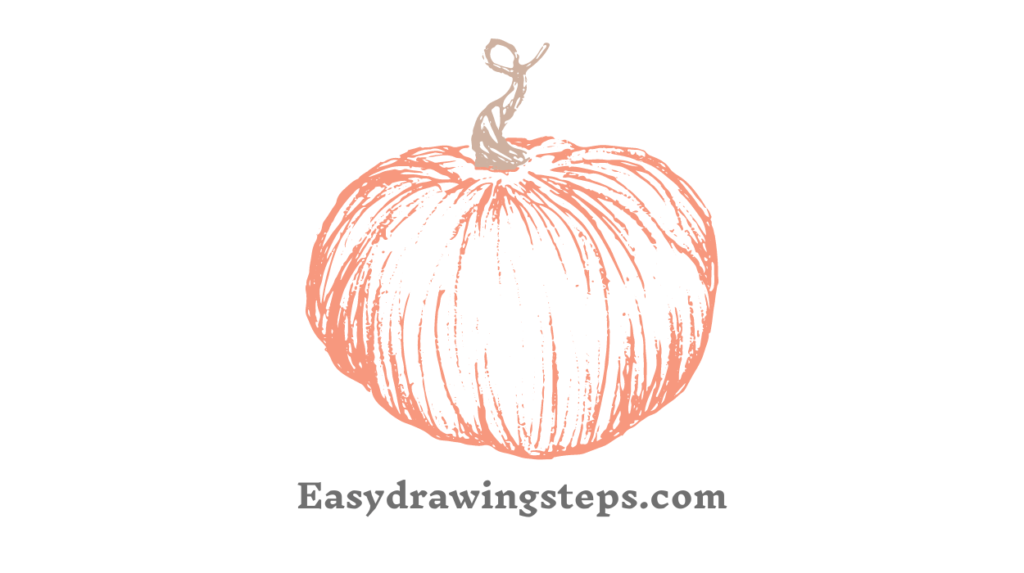
Now, it’s time to add color! Use a rich orange color for the pumpkin’s body, with darker shades near the ridges and lighter shades toward the middle of each segment to create a glowing effect. Color the stem using a mix of green and brown for a natural look. If you’ve added leaves or vines, color them in shades of green. Coloring is where your easy fall pumpkin drawing will start to take on a vibrant, autumnal appearance.
Also Read : Top 10 Ganpati Decoration Ideas in 2024 : Creative and Unique Inspirations for Your Festivities
Step 9: Add Highlights for a Final Touch
Once the basic colors are in place, add highlights to the pumpkin. You can use a lighter shade of orange or yellow to create soft highlights along the pumpkin’s ridges and the top of the stem. These highlights will make the pumpkin appear more three-dimensional, giving it a shiny and polished look. This small detail can make your cute fall pumpkin drawing stand out.
Step 10: Final Review and Adjustments
Take a step back and review your fall pumpkin drawing. Make any final adjustments to the colors, shading, or outlines as needed. If you want to experiment further, you can add a background with fall elements like leaves, acorns, or even additional pumpkins. This last step is all about personalizing your drawing to match your vision.
Drawing a fall pumpkin can be a fun and creative way to celebrate the season. By following these 10 easy steps, you can create your own beautiful pumpkin drawing, whether you’re aiming for a realistic design or a cute, cartoonish style.
From basic shapes to adding color and shading, these steps will guide you through creating a lovely fall pumpkin drawing that captures the warmth and coziness of autumn. Enjoy the process and let your creativity shine!
Fall Pumpkin Drawing FAQ
What materials do I need to draw a fall pumpkin?
To draw a fall pumpkin, you’ll need basic art supplies including a pencil for sketching, an eraser for corrections, and paper. For coloring, use colored pencils, markers, or crayons in autumn colors like orange, brown, green, and yellow. Optional tools like blending stumps or shading pencils can help add depth and texture to your drawing.
How do I start a simple fall pumpkin drawing?
Start your fall pumpkin drawing by sketching a large oval shape in the center of your paper. This oval will serve as the main body of the pumpkin. Once you have the basic shape, add vertical, curved lines to represent the ridges of the pumpkin. This simple approach helps establish the structure of your pumpkin drawing and makes the process easy to follow.
What are some easy techniques to make my pumpkin drawing look cute?
To make your pumpkin drawing look cute, focus on adding playful and exaggerated features. You can draw a slightly rounded or uneven oval for a whimsical touch, and use bright, cheerful colors. Adding a small, curved stem and simple leaf or vine details can enhance the cuteness. You might also consider adding a smiling face or other fun elements to give your pumpkin a charming personality.
How can I add dimension to my pumpkin drawing?
To add dimension to your pumpkin drawing, use shading techniques to create the appearance of depth. Apply a darker shade of orange along the ridges and in areas where the pumpkin would naturally cast shadows. Highlight the raised areas with lighter shades or a touch of yellow. Adding these shadows and highlights will make your pumpkin look more three-dimensional and realistic.
What are some creative ideas for a fall pumpkin drawing background?
For a creative fall pumpkin drawing background, consider adding elements that enhance the autumn theme. You could draw a ground covered with fallen leaves, a grassy area, or even a background of colorful autumn trees. For a more festive touch, you could include additional pumpkins or autumn decorations like acorns and corn stalks. These background elements will complement your pumpkin and create a more immersive autumn scene.
1 thought on “10 Easy Steps to Draw Fall Pumpkin Drawing”