
Free Fire Drawing : Free Fire, the popular battle royale game, has a vast array of characters, guns, and thrilling visuals that make it an exciting theme for drawing.
Whether you’re a fan of the game or simply want to practice your drawing skills, this guide will help you create a dynamic Free Fire drawing in 10 easy steps.
From characters like Cobra to iconic weapons, we’ll cover it all, making the process both fun and easy to follow.
Step 1: Outline the Character’s Face
Begin by drawing a rough oval shape for the face. This will serve as the base for your Free Fire character drawing. If you’re planning to sketch a specific character, like the Cobra, focus on proportion and basic guidelines for the head, keeping it dynamic with a slight tilt for a more action-oriented pose.
Step 2: Add Facial Features and Hair
Sketch the eyes, nose, and mouth, making sure to capture the intense expression commonly seen in Free Fire characters. For example, if you’re drawing a more dramatic figure like the Free Fire Joker, emphasize the sharp angles and exaggerated grin. Add spiky or tousled hair based on the character you’re drawing, giving them a fierce, battle-ready look.
Also Read : 10 Easy Steps to Draw Sarvepalli Radhakrishnan Drawing
Step 3: Draw the Body and Pose
Now, move on to the character’s body. Keep the posture dynamic—think of how Free Fire characters are often in action. You can sketch a character running, holding a gun, or jumping into battle. Start with basic shapes for the torso, arms, and legs, using light lines to map out the structure of the pose.
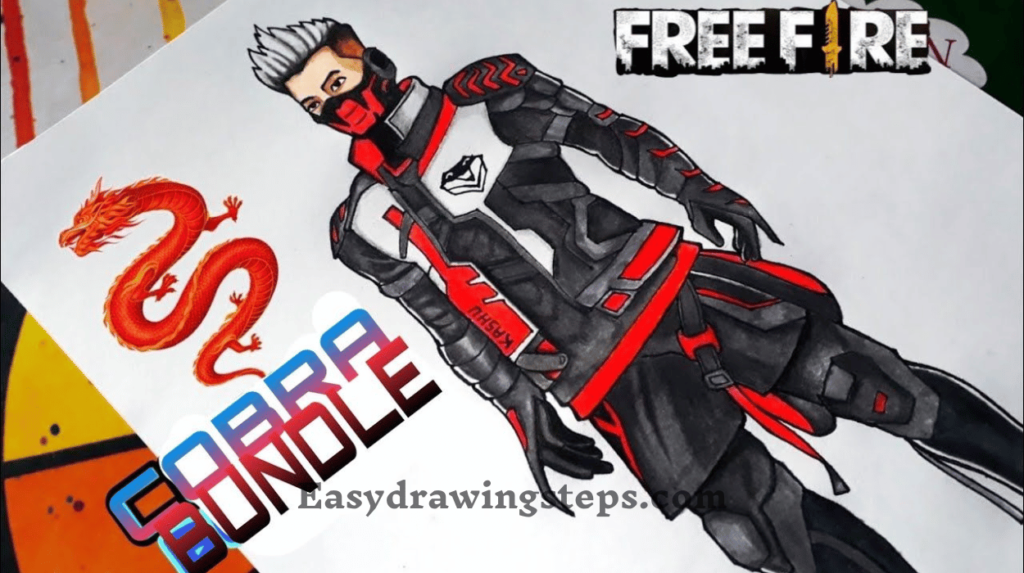
Step 4: Create the Cobra Costume Design
For fans of the Cobra Free Fire character, this step involves adding the signature armor and costume elements. Draw the sharp, angular shoulder pads, sleek body armor, and intricate details that resemble a cobra’s scales. The Cobra character’s design is both bold and sleek, so use fine lines to capture these details. You can keep it simple or add depth with layers of armor and textures.
Step 5: Add the Gun
A key element of a Free Fire drawing is the weapon. For a gun Free Fire drawing easy, begin by sketching a basic rifle or pistol. The shape should be proportional to the character’s body, with straight lines for the barrel and smaller details like the grip and trigger. You can also experiment with more intricate designs for futuristic or sniper rifles. Keep the perspective in mind—if the character is holding the gun in an action pose, draw the gun angled forward.
Step 6: Refine the Hands and Weapon Grip
Now focus on the hands gripping the weapon. Drawing hands can be challenging, but here, you can simplify it by using basic shapes like circles for knuckles and lines for fingers. Ensure that the hand holding the gun looks firm, with the finger placed on the trigger. This will make the action feel more realistic.
Also Read : 10 Easy Steps to Draw Grapes Drawing
Step 7: Add Accessories and Armor
In this step, enhance your drawing with accessories that define Free Fire characters. Add belts, utility pouches, and armor plates around the arms, legs, and waist. These details make the character look battle-ready and add a level of realism to your drawing. If you’re working on a Free Fire drawing Joker, incorporate playful yet dangerous elements like a mask or oversized clothing that reflects his unique personality.
Step 8: Sketch the Background
To make your Free Fire drawing stand out, create a simple background. You can draw a battleground, flames, or buildings in the distance. If you want to keep it simple, sketch a few action lines behind the character to give the illusion of movement. This will enhance the overall impact of your artwork.
Also Read : 10 Easy Steps to Draw Ganesh Chaturthi Drawing
Step 9: Add Shading and Depth
Shading is essential for bringing your Free Fire drawing to life. Use your pencil to add depth by shading areas like under the chin, around the armor plates, and along the sides of the gun. For a pencil Free Fire drawing, start with light shading and gradually darken areas to give a three-dimensional effect. The more detailed the shading, the more dynamic and lifelike your character will appear.
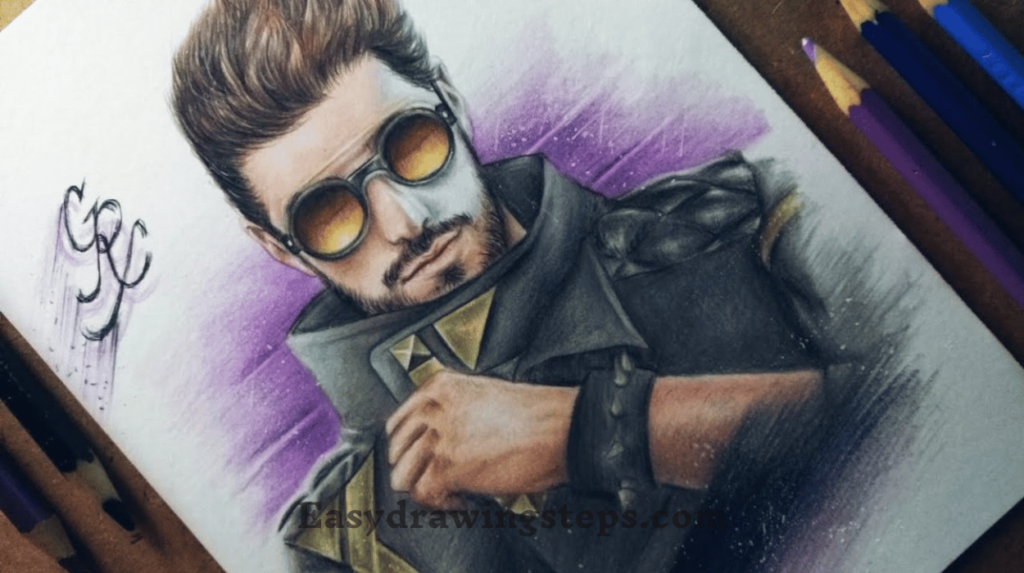
Step 10: Final Touches and Color (Optional)
Once you’ve completed your sketch, you can choose to add color. Use markers, colored pencils, or digital tools to bring the character to life. For a Cobra Free Fire drawing, bright reds, blacks, and silvers are great choices for the armor. If you prefer a pencil Free Fire drawing, leave it in black and white, but ensure that your shading adds enough contrast for the drawing to pop.
Free Fire Drawing Easy
- Drawing characters from Free Fire can seem challenging, but this guide breaks it down into manageable steps. Whether you’re a beginner or a seasoned artist, following this method makes it easy to sketch and enjoy the process. The focus is on keeping the design bold and simple, making it ideal for those looking for a quick and easy Free Fire drawing.
Pencil Free Fire Drawing
- For artists who love the simplicity of pencil work, a pencil Free Fire drawing can be deeply rewarding. By using different shading techniques, you can bring out the details in the character’s armor, weapons, and expression. Pencil drawings also allow you to create subtle textures that enhance the overall feel of the character without the need for color.
Cobra Free Fire Drawing
- One of the most iconic characters in the game is Cobra, known for his striking outfit and fierce battle stance. A Cobra Free Fire drawing requires special attention to his armor, helmet, and posture. Focus on capturing his agility and sharp features. The key to a successful Cobra drawing lies in adding detail to the armor’s scales and patterns, as well as his sleek, dangerous look.
Gun Free Fire Drawing Easy
- Free Fire is all about intense action, and a well-drawn gun adds excitement to the artwork. For a gun Free Fire drawing easy, start with a basic outline of a rifle or pistol and add minimal details like the barrel and trigger. The weapon should complement the character’s pose, making it look natural in their hands, whether they’re aiming or in mid-battle.
Free Fire Drawing Gun
- The gun in your Free Fire drawing can take many forms—from standard pistols to more complex sniper rifles. A Free Fire drawing gun is an exciting addition, offering the chance to experiment with various styles and perspectives. Make sure to pay attention to proportions and angles, especially if you’re drawing the gun up close or as a main feature of the drawing.
Free Fire Drawing Joker
- The Joker skin in Free Fire is a fan favorite, bringing a touch of chaos to the battlefield. Drawing this character involves adding quirky, yet menacing features. The face should have exaggerated expressions, like a large grin or wide eyes. A Free Fire drawing Joker lets you play with colors and clothing, adding a mix of fun and danger to the artwork. Consider adding extra details, like a playing card or jesters’ accessories, to enhance the theme.
By following these 10 steps, you’ll be able to create a stunning Free Fire drawing, whether it’s a character like Cobra, an action scene with guns, or even the playful yet dangerous Free Fire Joker. From easy outlines to detailed shading and vibrant colors, this guide helps you capture the intense, fast-paced world of Free Fire in your artwork. Grab your pencil, choose your character, and get ready to draw!
Free Fire Drawing FAQ
What is the best way to start a Free Fire drawing for beginners?
The best way to start a Free Fire drawing for beginners is by outlining the character’s basic shape, focusing on simple geometric forms for the head and body. Keep the pose dynamic, as Free Fire characters are often in action. Start with light pencil strokes to make it easy to adjust as you go.
How can I make my Free Fire drawing look more realistic?
To make your Free Fire drawing look more realistic, focus on adding shading and depth. Use light and dark shading to create contrast, especially around the character’s armor, face, and weapon. Pay attention to light sources to ensure shadows fall naturally, which enhances the 3D effect.
What character from Free Fire is easiest to draw?
The Cobra character is relatively easy to draw, especially if you focus on his bold armor and sleek design. The sharp lines of the armor and the minimal facial details make it a straightforward yet exciting choice for a Free Fire drawing.
How can I make my gun drawing in Free Fire look more dynamic?
To make your gun drawing look more dynamic, consider the angle and perspective. Draw the gun slightly angled or in motion to match the character’s action pose. Adding small details like the barrel, grip, and trigger will also make the gun look more realistic and complete.
What tools can I use to color my Free Fire drawing?
You can use a variety of tools to color your Free Fire drawing, such as colored pencils, markers, or digital tools like a drawing tablet. For characters like Cobra, bright reds and metallic tones work well, while for the Free Fire Joker, you can play with vibrant, playful colors like purples, greens, and reds.