
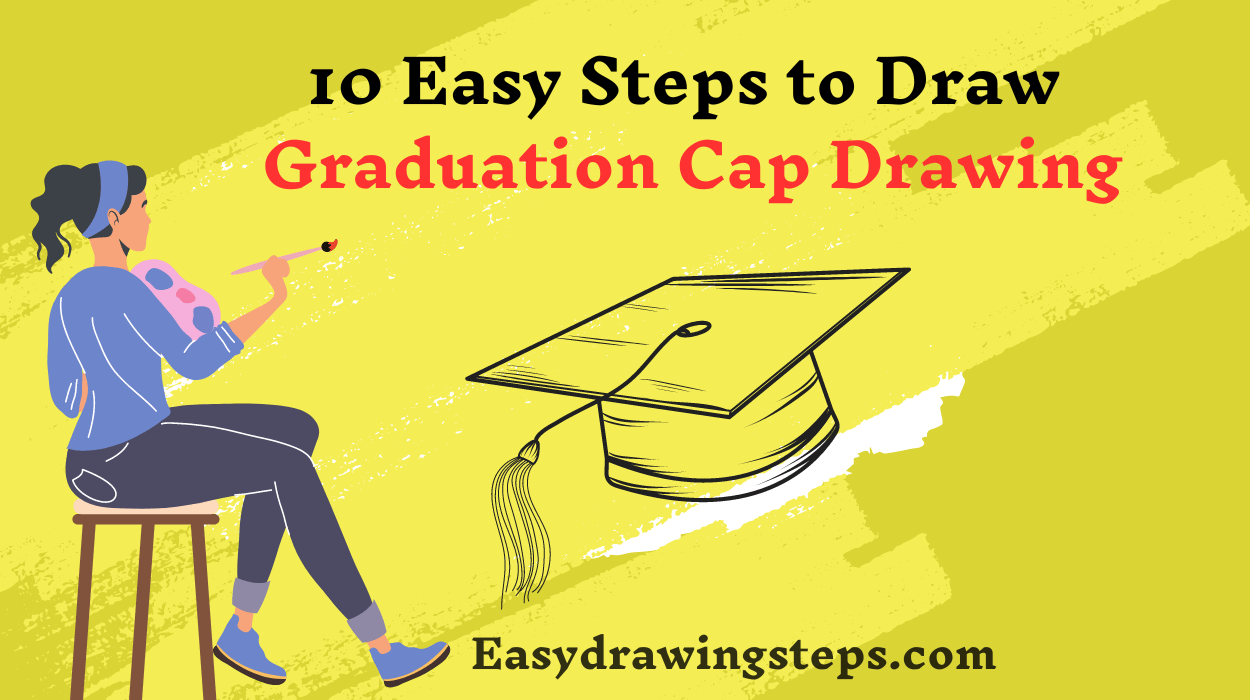
Graduation Cap Drawing : A graduation cap is a simple yet symbolic object, representing achievement and success. Drawing a graduation cap can be both fun and easy, especially if you follow step-by-step instructions.
This guide will help you draw a detailed, clean, and visually appealing graduation cap in just 10 simple steps.
Step 1: Gather Your Drawing Tools
Start by gathering your materials: a pencil, eraser, ruler, and drawing paper. If you want to add color later, you can have colored pencils or markers ready for the finishing touches.

Step 2: Draw the Top of the Cap
Begin by drawing a tilted square. The square should look like it’s lying flat but angled slightly to give the impression of perspective. This will be the top part of the graduation cap. Use a ruler to ensure the lines are straight, and make the square large enough to form the main focus of the cap.
Also Read : 10 Easy Steps to Draw Hindi Divas Drawing
Step 3: Add the Cap’s Base
Below the tilted square, draw a trapezoid to represent the base of the cap. The top of the trapezoid will be parallel to the bottom of the square, but slightly smaller in width. This will give the cap a 3D effect, showing that the square is resting on the base.
Step 4: Connect the Top and the Base
To make the graduation cap look more realistic, draw two vertical lines that connect the corners of the square to the trapezoid. These lines will represent the sides of the cap. Make sure they are angled properly to show the depth and perspective of the object.

Step 5: Add the Tassel Button
In the center of the top square, draw a small circle to represent the button that holds the tassel. This circle should be right in the middle of the square and relatively small in size. The tassel will be added in the next steps.
Step 6: Draw the Tassel String
Now, draw a straight or slightly curved line coming from the button to the side of the cap. This line represents the string of the tassel. Make it slightly wavy to give it a natural, hanging look.
Also Read : 10 Easy Steps to Draw Save Water Drawing
Step 7: Add the Tassel
At the end of the string, draw the tassel itself. This can be a small cluster of straight lines extending downward from the string. The tassel should be short and compact, giving the impression of thin strands hanging together.

Step 8: Refine the Shape
Go over your drawing and refine the shape of the graduation cap. Make sure the lines of the square, trapezoid, and tassel are clean and sharp. You can erase any rough lines or mistakes to make your drawing look more polished.
Also Read : 10 Easy Steps to Draw Hindi Diwas Drawing
Step 9: Add Details and Shading
To give your graduation cap drawing more dimension, you can add shading. Lightly shade under the square and around the sides of the trapezoid to create shadows. Add some light shading to the tassel as well, so it looks more realistic. If you’re keeping it simple, you can skip heavy detailing.
Step 10: Add Color (Optional)
If you want to make your drawing stand out, use color to complete your graduation cap. Most caps are black, but you can use dark blue, red, or any color you like. Color the cap, base, and tassel, and add highlights by leaving small areas white for a glossy finish. You can also experiment with different color combinations to make it more personalized.
Graduation Cap Drawing Easy
- Drawing a graduation cap can be an easy process if you focus on the basic shapes—a square for the top and a trapezoid for the base. By breaking it down into simple geometric forms, the drawing becomes manageable and clear, even for beginners.
Cute Graduation Cap Drawing
- To make the graduation cap drawing look cute, you can add small details such as a rounded tassel, a colorful design, or even a face on the cap. Adding soft lines and playful elements like a smiling face can give the drawing a fun and charming appeal, perfect for kids or light-hearted projects.
Easy Graduation Cap Drawing
- Creating an easy graduation cap drawing is all about keeping it simple. Focus on the main structure, using minimal lines for the top square, base, and tassel. Skip overcomplicating the details and shading if you’re looking for a fast, easy sketch.
Outline Graduation Cap Drawing
- If you prefer to work with outlines, drawing the graduation cap in simple lines can create a clean, graphic image. Outline the square, base, and tassel, making sure the lines are sharp and clear. This type of drawing works well for coloring pages, posters, or basic designs where a clear silhouette is needed.
Graduation Cap Drawing with Color
- Adding color to your graduation cap drawing will give it life and vibrancy. Use dark tones like black or blue for the cap itself, and brighter colors for the tassel, depending on your personal style. Adding colored shading and highlights will help the cap look more dimensional and polished.
Simple Graduation Cap Drawing
- A simple graduation cap drawing can be done in just a few steps by focusing on the essential shapes: a tilted square, a trapezoid for the base, and a string with a tassel. You can skip heavy detailing and shading, making it a quick and effective drawing that still looks complete.
By following these 10 easy steps, you’ll have a graduation cap drawing that’s well-proportioned, clean, and visually appealing. Whether you’re making a simple sketch or a more detailed piece with shading and color, this guide breaks it down into manageable parts for artists of all levels.
Graduation Cap Drawing FAQ
What are the basic shapes needed to draw a simple graduation cap?
To draw a simple graduation cap, you primarily need a tilted square for the top of the cap and a trapezoid for the base. You’ll also add a circle in the center of the square for the tassel button and a string with a tassel hanging from it.
How can I make my graduation cap drawing look more realistic?
To make your graduation cap drawing look more realistic, focus on adding shading to give the cap a sense of depth. You can shade the underside of the square, the sides of the trapezoid, and add small shadows around the tassel. Clean lines and attention to perspective also help in achieving a realistic look.
What colors are commonly used when coloring a graduation cap drawing?
Graduation caps are typically colored in dark shades like black or navy blue. However, you can personalize it by using any color you prefer. The tassel is often a contrasting or bright color, like gold or red, to stand out against the cap.
How can I make my graduation cap drawing cute or fun?
To make your graduation cap drawing cute, you can add playful details such as a smiling face on the cap, a colorful or oversized tassel, or use bright, fun colors. Soft, rounded lines instead of sharp, straight edges can also make the drawing appear more charming and whimsical.
What’s the best way to draw a simple outline of a graduation cap?
Start by drawing the tilted square for the top and a trapezoid for the base. Connect the two shapes with straight lines. Then, add a small circle in the middle of the square for the tassel button and draw a simple string with a tassel hanging from it. Keep the lines clean and sharp for a clear outline drawing.
1 thought on “10 Easy Steps to Draw Graduation Cap Drawing”