
Headphone Drawing : Drawing a pair of headphones can be both fun and easy, especially when you follow a step-by-step process.
Headphones have a simple yet distinct structure, making them a great subject for beginner artists and even those with more experience.
In this guide, we’ll walk you through 10 easy steps to create a headphone drawing that’s clear, proportional, and visually appealing.
Step 1: Gather Your Drawing Materials
Before you start, gather all your drawing supplies. You’ll need a pencil, an eraser, a ruler, and drawing paper. If you plan to add color later, have colored pencils or markers ready.
Step 2: Draw the Headband
Start by drawing the headband of the headphones. The headband is a curved line, shaped like an upside-down “U.” Ensure that the curve is smooth and balanced. This will form the upper structure of your headphones, connecting the ear cups.
Also Read : 10 Easy Steps to Draw Save Water Drawing
Step 3: Sketch the Ear Cups
At both ends of the headband, draw two circular or oval shapes to represent the ear cups. These should be about the same size and symmetrically placed. The ear cups are the padded areas that rest over the ears, so make them large enough to be comfortable in proportion to the headband.
Step 4: Add Depth to the Ear Cups
Next, draw a smaller circle or oval inside each ear cup to create the padded part of the headphones. This will add a sense of depth to your drawing. You can lightly shade or detail the inner circle to show texture or padding.
Step 5: Connect the Headband to the Ear Cups
Now, draw a line or small curve connecting the ear cups to the headband on each side. This small detail represents the joints where the ear cups are attached to the headband and adds realism to your headphone drawing.
Step 6: Add Detail to the Headband
To make the headband more realistic, add two parallel lines inside the curve of the headband. These lines represent the thickness and padding of the headband. You can shade these areas lightly to give the headband a soft, cushioned look.
Also Read :10 Easy Steps to Draw Kathakali Drawing
Step 7: Draw the Cable (Optional)
If you want to include a headphone cable, you can add it at this stage. Start from one of the ear cups and draw a thin, wavy line extending downwards. The cable can be as simple or as detailed as you like, depending on whether you’re drawing wired headphones or wireless ones.
Step 8: Add Details to the Ear Cups
Now, add any extra details you want on the ear cups, like volume controls, brand logos, or design elements. If you’re drawing gaming headphones, you might add a microphone extending from one of the ear cups. For simple headphones, keep the details minimal and clean.
Also Read : 10 Easy Steps to Draw Sunset Drawing
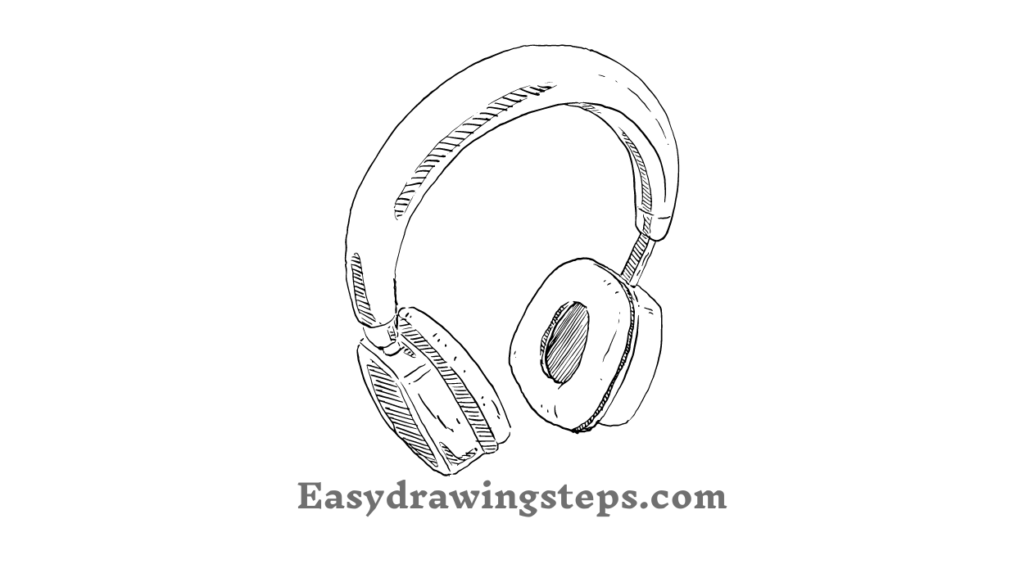
Step 9: Refine the Drawing
Go over your drawing and refine the lines. Use an eraser to clean up any rough or overlapping lines. This is also a good time to add shading to give your headphones a 3D effect. Lightly shade under the ear cups and headband to show where light and shadow would naturally fall.
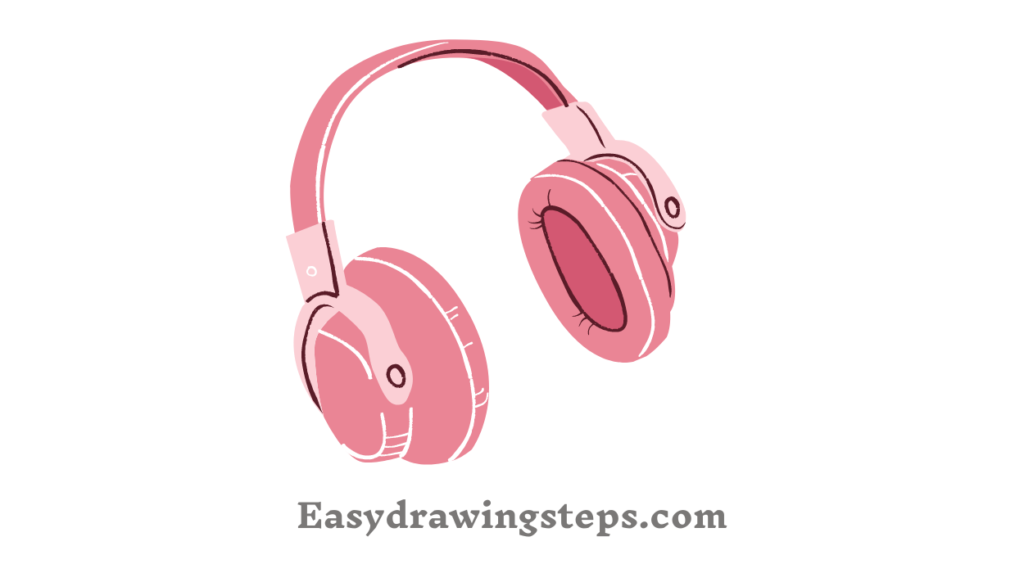
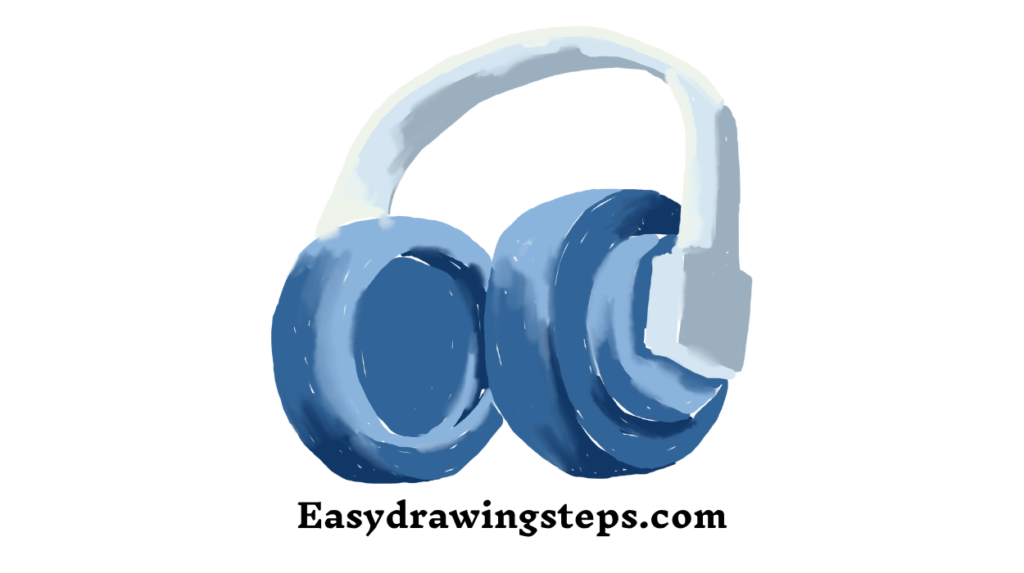
Step 10: Add Color (Optional)
If you want to add color to your drawing, now is the time! Use bold colors like black, red, or blue for gaming headphones, or softer tones for simpler styles. You can use colored pencils, markers, or even watercolors depending on your preference. Make sure to add shadows and highlights to enhance the look of the headphones.
Headphone Drawing Easy
- Creating a headphone drawing can be easy if you break it down into simple shapes. Focus on drawing smooth curves for the headband and ear cups, and don’t worry too much about intricate details. The simpler the design, the easier the process will be, especially for beginners.
Drawing Headphone Drawing
- When drawing headphones, focus on getting the proportions right between the headband and the ear cups. This balance will help your drawing look realistic and well-structured. You can experiment with different styles, whether it’s regular headphones or specialized gaming headphones.
Easy Headphone Drawing
- An easy headphone drawing can be achieved by focusing on clean lines and basic forms. Use minimal detailing and focus on the main elements like the headband, ear cups, and any minor details. This approach ensures the drawing looks clear and not overly complicated.
Headphone Drawing Reference
- When drawing headphones, it can be helpful to have a reference image. This could be a photo of real headphones or a picture of gaming headphones. Use the reference to guide the proportions, shapes, and details in your drawing, especially if you want to draw a more realistic or stylized version.
Gaming Headphone Drawing
- Gaming headphones often have more intricate designs than regular ones. They may include additional elements like microphones, volume control buttons, and bold, angular shapes. Use sharp lines and darker colors to emphasize the gaming style, and add features that make them stand out, like illuminated logos or sleek, modern curves.
Simple Headphone Drawing
- A simple headphone drawing focuses on the basic structure without complex details. It’s a great starting point for beginners or for those who want a quick and easy sketch. Simple lines and clear forms will ensure that your headphones look neat and easy to draw.
By following these 10 easy steps, you can draw a pair of headphones with ease, whether they are simple or detailed, wired or wireless, or even gaming-specific. This method will help you focus on the structure and design, resulting in a clear and well-proportioned drawing.
Headphone Drawing FAQ
What are the basic steps to draw a simple pair of headphones?
To draw a simple pair of headphones, start with the headband, which is a curved line like an upside-down “U.” Then, draw two circles or ovals at the ends of the headband to represent the ear cups. Add smaller circles inside the ear cups for depth. Connect the ear cups to the headband with short lines, refine the drawing, and add any details like a cable or volume controls.
How can I make a headphone drawing look more realistic?
To make your headphone drawing look realistic, focus on proportion, shading, and depth. Use shading techniques to add dimension to the ear cups and headband. You can also include realistic details like padded areas, volume controls, and even a cable if you’re drawing wired headphones. Pay attention to light sources and add shadows where needed.
How do I add details to gaming headphones in a drawing?
Gaming headphones often have unique designs, so you can add details like a microphone attached to one ear cup, bold lines or angular shapes, and buttons for volume control. You can also include stylized logos or glowing elements. Using sharp, clean lines and vibrant colors will make your gaming headphone drawing stand out.
What materials are best for coloring a headphone drawing?
You can use colored pencils, markers, or even watercolors to color your headphone drawing. Colored pencils work great for detailed shading, while markers are good for bold, solid colors. Watercolors can create a softer look. For gaming headphones, using vibrant and bold colors can give them a sleek and modern appearance.
How can I simplify a headphone drawing for beginners?
To simplify a headphone drawing, focus on the basic shapes: a curved line for the headband and two circles for the ear cups. Avoid adding too many details or shading. Keep the design clean and clear, with minimal extra elements. This will help beginners create a balanced and visually appealing headphone drawing without overcomplicating it.
1 thought on “10 Easy Steps to Draw Headphone Drawing”