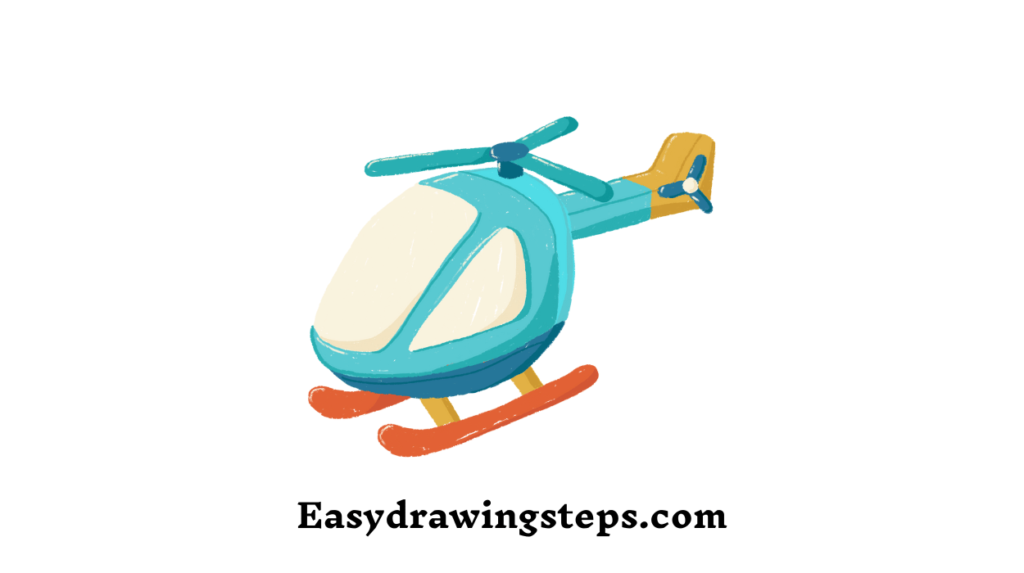
Helicopter Drawing : Drawing a helicopter can be a fun and educational activity, especially for kids and beginners.
Here’s a detailed guide on how to draw a helicopter in 10 easy steps, making sure to keep it simple and engaging.
Step 1: Draw the Fuselage
Start by drawing the main body of the helicopter, also known as the fuselage. This is typically an oval or elongated shape, slightly tilted upwards at the back.
Step 2: Add the Tail Boom
Next, draw a long, thin rectangle extending from the back of the fuselage. This is the tail boom, which connects the main body to the tail rotor.
Also Read : 10 easy steps to draw Pineapple Drawing
Step 3: Sketch the Cockpit
At the front of the fuselage, draw a smaller oval or rounded rectangle to represent the cockpit. This is where the pilot sits.

Step 4: Draw the Main Rotor Mast
On top of the fuselage, draw a short vertical line. This is the main rotor mast, which will hold the rotor blades.
Also Read : 10 easy steps to draw Harela Drawing
Step 5: Add the Rotor Blades
Draw two long, straight lines extending from the top of the rotor mast. These are the main rotor blades. They should be slightly curved to give a sense of movement.

Step 6: Draw the Tail Rotor
At the end of the tail boom, draw a small circle with two lines extending from it. This is the tail rotor, which helps stabilize the helicopter.
Also Read : 10 easy steps to draw Harela Drawing
Step 7: Add the Landing Skids
Underneath the fuselage, draw two curved lines that run parallel to the body. These are the landing skids, which help the helicopter land safely.
Step 8: Outline and Refine
Go over your sketch with a darker pencil or pen to define the outline of the helicopter. Erase any unnecessary lines to clean up your drawing.
Also Read : 10 easy steps to draw APJ Abdul Kalam Drawing
Step 9: Add Details
Add details like windows, doors, and any other features you want to include. This will give your helicopter more character and realism.
Step 10: Colour Your Drawing
If you want to add colour to your helicopter drawing, use crayons, coloured pencils, or markers. Choose colours that make your helicopter look vibrant and realistic. For example, you can use grey or black for the body, blue for the windows, and red or yellow for the rotor blades.
Helicopter Drawing for Kids
- For kids, keep the shapes simple and the lines clear. Encourage them to use bright colours and to be creative with the design of their helicopter.
Helicopter Drawing Easy
- To make the drawing process easier, use basic geometric shapes like ovals, rectangles, and circles. Focus on the overall shape rather than intricate details.
Helicopter Drawing with Colour
- Adding colour to your helicopter drawing can bring it to life. Use contrasting colours for different parts of the helicopter to make it stand out.
Easy Helicopter Drawing
- Simplify the helicopter by focusing on the most recognizable features, such as the fuselage, rotor blades, and landing skids. Avoid overcomplicating the drawing with too many details.
Easy Simple Helicopter Drawing
- For a very simple helicopter drawing, use minimal lines and shapes. A basic outline with a few key features can still look impressive and be a great starting point for beginners.
By following these 10 easy steps, you can create a helicopter drawing that looks great and is fun to make. Whether you’re drawing for kids or just starting out yourself, these tips will help you along the way.
FAQ
What are the basic shapes used in drawing a helicopter?
The basic shapes used in drawing a helicopter include ovals or elongated shapes for the fuselage, rectangles for the tail boom and landing skids, circles for the tail rotor, and straight lines for the rotor blades. Using these simple geometric shapes helps in creating the basic structure of the helicopter.
How can I make a helicopter drawing easy for kids?
To make a helicopter drawing easy for kids, simplify the shapes and focus on the most recognizable features of the helicopter. Use large, clear lines and encourage kids to use bright colours. Step-by-step guidance with basic shapes like ovals, rectangles, and circles can make the process more manageable for young artists.
What is the importance of the rotor blades in a helicopter drawing?
The rotor blades are crucial in a helicopter drawing because they are one of the most distinctive features of a helicopter. They give the helicopter its unique appearance and are essential for indicating movement. Drawing them slightly curved can add a sense of motion and realism to the artwork.
How do you add details to a helicopter drawing to make it more realistic?
To add details and make a helicopter drawing more realistic, include features such as windows, doors, and the cockpit. You can also add small elements like the tail rotor, landing skids, and any markings or designs on the helicopter’s body. These details help enhance the overall look and make the drawing more lifelike.
What are some tips for colouring a helicopter drawing?
When colouring a helicopter drawing, use contrasting colours for different parts to make it stand out. For instance, you can use grey or black for the fuselage, blue for the windows, and red or yellow for the rotor blades. Bright and vibrant colours can make the drawing more appealing, especially for kids. Additionally, shading can be used to add depth and dimension to the drawing.


