
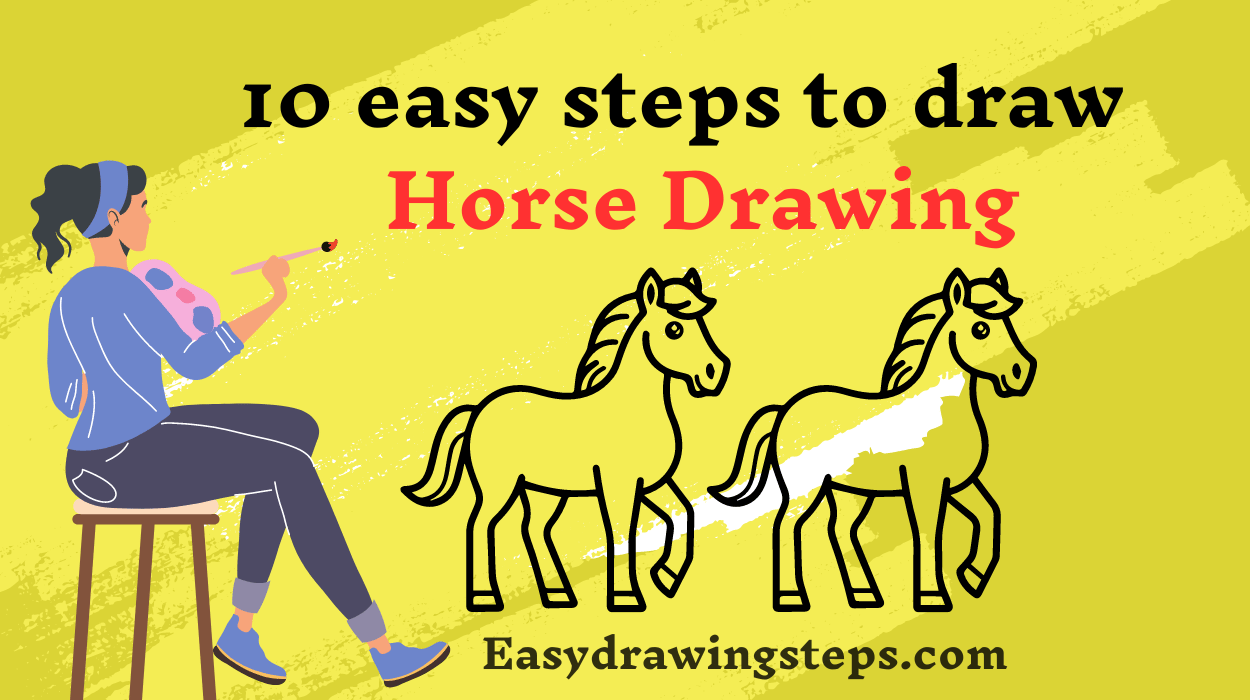

Horse Drawing ; Drawing a horse can be a fun and rewarding experience. Whether you’re a beginner or helping a child learn to draw, this guide will walk you through the process in 10 easy steps.
Step 1: Draw the Head
Start with a large oval shape tilted slightly for the horse’s head. This will serve as the foundation for the facial features.
Also Read : 10 easy steps to draw Rabbit Drawing
Step 2: Add the Neck
From the head, draw a long, curved line downwards for the neck. This line should be slightly curved to give the neck a natural look.
Step 3: Sketch the Body
Draw a larger oval below the neck for the body. The body should be positioned horizontally and be significantly larger than the head to reflect the horse’s proportions.
Also Read : 10 easy steps to draw House Drawing
Step 4: Draw the Ears
Add two small, pointed ovals on top of the head for the ears. Position them symmetrically on each side of the head.
Step 5: Outline the Legs
Sketch four long, straight lines extending down from the body for the legs. Make sure to give the front legs a slight bend at the knees.
Also Read : 10 easy steps to draw Diwali Drawing
Step 6: Add the Hooves
Draw small rectangular shapes at the bottom of each leg for the hooves. Each hoof should be flat at the bottom and slightly rounded at the top.
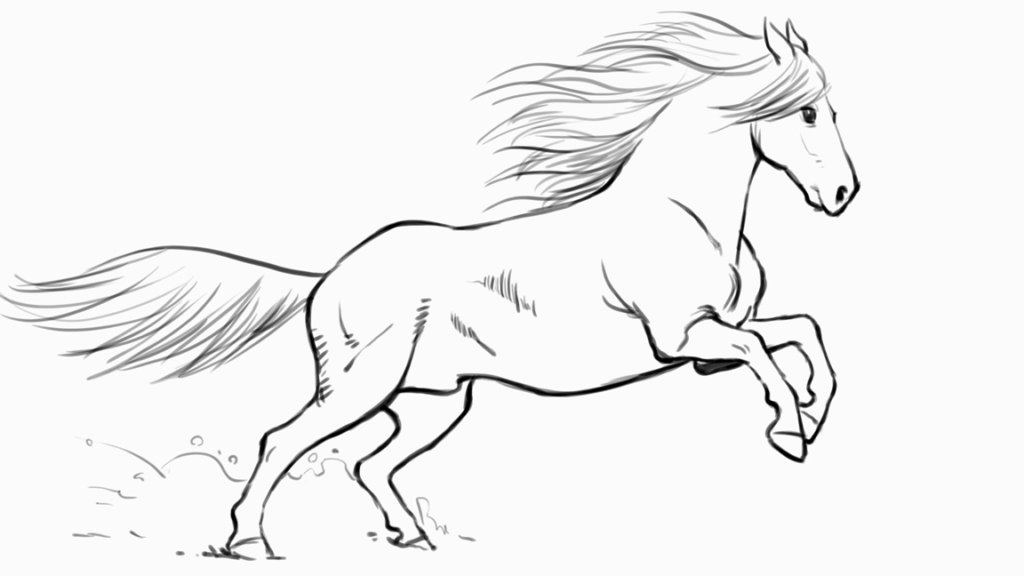
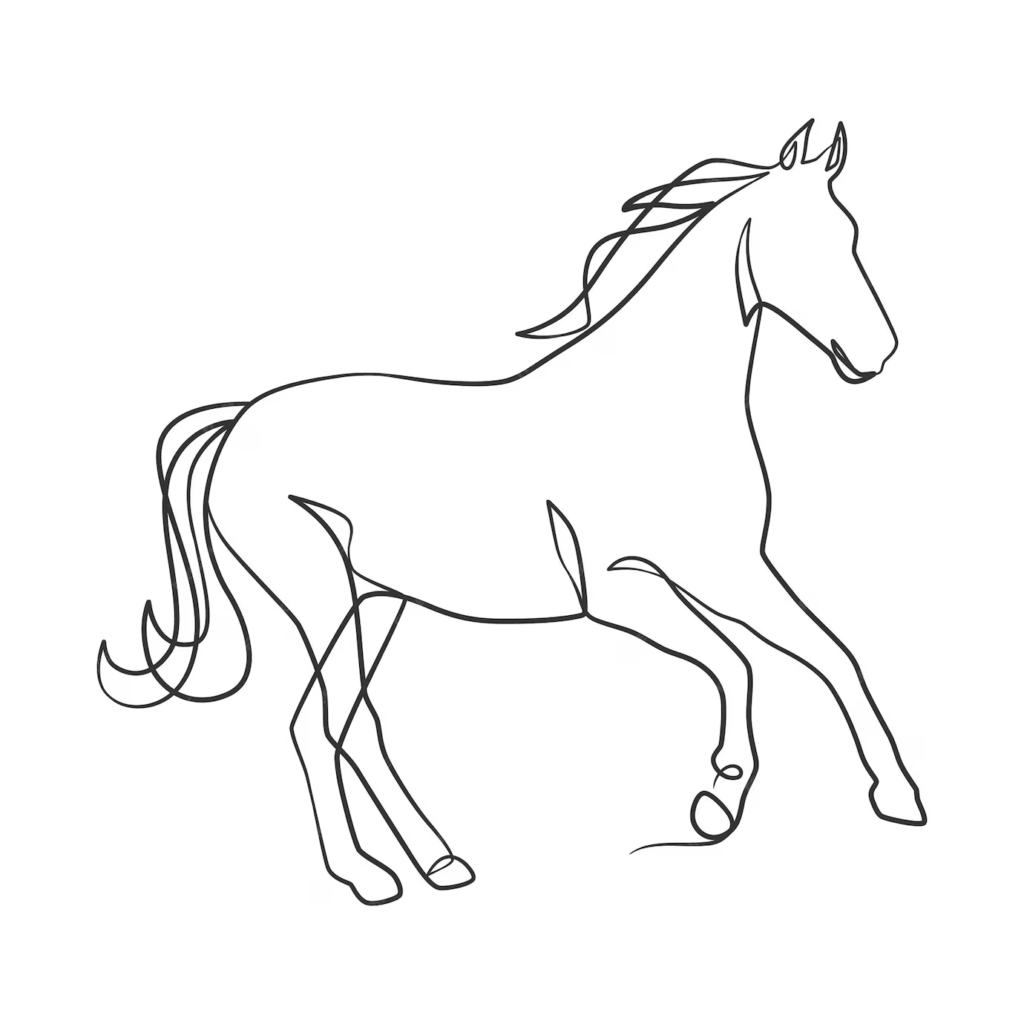
Step 7: Create the Mane and Tail
Draw flowing lines from the top of the head down the neck for the mane. Add a long, flowing tail starting at the back of the body. The mane and tail can be as detailed or simple as you like.
Also Read : 10 easy steps to draw Bird Drawing
Step 8: Draw the Eyes, Nose, and Mouth
Add a small circle for the eye on the head. Draw a curved line for the nostril and a short line for the mouth below the nose.
Step 9: Add Details
Enhance your horse drawing by adding details such as muscle lines on the body, shading on the mane and tail, and a few lines to indicate joints on the legs.
Also Read : 10 easy steps to draw Pokemon Drawing
Step 10: Color Your Horse
Finally, bring your horse to life with color. Use shades of brown, black, white, or any color you prefer. Add highlights and shadows to give your horse a three-dimensional look.
- Horse Drawing Easy: This tutorial simplifies the process of drawing a horse into easy-to-follow steps, making it accessible for beginners. Each step builds on the previous one, ensuring that the drawing process is straightforward and manageable.
- Horse Drawing for Kids: Designed with kids in mind, this guide breaks down the drawing process into simple shapes and lines that are easy for children to replicate. The instructions are clear and concise, making it a perfect activity for young artists.
- Sea Horse Drawing: While this tutorial focuses on drawing a land horse, a sea horse drawing follows a similar step-by-step approach. Sea horses have unique shapes, so when drawing one, start with a curled body shape and add small fins and a distinctive head to capture their unique appearance.
- Easy Horse Drawing: This keyword emphasizes that the drawing process is uncomplicated and suitable for anyone, regardless of their drawing experience. The steps are designed to be intuitive and stress-free, allowing for an enjoyable drawing experience.
By following these steps and understanding the keywords, you can create a beautiful horse drawing that is both easy and enjoyable.
Whether you’re drawing with kids or exploring your artistic abilities, this guide will help you produce a stunning piece of art.
FAQ
What are the basic shapes used to start a horse drawing?
To start a horse drawing, you typically use basic shapes like ovals and rectangles. An oval is used for the head, a larger oval for the body, and rectangles or elongated ovals for the legs. These basic shapes help in outlining the overall structure of the horse, making it easier to add details and refine the drawing.
How can you make a horse drawing look realistic?
To make a horse drawing look realistic, focus on proportions and details. Pay attention to the anatomical features of the horse, such as the muscle structure, joints, and the flow of the mane and tail. Use shading to add depth and dimension, highlighting the muscles and contours of the horse’s body. Additionally, observe real horses or reference photos to capture accurate details.
What are some tips for drawing horse legs correctly?
When drawing horse legs, it’s important to note the structure and joints. Start with long, straight lines for the basic leg shape, and add bends at the knee and hock to show the joints. The front legs should have a slight forward bend at the knee, and the hind legs should show a more pronounced bend at the hock. Remember to add hooves at the bottom, making sure they are proportionate to the legs.
How do you draw a horse’s mane and tail to make them look natural?
To draw a horse’s mane and tail naturally, use long, flowing lines to represent the strands of hair. The mane should follow the curve of the neck, and the tail should flow smoothly from the body, often appearing slightly wavy or curly. Vary the thickness and direction of the lines to create a realistic texture. Adding shading and highlights can also give the mane and tail a more three-dimensional look.
What are some common mistakes to avoid when drawing a horse?
Common mistakes to avoid when drawing a horse include incorrect proportions, such as making the head too large or the legs too short. Another mistake is not properly aligning the legs and hooves, which can make the horse look unbalanced. Avoid drawing the mane and tail with stiff, uniform lines; instead, use varied, flowing strokes. Additionally, neglecting to add muscle definition and shading can result in a flat and unrealistic drawing. Observing real horses and using reference images can help avoid these mistakes.
4 thoughts on “10 easy steps to draw Horse Drawing”