

Iron Man Drawing : The iconic Marvel superhero, is a popular character known for his sleek armor and powerful presence.
Drawing Iron Man can be a thrilling experience, whether you’re a beginner or an experienced artist.
In this guide, we’ll walk you through 10 easy steps to create your own Iron Man drawing, suitable for all skill levels.
Step 1: Gather Your Supplies
Before you begin, gather your drawing supplies. You’ll need paper, a pencil, an eraser, and your choice of coloring tools such as markers, colored pencils, or crayons.
Also Read : 10 easy steps to draw Tanjiro Drawing
Step 2: Reference Image
Find a reference image of Iron Man to use as a guide for your drawing. This will help you understand the character’s proportions and details as you work.
Step 3: Basic Outline
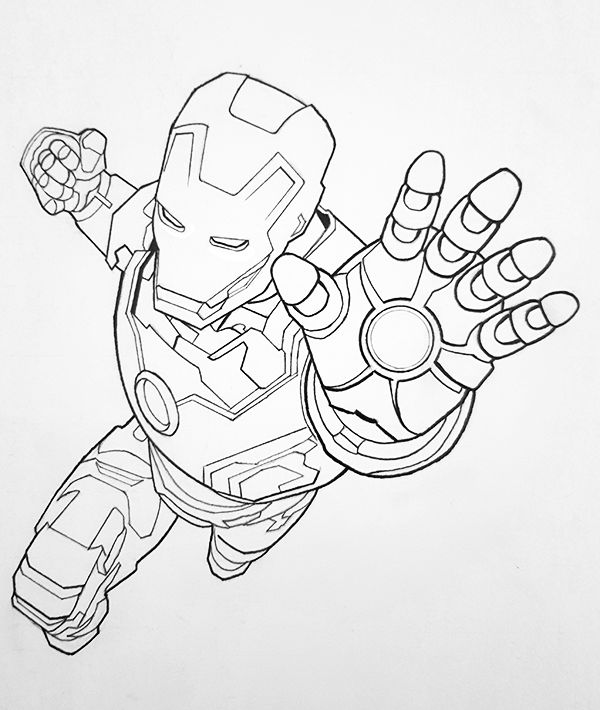
Start by lightly sketching the basic outline of Iron Man’s body. Begin with the head, torso, and limbs, focusing on capturing the overall shape and proportions.
Also Read : 10 easy steps to draw Boy Drawing
Step 4: Add Details
Once you have the basic outline, start adding details to Iron Man’s armor. Pay attention to features like the arc reactor in the chest, the lines and contours of the armor plates, and any additional gadgets or accessories.
Step 5: Sketch the Faceplate
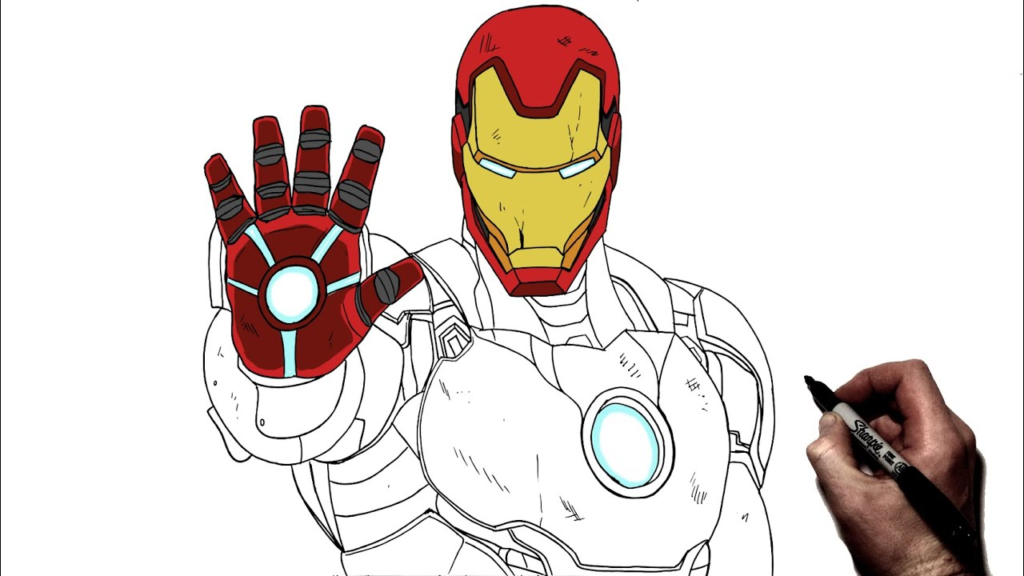
Sketch Iron Man’s faceplate, paying attention to the shape and placement of the eyes, nose, and mouth. Use curved lines to convey the sleek and futuristic look of the helmet.
Also Read : 10 easy steps to draw Anime Boy Drawing
Step 6: Refine the Armor
Refine the details of Iron Man’s armor, adding depth and texture to make it look more realistic. Use shading and cross-hatching to create the appearance of metallic surfaces and shadows.
Step 7: Draw the Limbs
Sketch Iron Man’s arms and legs, paying attention to the placement of joints and muscles. Add details like the repulsor gauntlets on the hands and the thrusters on the boots.
Also Read : 10 easy steps to draw Still Life Drawing
Step 8: Add Coloring (Optional)
If you choose to color your drawing, use your chosen coloring tools to fill in Iron Man’s armor. Stick to the classic red and gold color scheme, or get creative and experiment with different colors and patterns.
Step 9: Final Touches
Go over your drawing and make any final adjustments or corrections. Erase any stray lines and refine the details to ensure your drawing looks polished and complete.
Also Read : 10 easy steps to draw Mandala Drawing
Step 10: Sign Your Work
Once you’re satisfied with your Iron Man drawing, don’t forget to sign your name in the corner to add a personal touch and claim your masterpiece!
Iron Man Drawing Easy
Drawing Iron Man can be made easy by following these step-by-step instructions. Start with a basic outline, add details to the armor, sketch the faceplate, refine the features, draw the limbs, add coloring if desired, and make final touches.
Full Body Iron Man Drawing
For a full body Iron Man drawing, start by sketching the entire figure, including the head, torso, arms, and legs. Add details to the armor and faceplate, paying attention to proportions and symmetry.
Sketch Iron Man Drawing
Sketching Iron Man involves lightly outlining the basic shapes and features before adding details and refining the drawing. Use reference images to help capture the character’s likeness and personality.
Pencil Iron Man Drawing
Using a pencil allows for flexibility and ease of correction when drawing Iron Man. Start with light lines and gradually build up the details and shading to create depth and dimension in the armor.
Sketch Iron Man Drawing Easy
To make sketching Iron Man easier, break the process down into simple steps and focus on capturing the character’s iconic features and poses. Practice regularly to improve your skills and confidence in drawing Iron Man.
Iron Man Drawing for Kids
Kids can enjoy drawing Iron Man by simplifying the process and using basic shapes and lines to create the character’s silhouette. Encourage creativity and experimentation with colors and patterns to make their Iron Man drawing unique and fun.
FAQ
What are some essential features to include when drawing Iron Man?
When drawing Iron Man, essential features to include are his iconic helmet with the faceplate, the arc reactor in the center of his chest, the sleek and angular armor plates, repulsor gauntlets on his hands, and thrusters on his boots.
How can beginners simplify the process of drawing Iron Man?
Beginners can simplify drawing Iron Man by breaking down the process into basic shapes and focusing on capturing the overall silhouette first. Start with simple outlines and gradually add details. Reference images and tutorials can also be helpful.
What are some tips for adding realism to an Iron Man drawing?
To add realism to an Iron Man drawing, pay attention to details such as shading, highlights, and reflections to create the appearance of metallic surfaces. Use reference images to understand how light interacts with different parts of the armor.
How can artists add their own creative flair to Iron Man drawings?
Artists can add their own creative flair to Iron Man drawings by experimenting with different poses, expressions, and designs for the armor. They can also incorporate unique backgrounds or settings to enhance the storytelling aspect of the artwork.
What are some common mistakes to avoid when drawing Iron Man?
Common mistakes to avoid when drawing Iron Man include inaccuracies in proportions and anatomy, neglecting details such as the arc reactor or repulsor gauntlets, and overcomplicating the design with unnecessary elements. It’s also important to maintain consistency in the style and appearance of the armor throughout the drawing.
2 thoughts on “10 easy steps to draw Iron Man Drawing”