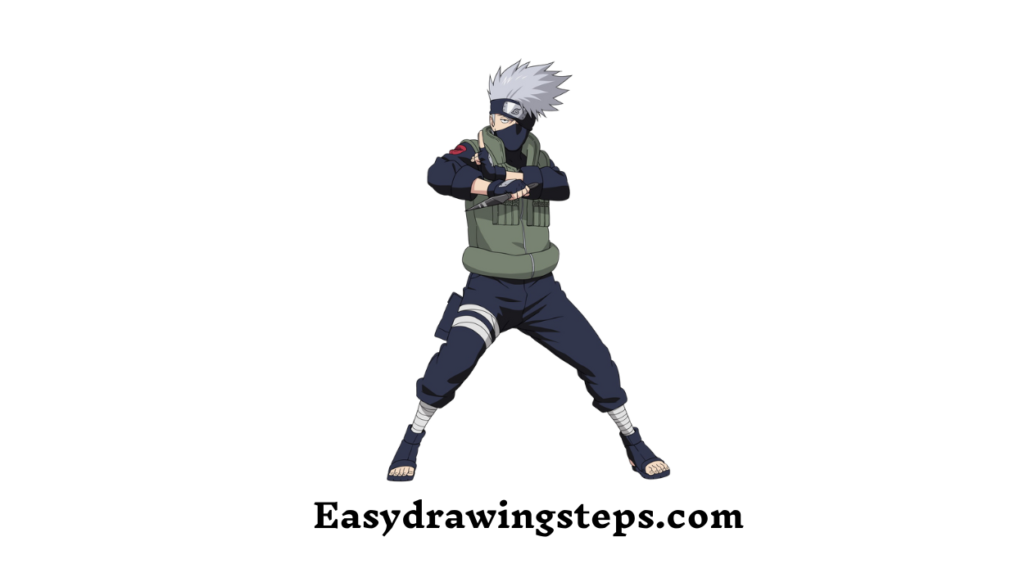
Kakashi Drawing : Drawing Kakashi Hatake from the popular anime “Naruto” can be a fun and rewarding experience for fans of all ages.
Whether you’re aiming for a detailed pencil drawing or a quick, easy sketch, this step-by-step guide will help you bring this iconic character to life.
We’ll also cover different aspects like drawing his Sharingan eye and creating an easy version for beginners.
1. Gather Your Materials for Kakashi Drawing
Before you begin, make sure you have the following:
- Pencils (HB and 2B for sketching and shading)
- Eraser
- Drawing paper
- Optional: Colored pencils or markers if you want to add color
Also Read : 10 easy steps to draw Santa Claus Drawing
2. Outline the Head
Start with an oval shape for Kakashi’s head. Lightly sketch this shape so you can make adjustments later.
3. Draw the Face Mask
Kakashi is known for his face mask. Draw a horizontal line across the lower half of the oval to represent the top of the mask, and a curved line below for the bottom.
Also Read : 10 easy steps to draw Twitter Logo Drawing
4. Add the Hair
Kakashi’s spiky hair is a distinctive feature. Sketch large, pointed spikes extending outward from the top of the head. Ensure the spikes are uneven to capture his hairstyle accurately.

5. Draw the Eyes
Draw the eye visible through his mask. Start with a curved line for the upper eyelid and a shorter line for the lower eyelid. Add a circle inside for the iris and pupil.
Also Read : 10 easy steps to draw Easy Girl Drawing
6. Sketch the Headband
Draw a line across the forehead for Kakashi’s headband. Add the metal plate in the center with the Hidden Leaf Village symbol.
7. Add the Sharingan
For a detailed Kakashi drawing, include his Sharingan eye. Draw three tomoe (comma-like shapes) within the iris to represent the Sharingan’s design. This step is essential for capturing Kakashi’s signature look.
Also Read : 10 easy steps to draw Unicorn Drawing
8. Outline the Body
Draw the outline of Kakashi’s body, starting with his shoulders and upper torso. He typically wears a high-collared vest, so be sure to include this detail.

9. Add Details to the Clothing
Sketch the folds and creases of Kakashi’s clothing to add realism. Draw the details of his vest, including pockets and zippers.
Also Read : 10 easy steps to draw Landscape Drawing
10. Finalize and Shade
Trace over your final lines with a darker pencil or pen. Add shading to create depth, especially around the hair, mask, and clothing folds. If you want, add color to bring your drawing to life.
Kakashi Drawing Easy
For an easier version of Kakashi, simplify the shapes and details. Use basic geometric shapes for the head and body, and limit the number of lines and details. This approach is great for beginners or if you’re looking for a quick sketch.
Pencil Kakashi Drawing
Using pencils allows for detailed shading and texture. Focus on creating smooth transitions between light and dark areas, especially around the hair and eyes, to give your drawing a more professional look.
Easy Kakashi Drawing
An easy Kakashi drawing can be achieved by breaking down the process into simple steps. Start with light sketches and gradually build up the details. This method is suitable for all skill levels and ensures a satisfying result.
Sharingan Kakashi Drawing
Kakashi’s Sharingan eye is a crucial part of his character design. Make sure to accurately depict the three tomoe within the iris. Adding shading around the eye can highlight its unique features and make it stand out.
By following these ten easy steps, you can create a stunning drawing of Kakashi Hatake, whether you’re a beginner or an experienced artist.
Enjoy the process and experiment with different styles to make your Kakashi drawing truly your own!
FAQ
What materials do I need to draw Kakashi Hatake?
You need pencils (HB and 2B for sketching and shading), an eraser, drawing paper, and optionally, colored pencils or markers if you wish to add color to your drawing.
How can I make my Kakashi drawing look more realistic?
To make your Kakashi drawing more realistic, focus on detailed shading and accurate proportions. Pay special attention to his spiky hair and the folds in his clothing. Use smooth shading techniques to add depth, particularly around the eyes, mask, and hair.
What are some tips for beginners to draw Kakashi easily?
Beginners should start with basic shapes and simple lines. Lightly sketch the overall outline before adding details. Focus on the most recognizable features, like Kakashi’s hair and mask, and keep the lines clean and straightforward. Practice regularly to improve your skills.
How do I draw Kakashi’s Sharingan eye?
To draw Kakashi’s Sharingan eye, start with a circle for the iris. Inside the iris, draw three tomoe (comma-like shapes) evenly spaced around the pupil. Add shading around the eye to emphasize its depth and unique features. This detail is crucial for capturing Kakashi’s iconic look.
Can children also draw Kakashi? How?
Yes, children can draw Kakashi by using simpler shapes and lines. Encourage them to start with basic geometric shapes for the head and body. Simplify the hair and mask details, and guide them step-by-step. Use light, easy-to-follow instructions and allow them to add their own creative touches.


4 thoughts on “10 easy steps to draw Kakashi Drawing”