

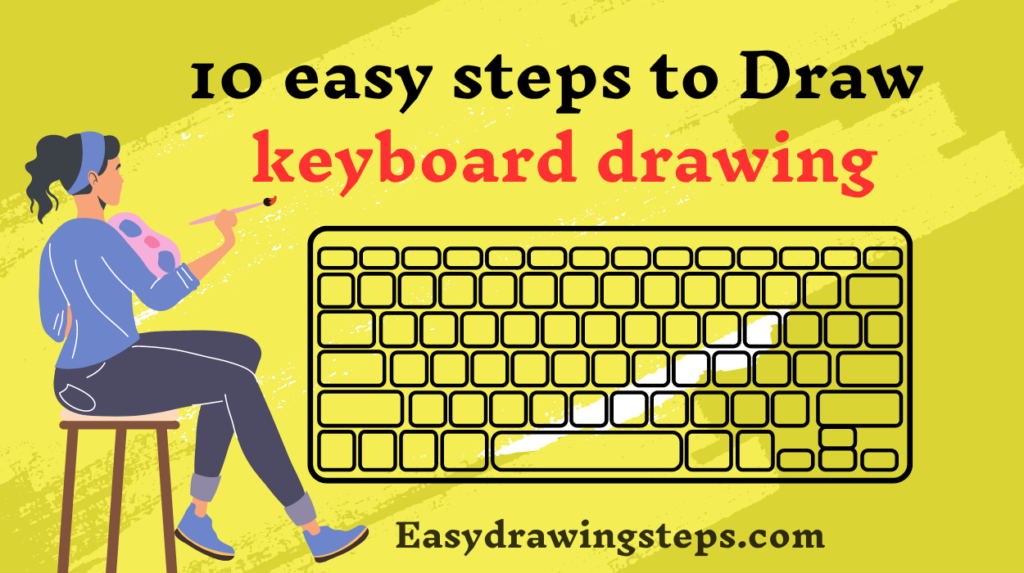
keyboard drawing : Drawing a keyboard can be a fun and educational activity, especially for kids. It helps them recognize different shapes and develop their drawing skills.
This step-by-step guide will take you through the process of creating a simple and colorful keyboard drawing.
Whether you’re a beginner or just looking for an easy drawing project, these steps will make it straightforward and enjoyable.
Materials You’ll Need:
- A sheet of drawing paper
- A pencil
- An eraser
- A ruler
- Colored pencils or markers
Step 1: Draw the Outline of the Keyboard
Start by drawing a large rectangle. This will be the body of the keyboard. Use a ruler to make sure the lines are straight.
Step 2: Divide the Keyboard into Sections
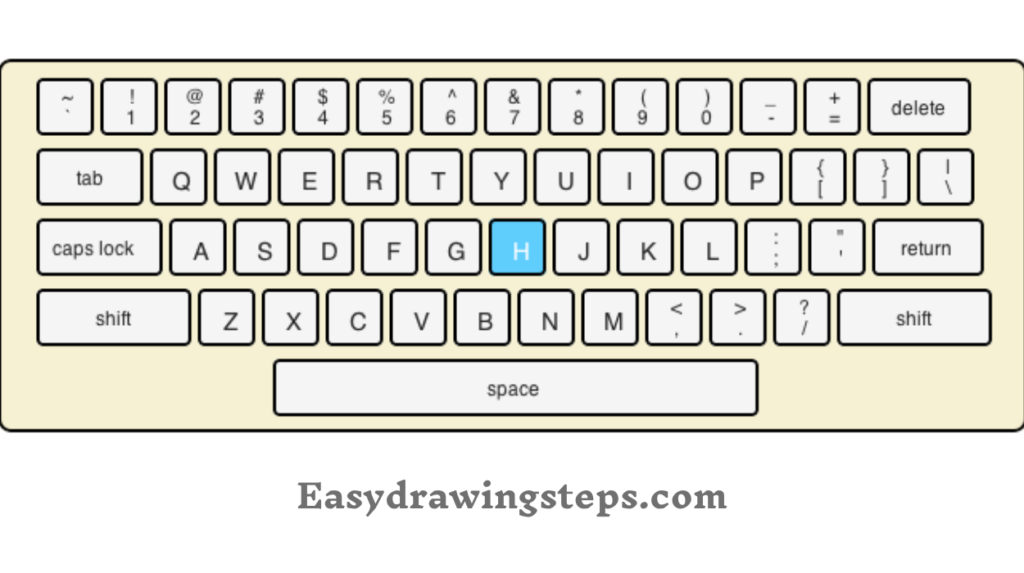
Inside the large rectangle, draw smaller rectangles to represent the different sections of the keyboard. Typically, a keyboard has three main sections: the main typing area, the number pad, and the function keys.
Also Read : 10 easy steps to draw Night Oil Pastel Scenery Drawing
Step 3: Draw the Main Typing Area
Within the largest section, start drawing small squares or rectangles for the individual keys. Use the ruler to keep the sizes consistent. There are usually around five rows of keys.
Step 4: Add the Function Keys
At the top of the keyboard, draw a row of smaller rectangles. These are the function keys (F1, F2, etc.). Make sure they are evenly spaced.
Also Read : 10 easy steps to draw Chandra Dinam Drawing
Step 5: Draw the Number Pad
To the right of the main typing area, draw another set of rectangles. These are for the number pad. It typically has four rows and three columns of keys, plus a few extra keys like the Enter and Plus keys.

Step 6: Add the Spacebar and Larger Keys
In the main typing area, add the larger keys like the Spacebar, Enter, Shift, and Backspace keys. These keys are usually twice the width of the regular keys.
Also Read : 10 easy steps to draw Cute Baby Drawing
Step 7: Refine the Shapes
Go over your drawing to refine the shapes and make sure all the keys are evenly spaced and proportioned. Use the eraser to clean up any unnecessary lines.

Step 8: Label the Keys
Use your pencil to lightly write the letters, numbers, and symbols on each key. This step helps to make the keyboard look more realistic.
Also Read : 10 easy steps to draw Pencil Nature Scenery Drawing
Step 9: Outline the Drawing
Once you are happy with your pencil drawing, use a black marker or pen to outline the keyboard and the keys. This will make your drawing stand out.
Step 10: Add Color
Finally, use colored pencils or markers to color your keyboard. You can stick to a traditional black and white keyboard or get creative with different colors for each key to make it more fun and appealing, especially for kids.
Keyboard Drawing for Kids
Drawing a keyboard is an excellent exercise for kids as it helps them understand the layout and structure of an essential computer component. It’s a fun way to introduce them to basic drawing techniques and help them recognize different shapes and sizes.
Keyboard Drawing Easy
This guide simplifies the process of drawing a keyboard by breaking it down into ten easy steps. Even beginners can follow along and create a recognizable and colorful keyboard drawing.
Computer Keyboard Drawing
This tutorial focuses on drawing a typical computer keyboard, which includes various sections such as the main typing area, function keys, and number pad. By drawing these different sections, you can better understand how a keyboard is organized.
Keyboard Drawing with Colour
Adding color to your keyboard drawing not only makes it more visually appealing but also helps differentiate between the different sections and keys. Kids especially enjoy adding their own creative touches with color, making the drawing process even more engaging.
By following these ten easy steps, you can create a detailed and colorful keyboard drawing. Whether you’re doing this as an educational activity for kids or just for fun, these steps will guide you through the process smoothly. Happy drawing!
FAQ
Why is drawing a keyboard a good activity for kids?
Drawing a keyboard helps kids improve their fine motor skills, recognize different shapes, and understand the layout of an essential computer component. It’s a fun and educational activity that combines art and technology.
What materials do I need to draw a keyboard?
You will need a sheet of drawing paper, a pencil, an eraser, a ruler, and colored pencils or markers. These basic supplies will help you create a detailed and colorful keyboard drawing.
How can I make my keyboard drawing more realistic?
make your keyboard drawing more realistic, ensure that the keys are evenly spaced and proportioned. Label each key with the appropriate letter, number, or symbol. Using a black marker to outline the keys and adding color will also enhance the realism of your drawing
What are the main sections of a computer keyboard that I should include in my drawing?
A typical computer keyboard has three main sections: the main typing area, the function keys at the top, and the number pad on the right. Including these sections in your drawing will make it look more accurate and complete.
How can I add creativity to my keyboard drawing?
You can add creativity to your keyboard drawing by using different colors for the keys, creating patterns, or even designing a themed keyboard. For example, you could color the keys in rainbow shades or draw a keyboard with a fun theme like outer space or animals.
3 thoughts on “10 easy steps to draw keyboard drawing”