
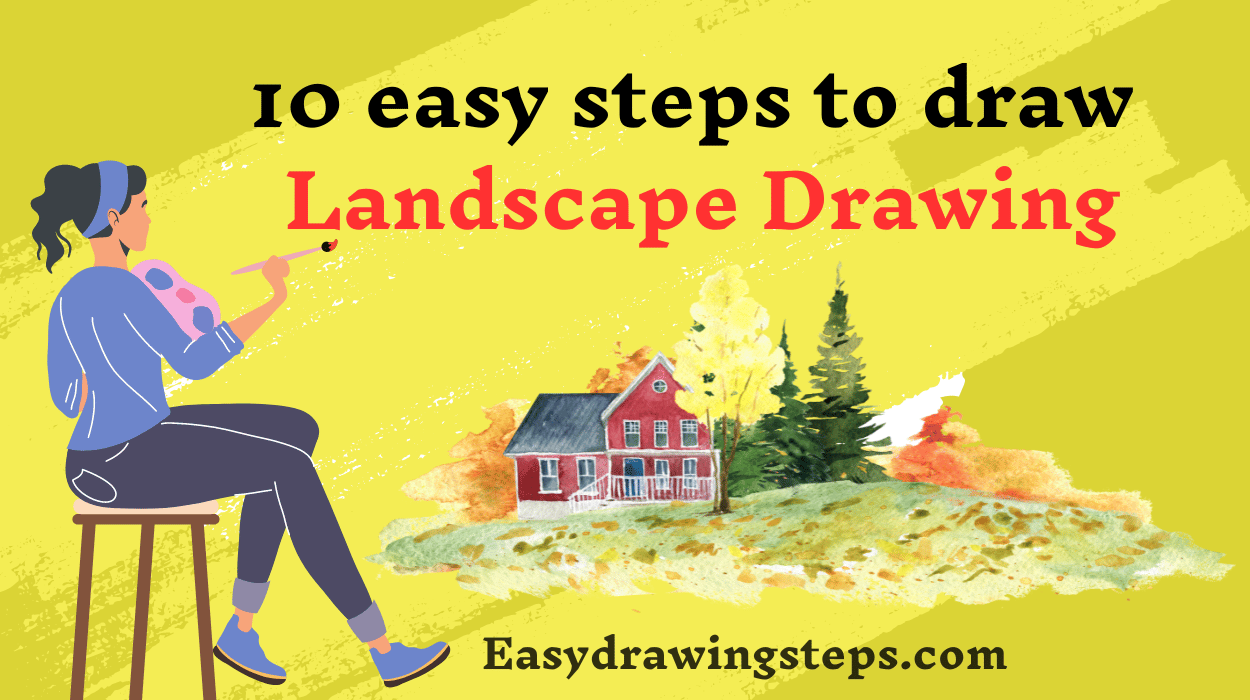

Landscape Drawing : Drawing landscapes can be a soothing and rewarding experience, allowing you to capture the beauty of nature on paper.
Whether you’re a beginner or looking to refine your skills, this guide will take you through ten easy steps to create a stunning landscape drawing.
We’ll focus on both pencil landscape drawings and color simple landscape drawings to give you a comprehensive approach.
1. Gather Your Supplies for Landscape Drawing
Before starting, ensure you have all necessary supplies. For a pencil landscape drawing, you’ll need:
- Pencils (HB, 2B, 4B)
- Eraser
- Sharpener
- Sketchbook or drawing paper
For a color simple landscape drawing, you might add:
- Colored pencils, markers, or watercolor paints
- Brushes (if using paints)
Also Read : 10 easy steps to draw YouTube logo Drawing
2. Choose Your Scene
Select a scene that inspires you. It could be a photograph, a view from your window, or a place you’ve visited. Easy landscape drawings often feature elements like mountains, trees, rivers, and skies. Simpler scenes will make the drawing process smoother, especially for beginners.
3. Start with a Light Sketch
Begin by lightly sketching the basic outline of your landscape. Use an HB pencil to draw the horizon line, main shapes, and elements like trees, mountains, and bodies of water. Keep the lines light so they can be easily adjusted later.
Also Read : 10 Easy Steps to Draw the Instagram Logo Drawing
4. Define the Horizon
The horizon line is crucial in landscape drawing as it separates the sky from the land or water. Place it according to your scene—higher for more land, lower for more sky. This step will help in organizing the composition.
5. Add Foreground, Midground, and Background
Break your landscape into three sections: foreground, midground, and background. This will create a sense of depth in your drawing. The foreground should have more details and darker tones, while the background elements should be lighter and less detailed.
Also Read : 10 Easy Steps to Draw the WhatsApp Logo Drawing
6. Sketch the Main Elements
Now, focus on the primary elements of your landscape. For instance, if your scene includes a tree in the foreground, sketch its trunk, branches, and leaves. If there’s a mountain range in the background, outline its peaks and ridges. Keep refining these shapes, adding more detail gradually.
7. Add Details and Textures
Enhance your drawing by adding details and textures. For trees, draw the bark texture and leaf patterns. For mountains, add ridges and shading to give them a three-dimensional look. Water bodies can be given a reflective appearance with gentle horizontal lines.
Also Read : 10 Easy Steps to Draw the Facebook Logo Drawing
8. Shading and Depth
Shading brings your landscape drawing to life. Use a range of pencils (2B, 4B) to create shadows and highlights. Apply more pressure for darker areas and less for lighter ones. This will add depth and make your drawing more realistic.
9. Transition to Color (Optional)
If you’re creating a color simple landscape drawing, this is the stage to add colors. Start by applying a base color lightly and then layer additional colors to create depth and vibrancy. Colored pencils are great for detailed work, while watercolors can provide a soft, natural look.
Also Read : 10 easy steps to draw Deer Drawing
10. Final Touches
Review your drawing for any areas that need refinement. Add final touches, such as enhancing shadows, refining details, or adjusting colors. Use an eraser to highlight areas where light would naturally fall, adding a final layer of realism.
Understanding the Terms
- Easy Landscape Drawing: This refers to creating landscapes that are simple and not overly detailed, making it accessible for beginners.
- Pencil Landscape Drawing: This involves using graphite pencils to create a monochrome landscape. It’s great for focusing on form, shading, and textures without the complexity of color.
- Landscape Drawing Easy: Similar to easy landscape drawing, this emphasizes simplicity and ease, perfect for those new to drawing.
- Color Simple Landscape Drawing: Adding color to your landscape drawing in a straightforward manner, using basic color theory and simple techniques to enhance your artwork.
By following these ten steps, you’ll find that creating beautiful landscape drawings is easier than you might think.
Whether you stick to pencil sketches or venture into adding colors, the key is practice and observation. Happy drawing!
FAQ
What are the essential tools needed for landscape drawing?
For pencil landscape drawing, you need graphite pencils (HB, 2B, 4B), an eraser, a sharpener, and drawing paper. For color drawings, add colored pencils, markers, or watercolor paints, brushes, a palette, and water.
How can beginners improve their landscape drawing skills?
Beginners can improve by practicing regularly, studying real-life landscapes, starting with simple scenes, learning basic shading techniques, and watching tutorials or seeking feedback from other artists.
How do you create depth in a landscape drawing?
Create depth by dividing the scene into foreground, midground, and background, using atmospheric perspective, applying shading, overlapping elements, and ensuring objects closer to the viewer are larger.
What are some common challenges in landscape drawing, and how can they be overcome?
Common challenges include proportion and perspective, capturing details, shading and texture, choosing a composition, and staying patient. Overcome these by practicing basic shapes, adding details gradually, studying real-life light interactions, learning from compositions, and taking breaks.
What are the benefits of using color in landscape drawings?
Using color enhances realism, sets the mood, highlights details, adds depth, and provides creative expression, allowing for more lifelike and visually appealing artworks.
The way you put together the information on your posts is commendable. I would highly recommend this site. You might also want to check my page QN7 for some noteworthy inputs about Cosmetics.