

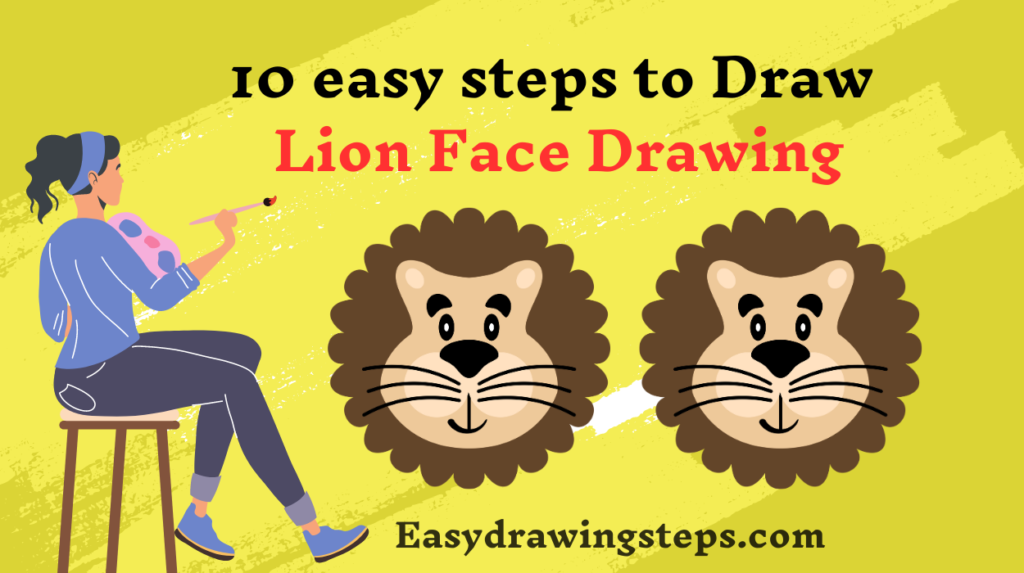
Lion Face Drawing : Drawing a lion face can be both fun and rewarding, especially when you follow these simple steps.
Whether you’re creating a lion face drawing for kids, aiming for an outline lion face drawing, or even attempting a realistic lion face drawing, this guide will take you through each step with clear instructions.
Step 1: Start with Basic Shapes
Begin by sketching a circle for the lion’s head. This will serve as the base shape for the face. Add a smaller circle or oval below it for the muzzle.
Step 2: Draw the Muzzle and Nose
Extend a curved line from the smaller circle to form the lion’s muzzle. Add a small oval or circle at the end of the muzzle for the nose.
Also Read : 10 Easy Steps to Draw Vitthal Rukmini Drawing
Step 3: Outline the Face Shape
Connect the circles to form the outline of the lion’s face. Make the top of the head slightly wider and the chin narrower to create a typical lion face shape.

Step 4: Add the Eyes
Draw two large circles within the main circle of the head for the eyes. Leave a small white circle or highlight in each eye to make them look lively.
Also Read : 10 easy steps to draw Hulk Drawing
Step 5: Detail the Eyes and Ears
Inside each eye, draw a smaller circle for the pupils. Above the eyes, sketch two rounded triangles for the lion’s ears. Add some fur details inside the ears.
Step 6: Draw the Mouth and Whiskers
Below the nose, sketch a curved line for the lion’s mouth. Add short lines extending from the muzzle for whiskers. Make them curve outward.
Also Read : 10 easy steps to draw Mermaid Drawing
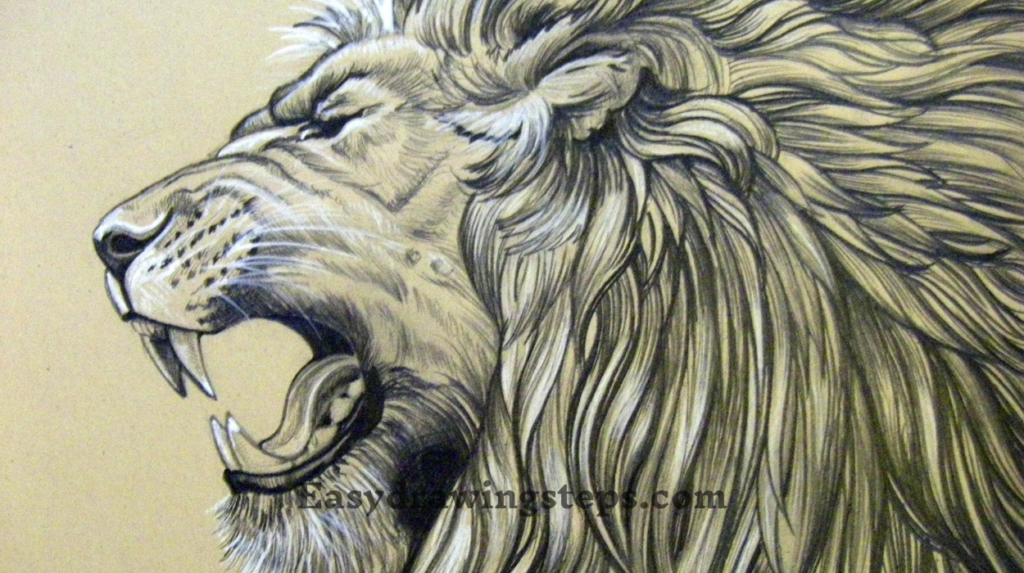
Step 7: Outline the Mane
Extend curved lines around the lion’s face to outline the mane. The mane can be jagged or smooth, depending on whether you want a realistic or stylized look.
Step 8: Add Fur Details
Inside the mane, add small curved lines to indicate fur texture. Pay attention to the direction of the fur, which generally radiates outward from the face.
Also Read : 10 easy steps to draw Rukia Kuchiki Drawing
Step 9: Refine and Shade
Go over your drawing, refining any lines and adding shading where needed to give your lion face drawing depth. Shade lightly around the eyes, nose, and under the chin.
Step 10: Final Touches
Add final touches like highlights on the fur and a background if desired. Review your drawing and make any necessary adjustments to enhance its overall appearance.
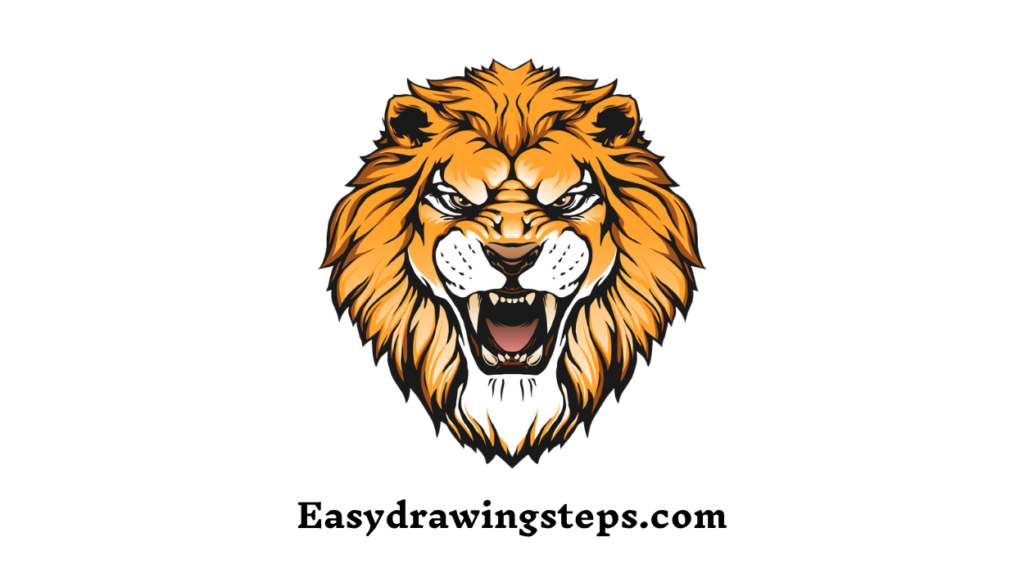
Drawing a lion face can be simplified into these steps, making it accessible for artists of all ages and skill levels. Whether you’re aiming for a lion face drawing for kids, an outline lion face drawing, or a realistic portrayal, practice and patience will help you achieve a roaring success!
FAQ
What are the basic shapes you start with when drawing a lion face?
When drawing a lion face, start with a circle for the head and a smaller circle or oval for the muzzle. These basic shapes provide the foundation for the lion’s facial structure.
How can you make a lion face drawing more realistic?
To achieve a realistic lion face drawing, focus on adding details such as fur texture, shading to create depth, and paying attention to the anatomy of the lion’s features like the eyes, nose, and ears.
What are some tips for drawing a lion face that is easy for kids to follow?
For kids, simplify the lion face drawing by using basic shapes and focusing on bold outlines. Emphasize fun elements like exaggerated features and vibrant colors to make the drawing engaging.
What techniques can enhance the mane in a lion face drawing?
Enhance the mane by varying the thickness and direction of your lines to create a sense of volume and texture. Adding subtle shading and highlights can also make the mane look more realistic.
Why is drawing a lion face a good exercise for learning anatomy and proportions?
Drawing a lion face requires understanding the proportions of facial features such as eyes, nose, and mouth, which are fundamental in both human and animal anatomy. It helps in developing observational skills and hand-eye coordination.
3 thoughts on “10 easy steps to draw Lion Face Drawing”