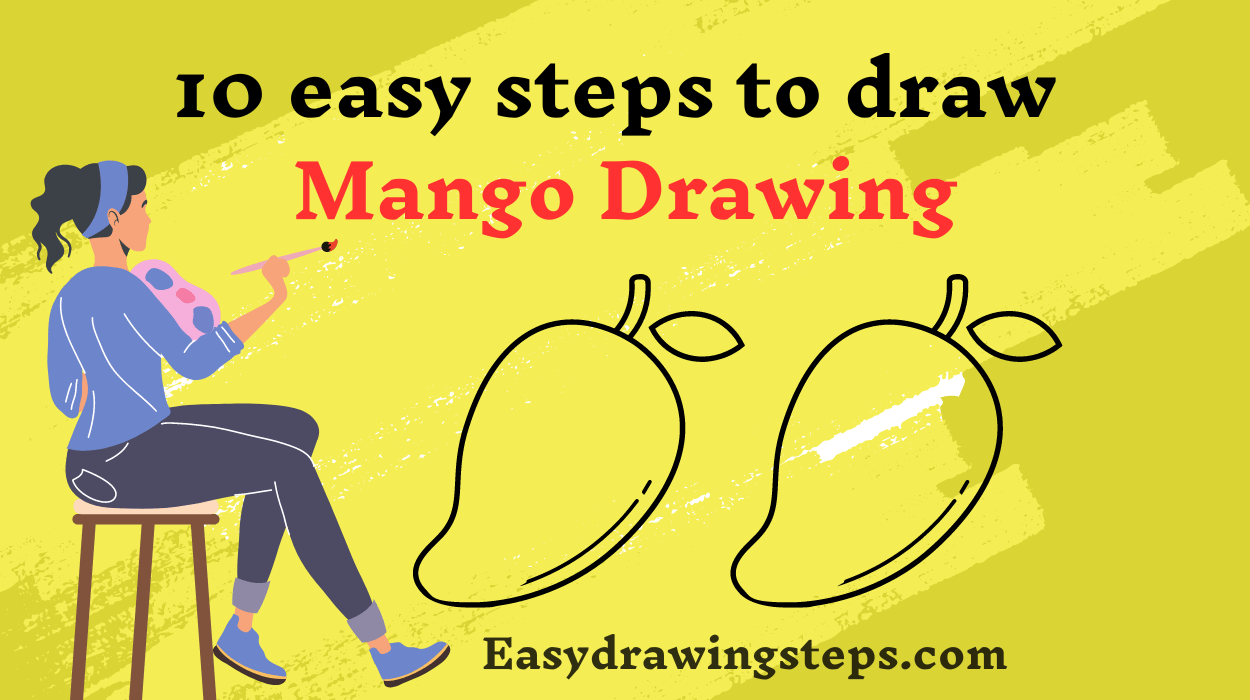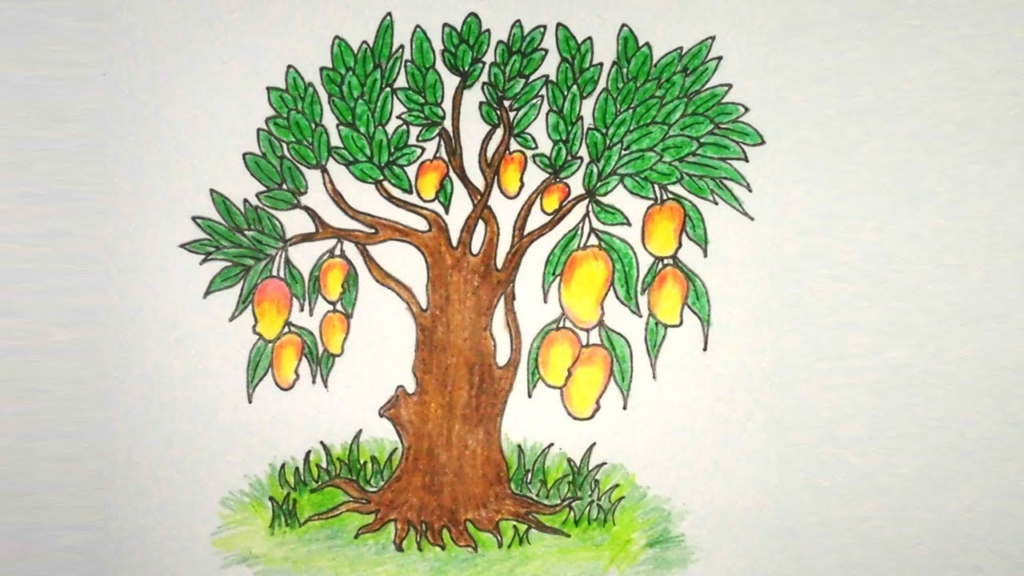
Mango Drawing : Drawing a mango can be a delightful and straightforward project, perfect for kids and beginners. Whether you want to create a simple sketch or add vibrant colors to make it pop, these 10 easy steps will guide you through the process.
Let’s dive into creating a juicy mango drawing!
Materials Needed for Mango Drawing
- Paper
- Pencil
- Eraser
- Colored pencils or markers
Step 1: Draw the Outline of the Mango
Start by drawing an oval shape with a slight taper at the top. This will be the main outline of your mango. The shape should resemble a rounded, slightly elongated egg.
Also Read : 10 easy steps to draw Cow Drawing
Step 2: Define the Mango’s Tip
At the top of the oval, draw a small, curved line to define the tip of the mango. This line should slightly indent into the oval to give it a more realistic shape.
Step 3: Add the Stem
On the top of the mango, draw a short, curved line extending upwards to form the stem. You can add a small oval or circle at the end of the stem to represent the attachment point.
Also Read : 10 easy steps to draw Rocket Drawing
Step 4: Draw the Leaf
Next to the stem, draw a long, curved leaf. The leaf should extend outward and curve slightly. Add a central vein line through the leaf to give it more detail.

Step 5: Add Texture to the Mango
To give the mango a more realistic look, draw some gentle, curved lines across the surface to represent the texture. These lines should follow the contour of the mango’s shape.
Also Read : 10 easy steps to draw Cute Girl Drawing For Kids
Step 6: Draw the Bottom Curve
At the bottom of the mango, draw a small, curved line to define the base. This line should be subtle and follow the natural curve of the mango.
Step 7: Outline Your Drawing
Go over your pencil lines with a black marker or a darker pencil to make the drawing stand out. Erase any unnecessary pencil marks to clean up your picture.
Also Read : 10 easy steps to draw Peacock Drawing Easy
Step 8: Color the Mango
Use colored pencils or markers to color your mango. Start with a base color of yellow and blend in shades of orange and red to give the mango its characteristic gradient. For the leaf, use shades of green.
Step 9: Add Highlights and Shadows
To make your mango drawing more three-dimensional, add highlights and shadows. Use a white pencil or eraser to create highlights on the top and sides where the light would naturally hit. Add darker shades of green, orange, or brown to the areas where shadows would fall.
Also Read : 10 easy steps to draw Watercolor Drawing
Step 10: Final Touches
Finally, add any last details to your mango drawing. You can add more texture lines, refine the leaf, and ensure all colors are blended smoothly. Your mango should now look vibrant and realistic!
Tips for Mango Drawing for Kids
- Keep the shapes simple and use basic curves.
- Use bright, contrasting colors to make the drawing more appealing.
- Encourage creativity by letting kids experiment with different shades and patterns.
Mango Drawing Easy for Beginners
- Start with basic shapes and gradually add details.
- Practice drawing the mango shape and leaf separately before combining them.
Coloring Your Mango Drawing
- Experiment with blending different colors to achieve a natural gradient.
- Use light and shadow to add depth and make the mango look more realistic.
- Don’t be afraid to mix and match colors for a unique design.
Creating Mango Drawing Images
- After completing your drawing, take a picture to share with friends and family.
- Create a series of fruit drawings with different poses and backgrounds for a fun project.
By following these steps, you’ll be able to create a beautiful mango drawing that you can be proud of. Whether it’s for a school project, a fun activity with kids, or just to improve your drawing skills, these easy steps will help you achieve great results. So grab your drawing materials and start creating your own mango masterpiece today!
FAQ
What basic shapes are needed to start drawing a mango?
To start drawing a mango, you need an oval shape with a slight taper at the top for the main body. You also need a curved line for the stem and a long, curved shape for the leaf. These simple shapes form the foundation of your mango drawing and can be easily adjusted for more detailed or creative designs.
How can I make my mango drawing more realistic?
To make your mango drawing more realistic, add details such as texture lines to represent the mango’s skin. Use shading techniques to create depth, highlighting where the light hits the mango and adding shadows where it naturally falls. Adding a gradient of colors from yellow to red and incorporating highlights and shadows will enhance the realism.
What are some tips for coloring a mango drawing effectively?
When coloring a mango drawing, start with a base color of yellow and blend in shades of orange and red to create a natural gradient. Use green for the leaf and add darker shades for shadows and lighter shades for highlights. Experiment with blending techniques to achieve smooth transitions between colors and add depth to the drawing.
How can I help kids draw mangos in a fun and engaging way?
To make mango drawing fun and engaging for kids, keep the shapes simple and manageable. Use bright and vibrant colors to make the drawing more appealing. Encourage kids to add their own creative touches, like patterns or even faces on the mango. Providing step-by-step guidance and praising their efforts will also keep them motivated and interested.
What are some creative background elements I can add to a mango drawing?
Creative background elements for a mango drawing can include a tropical scene with palm trees, flowers, and other fruits. You can draw a basket of assorted fruits or a sunny beach setting. Adding elements like a blue sky, a sun, or even a parrot can make the drawing more dynamic and interesting, creating a complete scene around the mango.


mnx6uy
4trcuf