
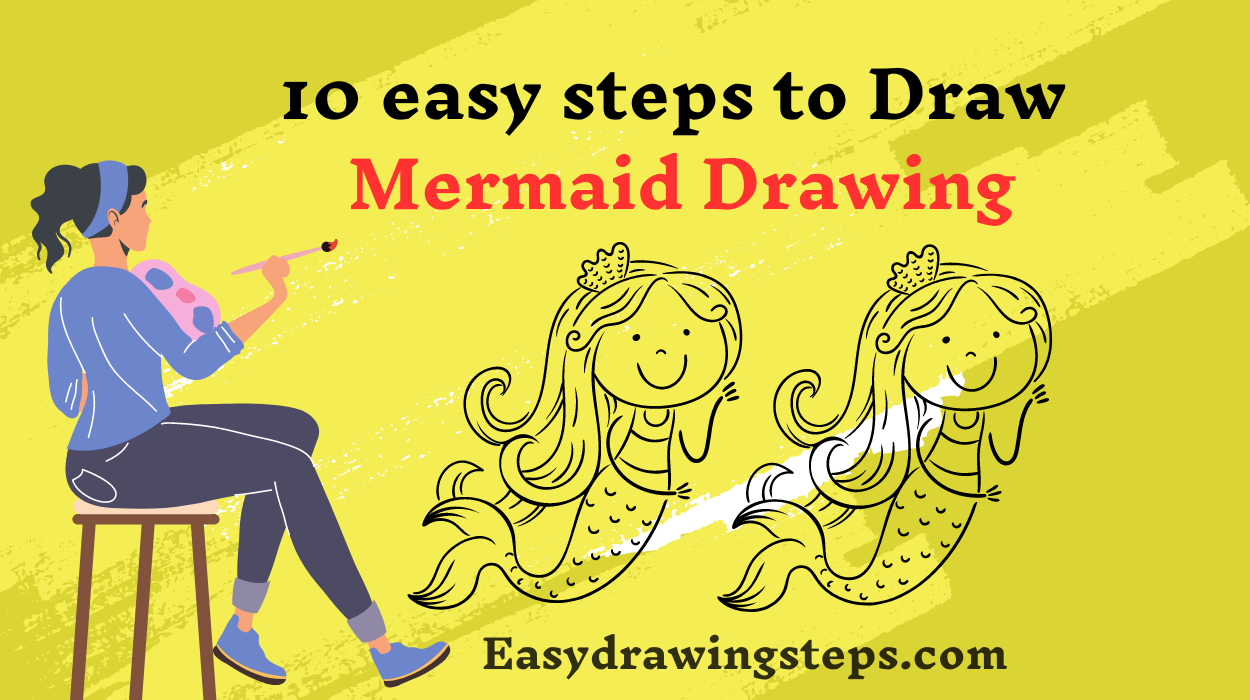

Mermaid Drawing : Drawing a mermaid can be a delightful and rewarding experience, especially for kids and beginners. Mermaids are mythical creatures that combine the beauty of a human with the grace of a fish, making them a popular subject in art.
Follow these ten easy steps to create your own beautiful mermaid drawing.
This guide will help you achieve a mermaid drawing that is both easy and cute, perfect for artists of all ages.
Step 1: Gather Your Materials
Before you begin, make sure you have all the necessary materials. You will need drawing paper, pencils (preferably HB for sketching and 2B or 4B for shading), an eraser, a sharpener, and colored pencils or markers if you plan to add color to your drawing. These materials will help you create a detailed and vibrant mermaid drawing.
Step 2: Draw the Head
Start by drawing an oval shape for the mermaid’s head. This will serve as the foundation for her facial features. Make sure the oval is not too large, as it should be proportional to the rest of the body.
Also Read : 10 easy steps to draw Ashadhi Ekadashi Drawing
Step 3: Add Facial Features
Draw two horizontal lines to position the eyes and a vertical line down the middle for the nose. Add the eyes, a small nose, and a smiling mouth. Mermaids are often depicted with large, expressive eyes, so make sure to emphasize this feature.
Step 4: Sketch the Body
From the bottom of the head, draw two lines that curve outward to form the mermaid’s torso. Her body should be slender and graceful. Extend these lines down to where her waist will be, then start to taper them inward to form the beginning of her tail.
Also Read : 10 Easy Steps to Draw Vitthal Rukmini Drawing
Step 5: Draw the Arms
Add the mermaid’s arms by drawing two curved lines extending from her shoulders. One arm can be resting by her side, and the other can be raised slightly, as if she is waving or holding something. Make sure the arms are proportionate to her body.

Step 6: Create the Tail
From the waist, draw the outline of the mermaid’s tail. The tail should be long and flowing, ending in a broad fin. Add a few wavy lines along the tail to represent the scales and texture. The fin should be wide and elegant, giving the mermaid a graceful appearance.
Also Read : 10 easy steps to draw Hulk Drawing
Step 7: Add Hair
Mermaids are often depicted with long, flowing hair. Draw her hair cascading down from her head, with gentle waves and curls. You can get creative with the hairstyle, making it as elaborate or simple as you like. Ensure that the hair adds to the overall beauty and elegance of the mermaid.

Step 8: Detail the Face and Body
Add more details to the face, such as eyelashes, eyebrows, and a little blush on the cheeks. Define the shape of her torso and tail more clearly, adding lines to represent the scales on her tail. Don’t forget to add a few details to her arms and hands as well.
Also Read : 10 easy steps to draw Rukia Kuchiki Drawing
Step 9: Shade and Highlight
To give your mermaid drawing a three-dimensional effect, add shading and highlights. Use a 2B or 4B pencil to add shadows in areas like under her chin, along her torso, and on her tail. Blend the shading with a blending stump or your finger to create smooth transitions. Use an eraser to add highlights on her hair, face, and tail, enhancing the depth and dimension of the drawing.
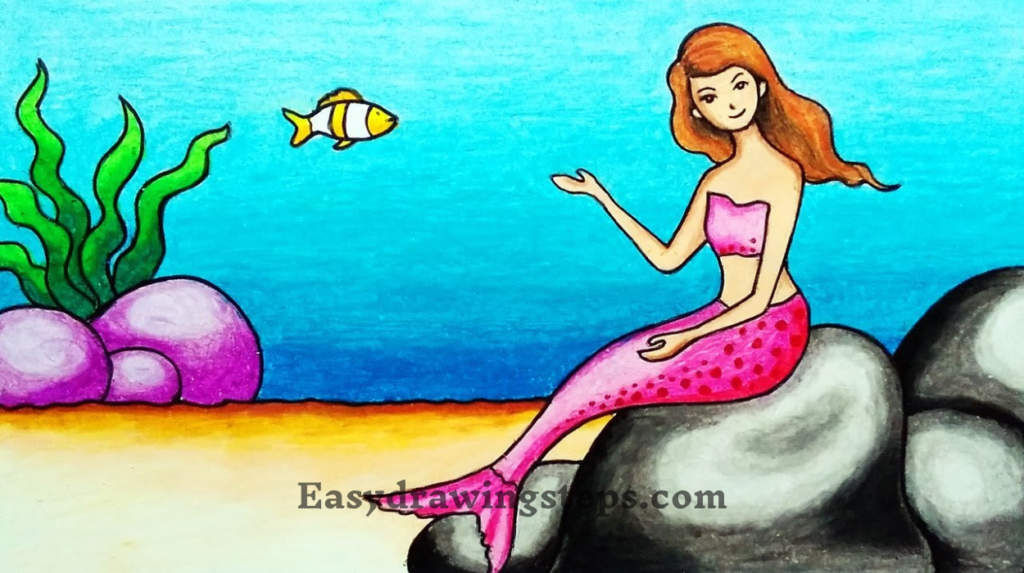
Step 10: Color Your Drawing
Finally, add color to your mermaid drawing using colored pencils or markers. Choose colors that complement each other and bring your mermaid to life. Her hair can be any color you like, from natural shades to vibrant hues. Her tail is often depicted in shades of blue, green, or purple. Don’t forget to color her eyes and add a little color to her cheeks and lips. Layer the colors and blend them smoothly to achieve a polished look.
Additional Information on Drawing Techniques
Creating a mermaid drawing is a fun and engaging activity, especially with these simplified steps. The guide is designed to make the process easy for everyone, including kids. By starting with basic shapes and gradually adding details, even beginners can create a detailed and accurate drawing of a mermaid.
Using pencils for the initial sketch allows for easy corrections and refinements. Shading with different pencil grades helps to add depth and dimension, while coloring adds the final touch to make the drawing vibrant and lifelike.
By following these ten easy steps, you can create a beautiful mermaid drawing that is both easy and cute. Whether you are drawing for fun, as a fan of mythical creatures, or to improve your artistic skills, this guide will help you capture the essence of a beautiful mermaid. Enjoy the process and happy drawing!
FAQ
What materials do I need to draw a mermaid?
To draw a mermaid, you will need the following materials: drawing paper, pencils (preferably HB for sketching and 2B or 4B for shading), an eraser, a sharpener, and colored pencils or markers if you plan to add color to your drawing. These materials will help you create a detailed and vibrant mermaid drawing.
How can beginners create an easy mermaid drawing?
Beginners can create an easy mermaid drawing by following a step-by-step approach. Start with basic shapes like ovals and circles to outline her head and body. Use simple lines to map out the proportions of her facial features and tail. Gradually add details, such as her eyes, hair, and tail fins. Using light pencil strokes and taking your time with each step will make the process manageable and enjoyable for beginners.
What are the key features to focus on when drawing a mermaid?
When drawing a mermaid, focus on key features such as her large, expressive eyes, long flowing hair, and her fish-like tail. Pay attention to the shape of her face and the way her hair cascades around it. Her tail should be elegant and flowing, ending in a broad fin. Capturing these details accurately will make your drawing more recognizable and true to the mythical creature.
How can kids draw a mermaid easily?
Kids can draw a mermaid easily by breaking down the process into simple steps. They can start by drawing basic shapes to outline her head and body. Using simple lines, they can map out her facial features and tail. Adding details gradually, such as her eyes, hair, and scales on her tail, will help them create a more accurate drawing. Encouraging kids to use light pencil strokes and make corrections as needed will make the process easier and more fun for them.
How can I add shading and highlights to a pencil drawing of a mermaid?
To add shading and highlights to a pencil drawing of a mermaid, first, identify the light source in your drawing. Use a 2B or 4B pencil to add shadows in the areas where the light doesn’t hit, such as under her chin, along her torso, and on her tail. Blend the shading with a blending stump or your finger to create smooth transitions between light and dark areas. For highlights, leave some areas unshaded or use an eraser to lift off graphite, especially on the tops of her hair and tail, to enhance the three-dimensional effect of your drawing.
2 thoughts on “10 easy steps to draw Mermaid Drawing”