

Mickey Mouse Drawing : Drawing Mickey Mouse can seem daunting, but with a little guidance, it can be a fun and rewarding experience.
Whether you’re looking for an easy Mickey Mouse drawing, a cute Mickey Mouse drawing, or a Mickey Mouse drawing for kids, this guide will walk you through 10 simple steps to create your own masterpiece.
Grab your pencils, and let’s get started!
Materials You’ll Need for Mickey Mouse Drawing
- Pencil
- Eraser
- Black marker or pen
- Colored pencils or markers (optional)
Step 1: Draw a Circle for the Head
Begin by drawing a large circle. This will be the main part of Mickey Mouse’s head. Try to make it as round and smooth as possible.
Also Read : 10 easy steps to draw Itachi Drawing
Step 2: Add Two Smaller Circles for the Ears
On top of the head circle, draw two smaller circles on either side. These will be Mickey’s iconic ears. Make sure they’re proportionate to the head.
Step 3: Sketch the Facial Guidelines
Lightly draw a vertical line down the middle of the head and a horizontal line across the middle. These lines will help you place Mickey’s facial features accurately.
Also Read : 10 easy steps to draw Tiger Drawing
Step 4: Draw the Eyes
On the horizontal guideline, draw two oval shapes for the eyes. Place them close to the vertical line. Add smaller circles inside the ovals for the pupils, giving Mickey that classic look.

Step 5: Add the Nose
Below the eyes, right where the vertical line meets the horizontal line, draw a small oval for Mickey’s nose.
Also Read : 10 easy steps to draw Pikachu Drawing
Step 6: Create the Mouth
Draw a curved line starting from below the nose, forming a wide smile. Add a curved line above the smile to give Mickey his signature cheeky expression. Don’t forget to draw the tongue by adding a small curved line inside the mouth.
Step 7: Outline the Face
Outline Mickey’s face by drawing a smooth curve from the sides of the head down to form the cheeks and chin. This will give his face more definition and a cuter look.
Also Read : 10 easy steps to draw Parrot Drawing
Step 8: Detail the Ears and Head
Enhance the ears by darkening the outline. You can add some thickness to the ears to make them stand out more. Outline the head smoothly, blending it with the face.
Step 9: Draw the Body
Below the head, draw a small oval shape for the body. Add two lines extending from the bottom of the body for the legs, and two lines from the sides for the arms. Mickey’s body is simple and rounded, so keep the shapes soft and friendly.
Also Read : 10 easy steps to draw Car Drawing
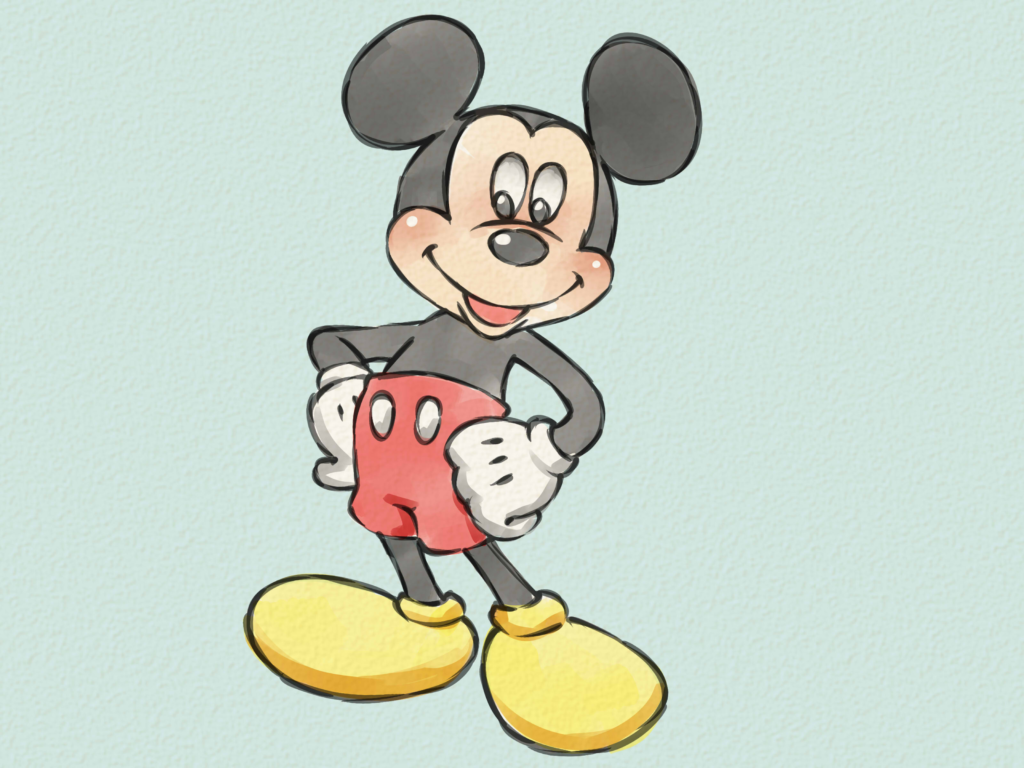
Step 10: Finalize with Details and Color
Go over your pencil lines with a black marker or pen. Erase any remaining guidelines. If you want, add color to your drawing. Mickey Mouse is traditionally black and white with red shorts, yellow shoes, and white gloves.
- Take your time with each step. Rushing can lead to mistakes.
- Keep your lines light until you’re confident with the shapes.
- Practice makes perfect. Don’t be discouraged if it doesn’t look perfect the first time.
Drawing Mickey Mouse can be a delightful experience, especially when you break it down into simple, easy steps. Whether you’re drawing with kids or just for fun, this guide will help you create a cute Mickey Mouse drawing that’s sure to bring a smile to anyone’s face.
Happy drawing! If you enjoyed this guide, share your Mickey Mouse drawings with us in the comments below. We’d love to see your creations!
FAQ
What materials do I need to draw Mickey Mouse?
To draw Mickey Mouse, you will need basic drawing supplies such as a pencil, eraser, black marker or pen, and optionally colored pencils or markers if you wish to color your drawing. Additionally, having some paper and a ruler can be helpful for creating guidelines.
How can I make sure my Mickey Mouse drawing looks accurate?
To ensure accuracy, start with basic shapes and use guidelines. Draw a large circle for the head and two smaller circles for the ears. Lightly sketch vertical and horizontal guidelines on the face to help place the eyes, nose, and mouth correctly. Take your time with each step and use references if needed.
Why do my circles for Mickey’s head and ears look uneven?
Drawing perfect circles can be challenging. Practice drawing circles freehand to improve your skills, or use a circular object like a cup or a compass to trace the shapes. Keeping your hand steady and using smooth, continuous motions can also help create more even circles.
How can I make my Mickey Mouse drawing look more three-dimensional?
To give your drawing a more three-dimensional look, add shading and highlights. Shade areas like the sides of Mickey’s face and ears to create depth. Highlight the top of the head and the edges of the ears to give them a rounded appearance. Using varying pressure with your pencil or marker can help achieve this effect.
What are some tips for drawing Mickey Mouse with kids?
When drawing with kids, keep the steps simple and fun. Use easy-to-follow instructions and encourage them to start with basic shapes. Offer lots of encouragement and praise to build their confidence. Let them use bright colors to make their Mickey Mouse drawing come to life. Most importantly, keep the experience light-hearted and enjoyable!
2 thoughts on “10 easy steps to draw Mickey Mouse Drawing”