Mushroom Drawing : Drawing a mushroom can be a delightful and straightforward task, perfect for artists of all levels, including kids.
Whether you’re aiming for a simple design or something more elaborate, following these easy steps will guide you to create a charming mushroom drawing.
Let’s explore the process step-by-step!
Step 1: Gather Your Materials for Mushroom Drawing
Start by gathering basic drawing materials. You’ll need paper, a pencil, an eraser, and colored pencils or markers if you want to add color to your drawing.
Also Read : 10 easy steps to draw Zoro Drawing
Step 2: Draw the Cap Outline
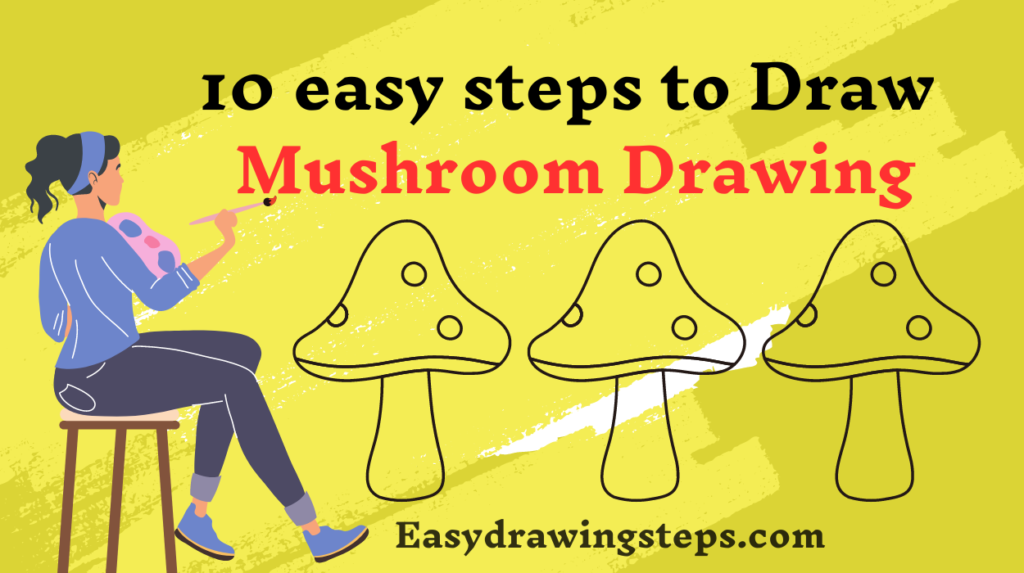
Begin by drawing a simple, curved dome shape to form the cap of the mushroom. This shape should resemble an umbrella or a semi-circle lying on its flat side.

Step 3: Add the Stem
Underneath the cap, draw two straight or slightly curved lines downward to create the stem. These lines should be close together and meet at the bottom with a rounded end.
Also Read : 10 easy steps to draw Madara Uchiha Drawing
Step 4: Define the Cap’s Shape
Add depth to the mushroom cap by drawing a curved line parallel to the bottom edge of the cap. This line will give your mushroom a three-dimensional appearance.

Step 5: Detail the Cap with Gills
Draw several thin, curved lines extending from the stem to the edge of the cap on the underside. These lines represent the gills of the mushroom and add realistic detail.
Also Read :10 easy steps to draw Hinata Drawing
Step 6: Add Texture and Spots
For a more whimsical look, add some spots on the top of the mushroom cap. You can draw small circles or ovals randomly across the surface. This step is especially fun for creating trippy mushroom designs.
Step 7: Draw the Ground
To place your mushroom in a setting, draw a few simple lines or tufts of grass at the base of the stem to represent the ground.
Also Read : 10 easy steps to draw Luffy Drawing
Step 8: Add Background Elements
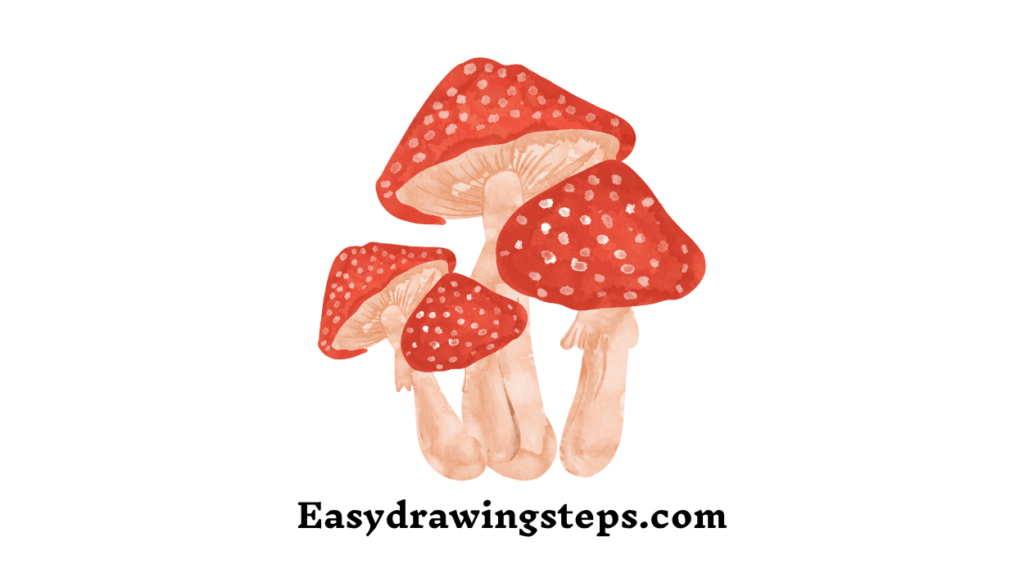
If desired, add more mushrooms of varying sizes around the main mushroom to create a cluster. This can enhance the overall composition and make your drawing more interesting.
Step 9: Outline Your Drawing
Once you are satisfied with your pencil sketch, outline the entire drawing with a black pen or marker. This will make your mushroom drawing stand out and look polished.
Also Read : 10 easy steps to draw Sukuna Drawing
Step 10: Color Your Drawing
Finish your mushroom drawing by adding color. Use shades of red, brown, yellow, or any other colors you like for the cap and stem. Add green for the grass and any other background elements to bring your drawing to life.
Drawing Ideas and Variations
- Mushroom Drawing for Kids: Simplify the steps for children by focusing on basic shapes and fewer details. Kids can use bright colors to make their drawings vibrant and fun.
- Mushroom Drawing Easy: For beginners, stick to the essential shapes and simple lines. Avoid intricate details until you are more comfortable with the basics.
- Easy Mushroom Drawing: A simple mushroom drawing can be a quick and satisfying project. Focus on the cap and stem, adding minimal details to keep it straightforward.
- Trippy Mushroom Drawing: Experiment with bold patterns, psychedelic colors, and imaginative designs. Trippy mushrooms can have swirls, dots, and vibrant hues to create a whimsical effect.
Drawing a mushroom is a fun and easy way to practice your artistic skills. By following these 10 steps, you can create a charming mushroom drawing that ranges from simple and easy to detailed and imaginative.
Whether you’re a beginner or looking for a creative project for kids, these instructions will help you achieve a delightful result. So, grab your drawing tools and start creating your mushroom masterpiece today!
FAQ
What materials do I need to start a mushroom drawing?
To start a mushroom drawing, you’ll need basic drawing materials including paper, a pencil for sketching, an eraser for corrections, and colored pencils or markers if you wish to add color. Additionally, a black pen or marker can be used for outlining your drawing to make it stand out.
How can I make my mushroom drawing suitable for kids?
To make a mushroom drawing suitable for kids, simplify the steps by focusing on basic shapes like circles and ovals for the cap and stem. Encourage the use of bright and vibrant colors to make the drawing more fun and engaging. Minimize intricate details and emphasize the joy of creativity and exploration in their artwork.
What are some tips for creating a realistic mushroom drawing?
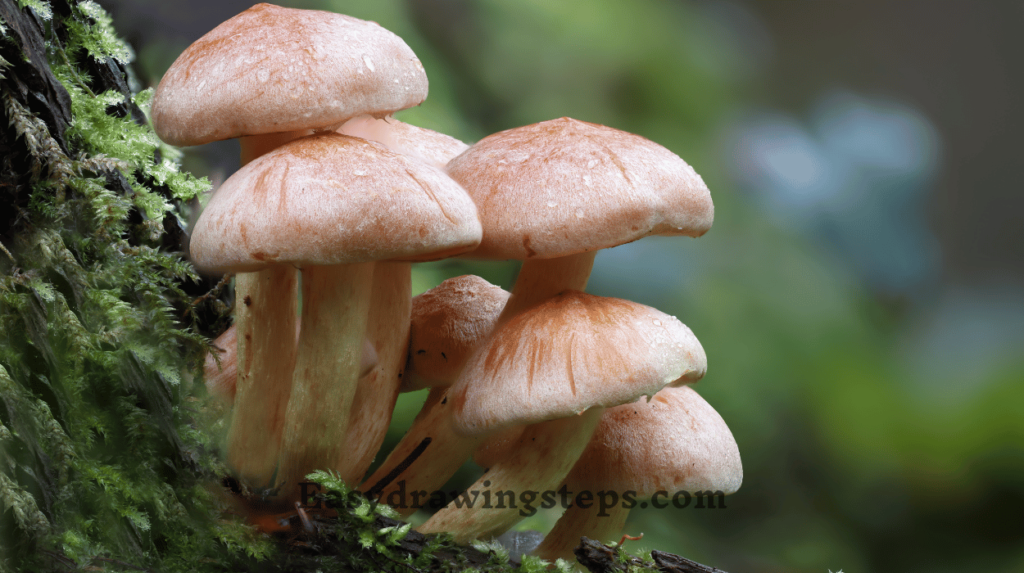
For a realistic mushroom drawing, pay attention to details such as the texture of the cap and the gills underneath. Use reference images to observe the shapes and colors of different mushroom species. Add shading and highlights to give depth and dimension to your drawing. Focusing on natural colors like browns, reds, and creams can also enhance realism.
How can I draw a trippy mushroom design?
To draw a trippy mushroom design, incorporate bold patterns and vibrant colors. Use swirls, dots, and other psychedelic elements on the cap of the mushroom. Play with unconventional color schemes and add imaginative details that give a whimsical and surreal look to the drawing. Creativity and boldness are key in trippy designs.
Can I draw a mushroom in different styles, and how?
Yes, you can draw a mushroom in different styles. For a cartoonish style, use exaggerated features and bright colors. For a realistic style, focus on detailed textures and accurate shading. For a minimalist style, stick to simple lines and basic shapes. Each style requires a different approach to line work, coloring, and detail, allowing for a wide range of artistic expression.


3 thoughts on “10 easy steps to draw Mushroom Drawing”