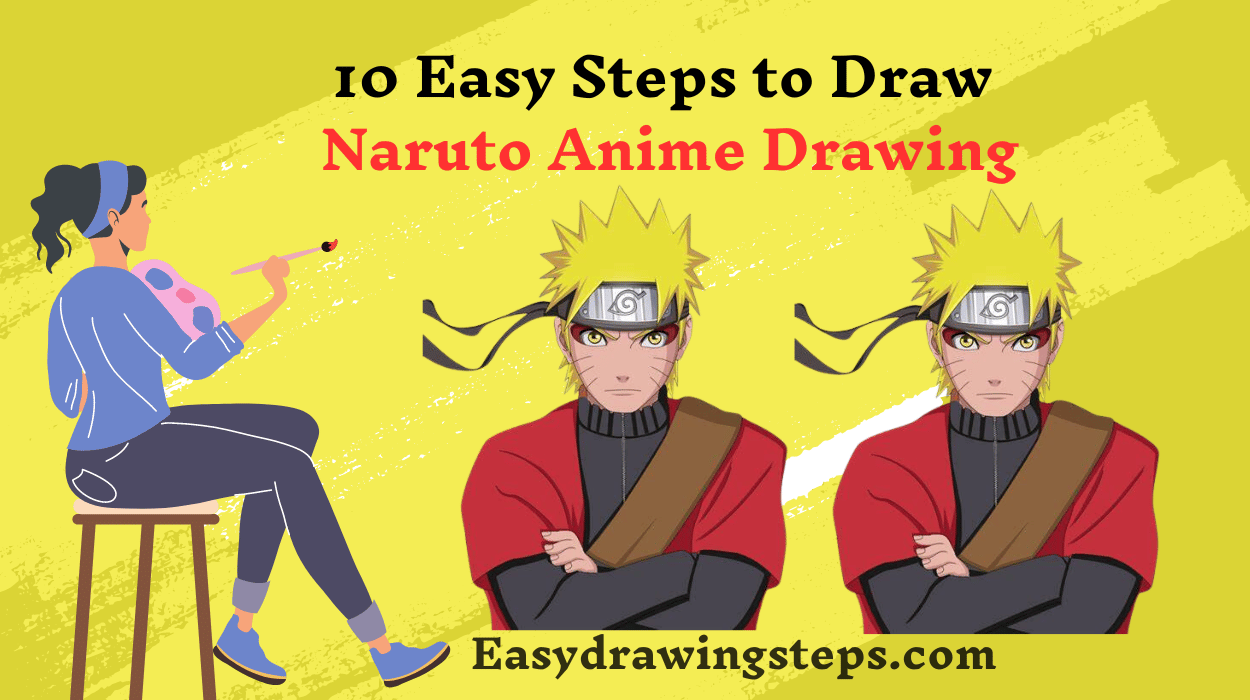
Naruto Anime Drawing : Drawing your favorite anime characters can be an exciting and rewarding experience, especially when it comes to iconic figures like Naruto Uzumaki.
With his spiky blonde hair, bright orange jumpsuit, and never-give-up attitude, Naruto is not just a character but a symbol of perseverance.
Whether you’re a beginner or just looking to improve your skills, here’s a simple guide to help you draw Naruto in just ten easy steps.
Step 1: Gather Your Materials
Before you start, make sure you have the right tools:
- A pencil
- An eraser
- Drawing paper
- Colored pencils or markers (optional)

Step 2: Draw the Basic Outline
Start by sketching a basic circle for Naruto’s head. This will help you determine the size and proportions of the rest of the body. Add a vertical line down the center of the circle and a horizontal line across the middle to guide the facial features.
Also Read : 10 Steps to Draw Gojo Satoru Drawing
Step 3: Add Facial Guidelines
Using the guidelines, sketch two smaller circles for the eyes, positioned below the horizontal line. Add a small triangle for the nose and a curved line for the mouth. Remember, Naruto’s expression is often determined by his bright eyes and cheerful smile!
Step 4: Outline the Face Shape
Refine the shape of Naruto’s face by drawing a slightly pointed chin. Make the sides of the face curve outwards to give him a youthful appearance.

Step 5: Draw the Hair
Naruto’s spiky hair is one of his most recognizable features. Start from the top of the head, and create jagged spikes pointing upwards and outwards. Don’t forget to add some smaller spikes around the sides for detail.
Step 6: Sketch the Eyes
Now, draw Naruto’s eyes. Start with the shape of the eyelids, making them slightly curved. Inside the eye, draw a large circle for the iris and a smaller circle for the pupil. Add highlights by leaving small white spots in the iris to make them look lively.
Also Read : 10 easy steps to draw Rukia Kuchiki Drawing
Step 7: Add the Mouth and Nose
Refine the nose by adding nostrils and define the mouth with a smile that captures Naruto’s cheerful personality. You can also add small lines at the corners to emphasize his expression.
Step 8: Draw the Outfit
Next, sketch Naruto’s outfit. Start with his collar, then draw the jacket’s outline with long sleeves. Make sure to include the zipper detail and the headband around his forehead. You can add pockets and other details later.
Also Read : 10 easy steps to draw Geto Drawing
Step 9: Add Final Details
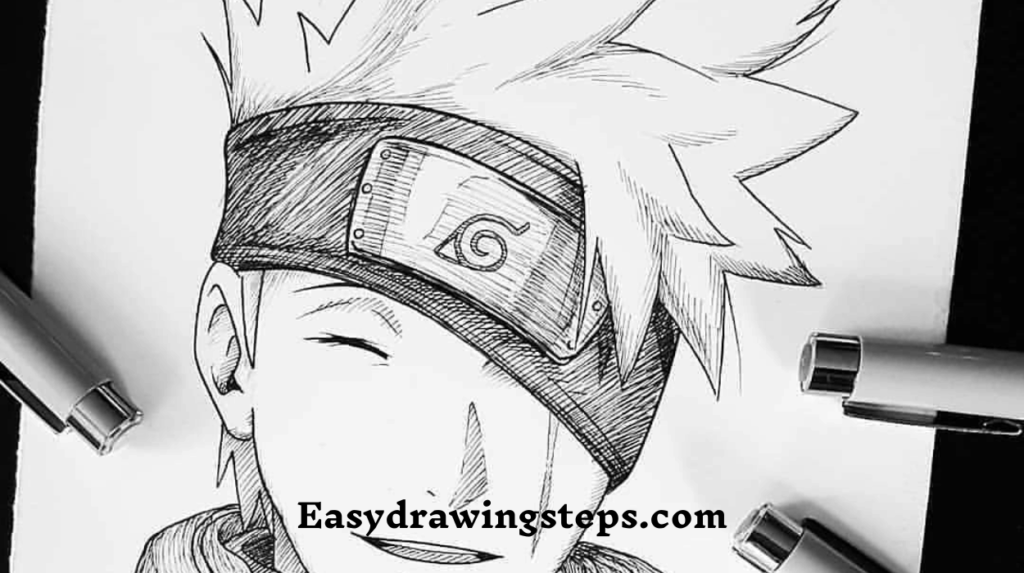
Once you’re happy with the outline, go back and refine the drawing. Erase any unnecessary lines, and add details like the headband symbol (the Hidden Leaf Village emblem) and texture to the clothing.
Step 10: Color Your Drawing
To finish, grab your colored pencils or markers and bring Naruto to life with vibrant colors! Use yellow for his hair, orange for his jumpsuit, and blue for the headband. Don’t forget to color the eyes a bright blue!
Congratulations! You’ve just drawn Naruto Uzumaki! With practice, you’ll get better at capturing his unique features and personality. Keep exploring different poses and expressions, and most importantly, have fun with your art!
Feel free to share your finished artwork or any tips you might have for drawing anime characters. Happy drawing!
Naruto Anime Drawing FAQ
What materials do I need to start Naruto Anime Drawing ?
You’ll need a pencil, an eraser, drawing paper, and optionally, colored pencils or markers for coloring your drawing.
How can I get the proportions right for Naruto’s face?
Start with a basic circle for the head and use vertical and horizontal lines to guide the placement of facial features. The eyes should be positioned below the horizontal line, with the nose and mouth centered along the vertical line.
What’s the best way to draw Naruto’s spiky hair?
Begin at the top of the head, sketching jagged spikes that point upwards and outwards. Vary the size of the spikes for a more natural look, and add smaller spikes around the sides for detail.
How can I make Naruto’s eyes look lively in Naruto Anime Drawing ?
Draw large irises and pupils, leaving small white spots in the iris for highlights. This adds depth and liveliness to his expression.
Do I need to add details to Naruto’s clothing?
Yes! Adding details like zippers, pockets, and the Hidden Leaf Village emblem on his headband will enhance the realism of your drawing and make it more recognizable as Naruto.


3 thoughts on “10 Easy Steps to Draw Naruto Anime Drawing”