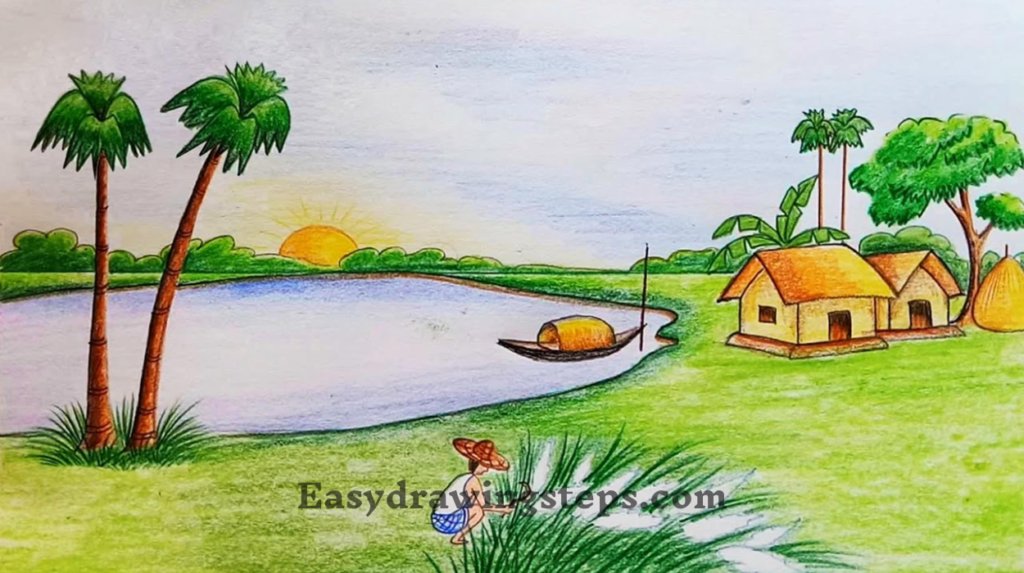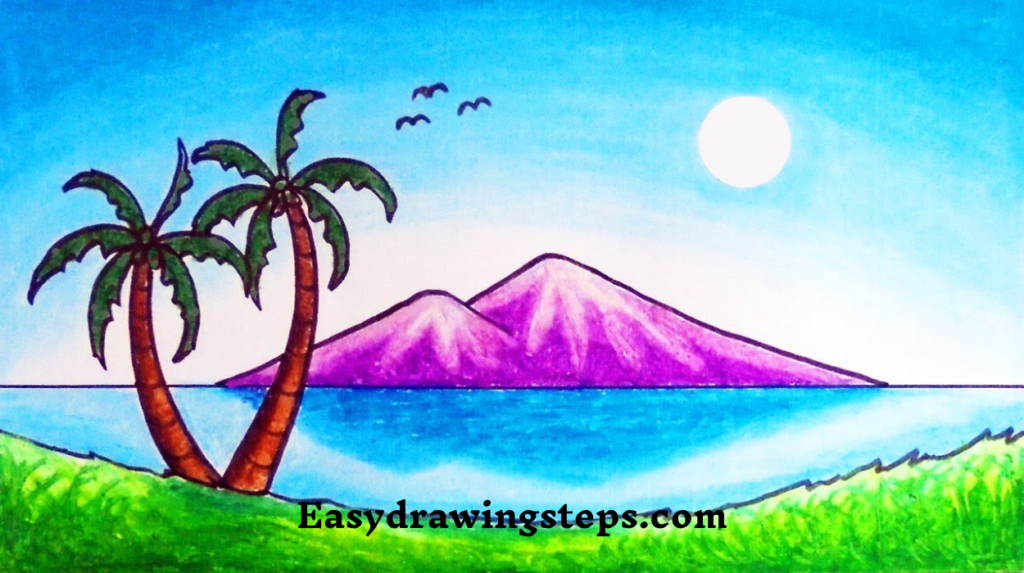
Nature Scenery Drawing : Drawing natural scenery can be a relaxing and fulfilling activity. Whether you are a beginner or have some experience, following these 10 easy steps will help you create a beautiful natural scenery drawing.
Step 1: Gather Your Materials
For this tutorial, you will need:
- A pencil and eraser
- Drawing paper
- Oil pastels (optional)
- A ruler (optional)
- Reference images (optional)
Step 2: Start with the Horizon Line
Begin by drawing a horizontal line across your paper. This line represents the horizon and divides the sky from the land or water below. Keep this line light as it might need adjustments later.
Also Read : 10 easy steps to draw Beautiful Easy Scenery Drawing
Step 3: Sketch the Basic Shapes
Identify the main elements of your scenery. These might include mountains, trees, a river, or a village. Lightly sketch the basic shapes for each element. For example, use triangles for mountains and circles for the sun.

Step 4: Add Details to the Foreground
Focus on the elements in the foreground first. If you’re drawing trees, add branches and leaves. For a village, sketch the outlines of houses. Pay attention to details that will make your drawing more interesting and realistic.
Also Read : 10 easy steps to draw Easy Simple Scenery Drawing
Step 5: Work on the Midground
Next, add details to the midground. This might include a river flowing through the scene or a field with flowers. Make sure the elements in the midground are slightly smaller and less detailed than those in the foreground.

Step 6: Add Background Elements
Draw the background elements such as distant mountains or a sunset. These should be lighter and less detailed, as they are further away.
Also Read : 10 easy steps to draw Guru Purnima Drawing
Step 7: Refine Your Drawing
Go over your initial sketches and refine the shapes and lines. Add more details where necessary and erase any unwanted lines. This step helps to clarify the overall structure of your drawing.
Step 8: Shading and Texture
Begin shading your drawing to add depth and dimension. Use different pencil pressures to create lighter and darker areas. For example, shade the mountains with light strokes and the trees with darker strokes to show their texture.
Also Read : 10 easy steps to draw Natural Scenery Drawing
Step 9: Add Color with Oil Pastels (Optional)
If you want to add color, use oil pastels to bring your scenery to life. Blend the colors smoothly for elements like the sky and water, and use sharper contrasts for the trees and buildings.
Step 10: Final Touches
Look over your drawing and add any final touches. This might include additional shading, highlights, or small details that make the scene more vivid. Once satisfied, you can outline your drawing with a pen or darker pencil to make it stand out.
Pencil Nature Scenery Drawing
Using just a pencil allows for great control over detail and texture. Pencil nature scenery drawings are perfect for capturing fine details such as the intricate bark of a tree or the delicate petals of a flower. The monochromatic nature of pencil drawings emphasizes shadows and highlights, creating a dramatic effect.
Oil Pastel Village Nature Scenery Drawing
Oil pastels are fantastic for adding vibrant color to your drawings. When drawing a village within natural scenery, oil pastels can highlight the warmth and coziness of the houses nestled among trees and fields. The blendability of oil pastels helps in creating smooth transitions between different elements of the scenery, such as the sky and the land.
Landscape Pencil Nature Scenery Drawing
Landscape drawings often cover wide expanses, capturing mountains, rivers, forests, and fields. Using a pencil for landscape drawings allows for a focus on texture and contrast. It’s ideal for showing the ruggedness of mountains or the gentle flow of a river. Pencil drawings can be both detailed and expansive, capturing the essence of natural beauty.
Oil Pastel Nature Scenery Drawing
Oil pastels bring a rich, bold look to nature scenery drawings. They are excellent for depicting the vibrant colors of a sunset, the lush greens of a forest, or the deep blues of a river. Oil pastels are easy to blend, making them perfect for creating smooth gradations of color in the sky or water. They also provide a unique texture that can make your drawings stand out.
By following these steps and utilizing different mediums like pencils and oil pastels, you can create stunning natural scenery drawings that capture the beauty of the world around us. Whether you prefer the detailed precision of pencil drawings or the vivid colors of oil pastels, each method offers a unique way to express your artistic vision.
FAQ
What are the essential materials needed for drawing nature scenery?
To draw nature scenery, you need a good quality sketchbook or drawing paper, a set of pencils ranging from 2H to 8B for different shading needs, an eraser (both regular and kneaded types are useful), and a ruler for straight lines (optional). Additionally, oil pastels or colored pencils can be used to add color, and having reference images or observing real-life scenes can provide inspiration and accuracy.
How do you create depth in a nature scenery drawing?
Creating depth in a nature scenery drawing involves several techniques. Overlapping objects shows which ones are closer and which are further away. Varying the size of objects, making closer ones larger and distant ones smaller, helps create perspective. Adding more detail and texture to the foreground and less to the background enhances depth. Using lighter shading for distant objects and darker shading for nearer ones, along with applying linear perspective techniques like vanishing points and converging lines, also contributes to a sense of depth.
What is the difference between drawing with pencils and oil pastels in nature scenery art?
Drawing with pencils allows for precise control and the ability to capture fine details and textures, making it ideal for intricate landscapes and detailed elements. Pencil drawings typically focus on shading and contrast in a monochromatic style. In contrast, oil pastels offer vibrant, bold colors that can be blended smoothly to create rich transitions. They are excellent for adding vivid hues to landscapes, such as sunsets or lush forests, and impart a unique texture to the drawing.
How can beginners improve their nature scenery drawing skills?
Beginners can enhance their nature scenery drawing skills by practicing regularly to build confidence and improve techniques. Studying reference images and analyzing photos or real-life scenes helps in understanding how natural elements appear and interact. Learning basic drawing techniques like shading, perspective, and composition is crucial. Experimenting with different drawing mediums such as pencils, charcoal, and pastels can help beginners find their preferred tools. Seeking feedback from others provides constructive criticism, helping to identify areas for improvement.
What are some common mistakes to avoid when drawing nature scenery?
Common mistakes in nature scenery drawing include ignoring perspective, which can make a drawing look flat and unrealistic. Overloading with detail can clutter the drawing, so it’s better to focus on foreground details and simplify the background. Inconsistent lighting, where the light source isn’t maintained consistently, can make shading and shadows appear unnatural. Using the same pencil pressure throughout the drawing can lead to a lack of depth, so varying pressures is important. Neglecting composition can make even well-drawn elements look unbalanced, so planning the layout before starting is essential.


Osm bro