
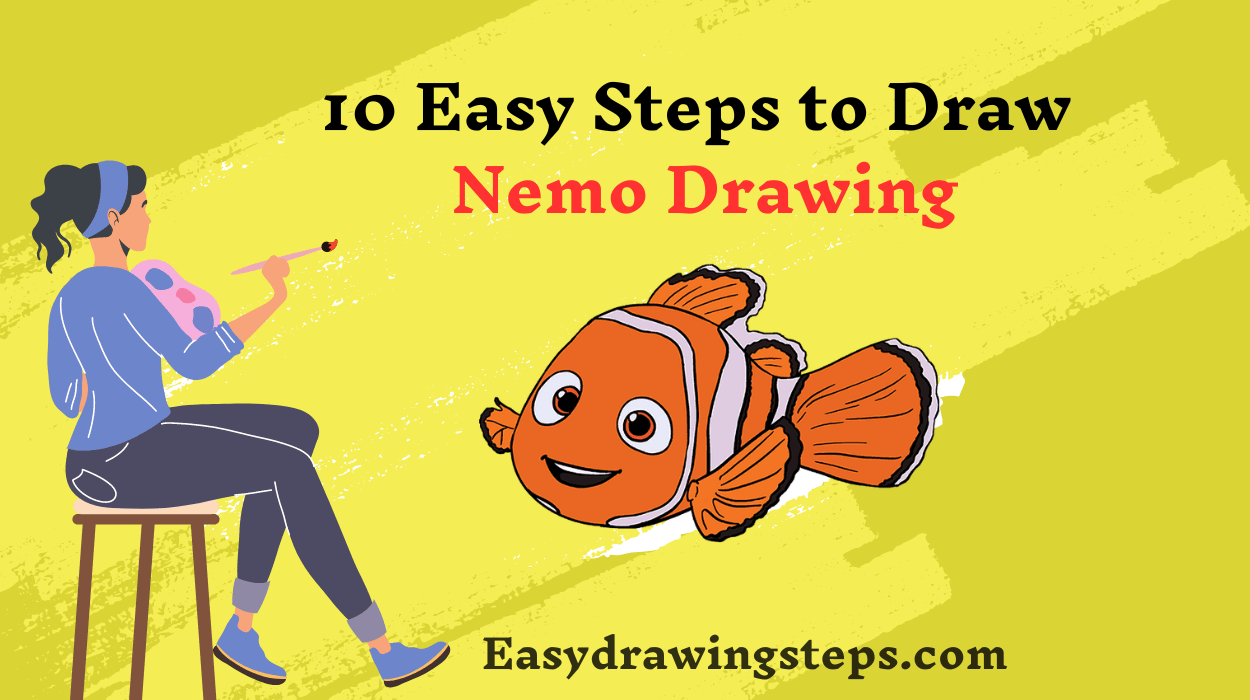
Nemo Drawing : Drawing Nemo, the charming clownfish from the popular animated film “Finding Nemo,” is a fun and creative activity that can be enjoyed by artists of all ages.
Whether you’re drawing a baby Nemo, the classic cartoon version, or even including his friend Dory, these 10 easy steps will guide you through the process.
This tutorial is designed to help you create a vibrant Nemo drawing that’s perfect for kids, beginners, or anyone who loves this iconic character.
Step 1: Outline Nemo’s Body Shape
Start by drawing the basic shape of Nemo’s body. Since Nemo is a clownfish, his body is oval-shaped, with a slight curve to represent his sleek, streamlined form. Make the oval slightly pointed at one end, where his face will be, and broader at the other end for his tail.
Step 2: Draw Nemo’s Tail
Next, sketch Nemo’s tail fin at the broader end of the oval. The tail should be fan-shaped with a slightly wavy edge to represent the fin’s delicate texture. For a more dynamic pose, you can angle the tail slightly upward or downward. This step is crucial for making your Nemo drawing easy to recognize.
Also Read : 10 Easy Steps to Draw Beautiful Peacock Drawing With Colour
Step 3: Add the Fins
Now, draw Nemo’s fins. Start with the dorsal fin, which sits on top of his body. This fin should be rounded with a slightly jagged edge. Then, draw the pectoral fins on either side of his body. These fins should be smaller and shaped like rounded triangles. Remember to draw Nemo’s smaller, slightly deformed fin on one side to match his unique character from the movie.
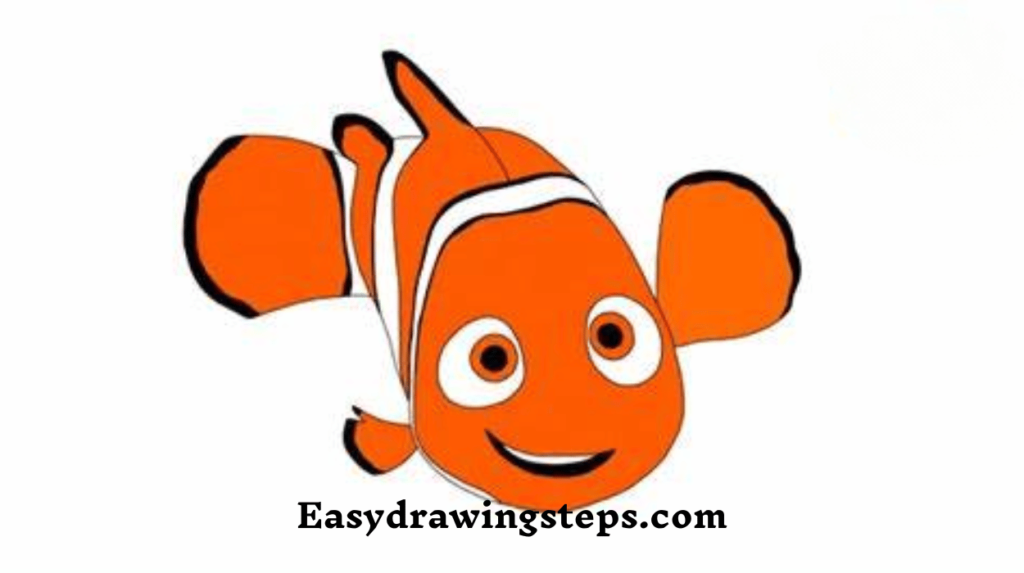
Step 4: Outline Nemo’s Face
To draw Nemo’s face, start by sketching a curved line across the front end of the oval. This line marks where his face ends and his body begins. Draw two large, round eyes on this line, making sure they’re close together. Add a small, rounded nose or snout just below the eyes. This simple facial structure will give your Nemo drawing a cute and recognizable appearance.
Step 5: Draw Nemo’s Mouth
Now it’s time to draw Nemo’s mouth. Draw a wide, curved line below the eyes to form a friendly smile. You can make the smile slightly asymmetrical for a more playful expression, just like in the “Finding Nemo” movie. Adding a bit of curve to the smile will give Nemo a more lively and cheerful look.
Step 6: Add the Stripes
One of the most distinctive features of Nemo is his white stripes. Start by drawing a curved stripe across the front part of his body, just behind his head. Then, add two more stripes along the length of his body. The stripes should be wide and evenly spaced. For a realistic touch, make sure the stripes follow the contours of Nemo’s body and fins.
Also Read : 10 Easy Steps to Draw Peacock Drawing Images
Step 7: Refine the Details
Now, go over your drawing and refine the lines, adding more detail where needed. Smooth out the edges of the fins, make the stripes more defined, and add any small details that might have been missed. If you’re drawing a baby Nemo, you might want to soften some of the lines to make him look younger and cuter.
Step 8: Draw Dory or Squirt (Optional)
If you want to make your drawing more interesting, you can add Nemo’s friends, Dory or Squirt, to the scene. Dory can be drawn as a blue tang fish with a similar oval shape but with a more pointed nose and smaller fins. Squirt, the baby sea turtle, can be drawn with a rounded shell and flippers. Adding these characters will create a more dynamic “Finding Nemo” drawing.
Also Read : 10 Easy Steps to Draw Pencil Peacock Drawing
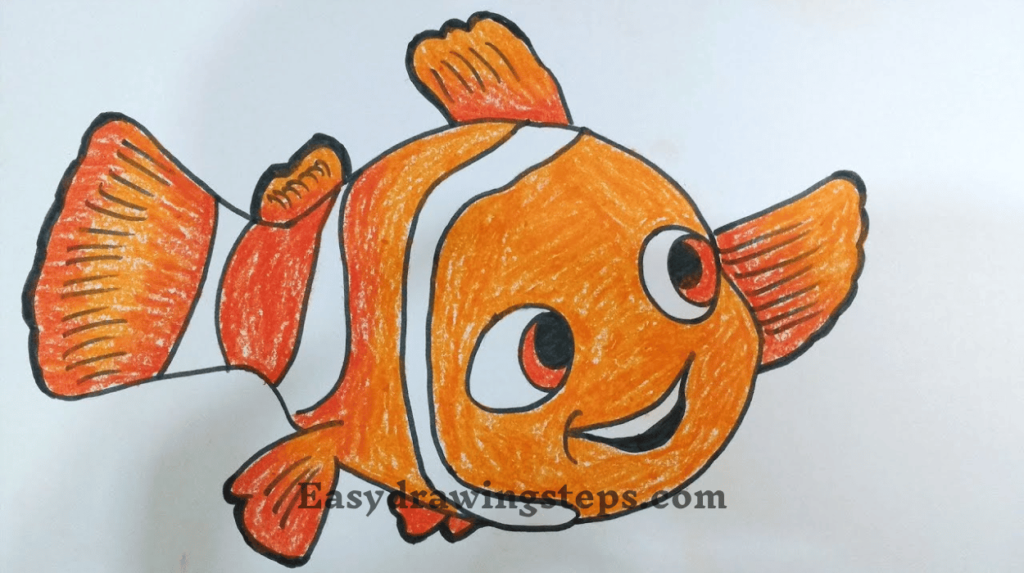
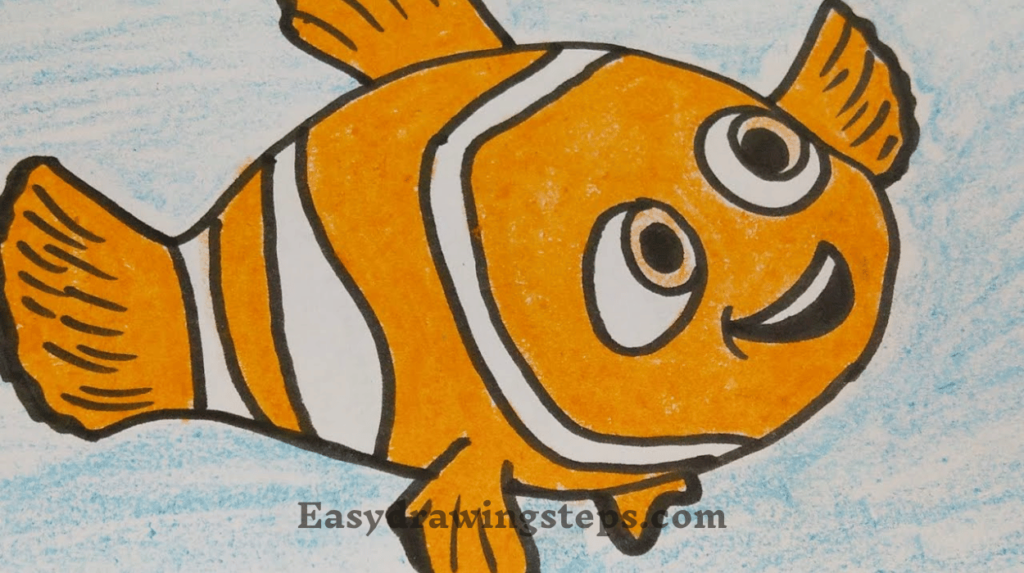
Step 9: Add Color
Now it’s time to bring Nemo to life with color. Use bright orange for Nemo’s body, making sure to color around the white stripes. The stripes should remain white, but you can add a light shading of gray to give them depth. Use black for the outlines of the fins and the edges of the stripes. For the eyes, use a combination of black and white to create a shiny, lively look.
If you’ve drawn Dory, use bright blue and yellow for her body and fins. For Squirt, use shades of green and brown for his shell and flippers. These colors will make your drawing vibrant and true to the characters from “Finding Nemo.”
Step 10: Add the Finishing Touches
Finally, add any finishing touches to your Nemo drawing. This could include adding bubbles around Nemo to give the impression that he’s underwater, or shading around the edges of his body to give him a more three-dimensional appearance. You might also want to add a simple ocean background, with waves or coral, to complete the scene.
Drawing Nemo is a fun and rewarding activity that captures the charm of this beloved character. By following these 10 easy steps, you can create a delightful Nemo drawing, whether it’s a baby Nemo, a simple cartoon version, or a more detailed scene with his friends.
This guide is perfect for kids, beginners, or anyone looking to recreate the magic of “Finding Nemo” on paper. Happy drawing!
Nemo Drawing FAQ
What is the best way to start a Nemo drawing?
The best way to start a Nemo drawing is by outlining the basic shape of his body. Begin with an oval shape that’s slightly pointed at one end for his face and wider at the other end for his tail. This simple step will set the foundation for the rest of the drawing.
How can I make Nemo’s stripes look realistic?
To make Nemo’s stripes look realistic, follow the contours of his body as you draw them. Make sure the stripes are evenly spaced and curved to match the shape of his body. Adding a light gray shading to the edges of the stripes can also give them more depth and a three-dimensional appearance.
What colors should I use for my Nemo drawing?
For a Nemo drawing, use bright orange for his body and black for the outlines of his fins and the edges of his white stripes. The stripes themselves should be left white, with a slight gray shading if desired. His eyes should be a combination of black and white to create a lively, shiny look.
How can I draw Nemo’s face to make it look expressive?
To make Nemo’s face look expressive, focus on the eyes and mouth. Draw large, round eyes close together to capture his curious and friendly nature. A wide, curved smile will give him a cheerful and playful expression. Adding slight curves to the eyes and mouth can enhance the expressiveness.
Can I add other characters to my Nemo drawing?
Yes, you can definitely add other characters to your Nemo drawing! Consider drawing Dory, the blue tang fish, or Squirt, the baby sea turtle, alongside Nemo. Dory can be drawn with bright blue and yellow colors, while Squirt should have shades of green and brown for his shell and flippers. This will make your drawing more dynamic and fun.
3 thoughts on “10 Easy Steps to Draw Nemo Drawing”