

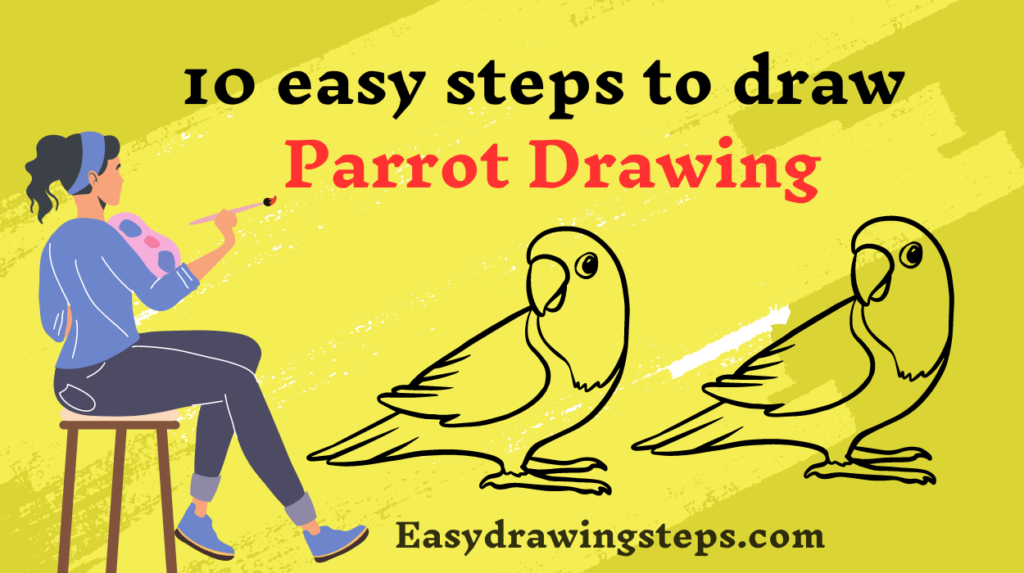
Parrot Drawing : Drawing a parrot can be an enjoyable and creative activity, perfect for both kids and beginners.
This blog post will guide you through 10 easy steps to create a vibrant parrot drawing.
Whether you’re looking for an easy parrot drawing or a detailed pencil parrot drawing, this guide has got you covered.
Materials Required for Parrot Drawing
- Paper
- Pencil
- Eraser
- Fine liner or black pen (optional)
- Colored pencils or markers (optional)
Step 1: Draw the Body Outline
Start by drawing an oval in the center of your paper for the parrot’s body. Keep it slightly tilted to give a natural posture.
Also Read : 10 easy steps to draw Car Drawing
Step 2: Add the Head
Draw a smaller circle on top of the oval for the parrot’s head. Make sure it overlaps the body slightly.
Step 3: Draw the Beak
Sketch a curved shape extending from the head circle. Parrot beaks are typically strong and curved, so make sure to emphasize this feature.
Also Read : 10 easy steps to draw Save Earth Drawing
Step 4: Add the Eyes
Draw a small circle within the head for the eye. Inside this circle, draw an even smaller circle to represent the pupil.
Step 5: Outline the Wings
Draw a large, elongated oval on one side of the body to form the wing. It should start from the shoulder area (near the top of the body) and extend downwards.
Also Read : 10 easy steps to draw Earth Drawing
Step 6: Draw the Tail Feathers
At the bottom of the oval (body), draw long, pointed shapes extending downwards to create the tail feathers.
Step 7: Add the Legs and Feet
Draw two short lines extending from the bottom of the body for the legs. At the end of each leg, draw three small toes pointing forward and one pointing backward.
Also Read : 10 easy steps to draw India Map Drawing
Step 8: Detail the Feathers
Add some curved lines inside the wing and tail to indicate feathers. These lines should follow the natural curve of the parrot’s body.

Step 9: Outline Your Drawing
Go over your pencil lines with a fine liner or black pen to make the drawing more defined. This step will help your drawing stand out and look more polished.
Also Read : 10 easy steps to draw Panda Drawing
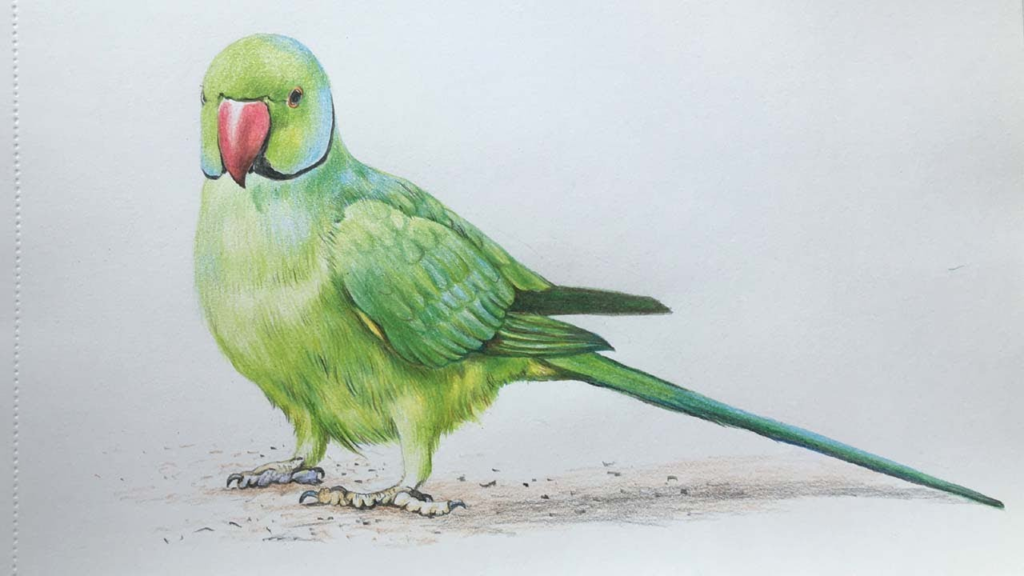
Step 10: Color Your Parrot
Use colored pencils or markers to bring your parrot drawing to life. Parrots are known for their bright, vibrant colors, so feel free to use a variety of hues to make your drawing eye-catching.
Parrot Drawing for Kids
- Simplify the shapes and use bright, fun colors to engage young artists.
- Encourage kids to add their own creative touches, such as colorful patterns on the feathers.
Parrot Drawing Easy
- Focus on basic shapes and clear, bold lines.
- Simplify the details to make the drawing process quick and enjoyable.
Easy Parrot Drawing
- Break down the drawing into simple, easy-to-follow steps.
- Use step-by-step instructions to build confidence and make the process approachable.
Pencil Parrot Drawing
- Use shading techniques to add depth and texture to your pencil drawing.
- Start with light pencil strokes and gradually build up darker tones for a more realistic look.
By following these steps, you can create a beautiful and straightforward parrot drawing. Whether it’s for a school project, a fun activity, or just to practice your drawing skills, these easy steps will help you achieve a great result. Grab your drawing materials and start creating your parrot masterpiece today!
FAQ
What are the basic shapes needed to start drawing a parrot?
Begin with an oval for the body and a smaller circle for the head. Add a curved shape for the beak and elongated ovals for the wings and tail feathers.
How can kids make their parrot drawings more fun and engaging?
Kids can use bright, vibrant colors and add creative touches like patterns or designs on the feathers. Simplifying shapes and using bold lines can also make the drawing more accessible and enjoyable.
What tips can help achieve a realistic parrot drawing using pencils?
Use shading to add depth and texture. Start with light pencil strokes and build up darker tones gradually. Focus on the curves and details of the feathers and beak to enhance realism.
How can beginners ensure their parrot drawing is easy and successful?
Break down the drawing into simple, step-by-step instructions. Focus on basic shapes and clear, bold lines. Simplify the details and use reference images for guidance.
What are the key elements to include in a parrot drawing?
Key elements include the body, head, beak, eye, wings, tail feathers, legs, and feet. Adding details like feathers and coloring with vibrant hues will make the drawing more lively and realistic.
1 thought on “10 easy steps to draw Parrot Drawing”