

Peacock Drawing Easy : Drawing a peacock can seem intimidating due to its intricate feathers and elegant posture, but it can be made simple and enjoyable with a step-by-step approach.
Whether you’re a beginner, a parent guiding kids, or someone looking to create a colorful piece of art, this guide will help you create a peacock drawing that’s easy and beautiful.
Let’s get started with our 10 easy steps to draw a peacock!
Step 1: Gather Your Materials for Peacock Drawing Easy
To begin, you’ll need the following supplies:
- Drawing paper
- Pencils (HB and 2B for sketching)
- Eraser
- Sharpener
- Colored pencils, markers, or watercolors for coloring
- Fine-tip black pen (optional for outlining)
Also Read : 10 easy steps to draw Watercolor Drawing
Step 2: Draw the Head and Neck
Start by drawing a small oval for the head. Extend a long, curved line downwards to form the neck. The neck should be elegant and slightly curved to mimic the peacock’s graceful posture.
Step 3: Add the Body
Draw a larger oval or teardrop shape beneath the neck for the body. Ensure it’s proportionate to the head and neck, giving the peacock a balanced look.
Also Read : 10 easy steps to draw Teachers Day Drawing
Step 4: Sketch the Beak and Eyes
Add a small triangle for the beak on the side of the head. Draw a small circle or oval for the eye, placing it just above the beak.
Step 5: Draw the Crown Feathers
Peacocks have distinctive crown feathers on their heads. Draw a few thin, straight lines extending from the top of the head, each ending in a small circle or oval.
Also Read : 10 easy steps to draw Iron Man Drawing
Step 6: Outline the Wings
Draw a curved line starting from the top of the body extending towards the back to indicate the wings. The wings should be partially visible and aligned with the body shape.
Step 7: Draw the Tail Feathers
This step is crucial for making the peacock drawing easy and beautiful. Starting from the back of the body, draw long, curved lines that fan outwards to represent the tail feathers. The lines should vary in length and angle to create a natural fan shape.
Also Read : 10 easy steps to draw Mandala Drawing
Step 8: Add Details to the Tail Feathers
Within each tail feather, draw eye-like patterns. These are typically oval shapes with smaller circles inside. These details will make your peacock drawing easy with color later on.
Step 9: Outline and Refine
Go over your pencil lines with a fine-tip black pen or a darker pencil to make the outlines more prominent. Erase any unnecessary pencil marks. This step helps in making a pencil peacock drawing easy and beautiful.
Also Read : 10 easy steps to draw Still Life Drawing
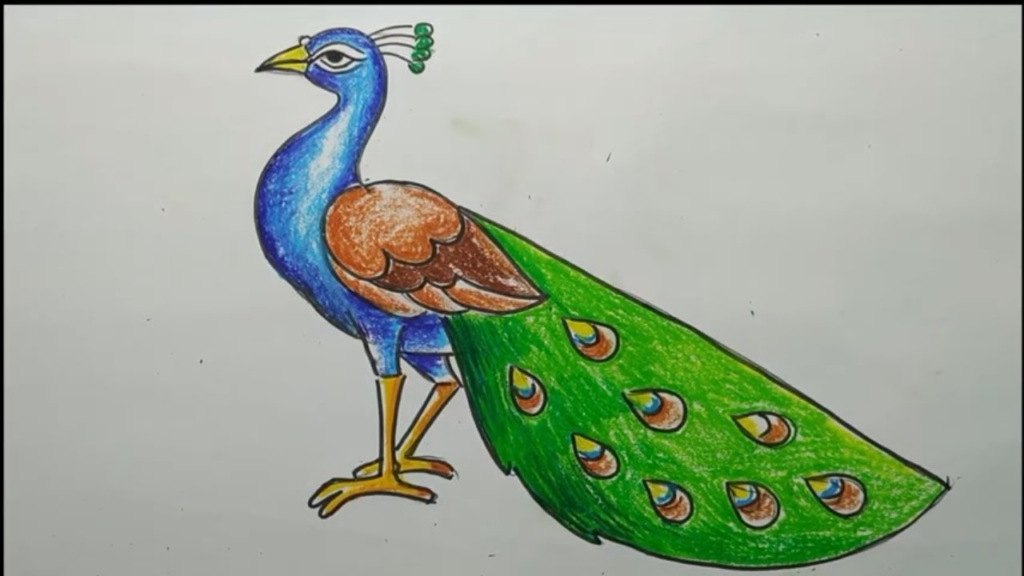
Step 10: Color Your Drawing
Use colored pencils, markers, or watercolors to bring your peacock to life. Peacocks are known for their vibrant colors, so use shades of blue, green, and gold for the feathers. Add color to the eyes, beak, and crown feathers to complete the look.
Peacock Drawing Ideas
Need some inspiration? Here are a few ideas for your peacock drawings:
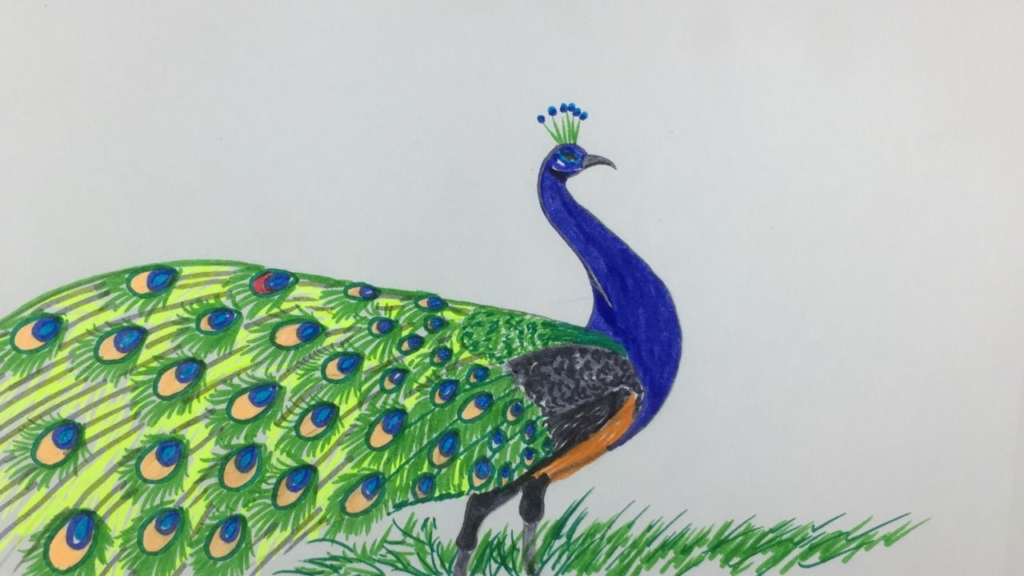
- Peacock Drawing Easy and Beautiful: Focus on the peacock’s elegant posture and vibrant tail feathers. Use bright colors to make the drawing stand out.
- Peacock Drawing Easy with Colour: Experiment with different shades of blue and green to create a realistic and stunning peacock.
- Peacock Drawing Easy for Kids: Simplify the shapes and use bold, bright colors. Encourage kids to add their own creative touches to the feathers.
- Peacock Drawing Easy and Beautiful Step by Step: Follow the step-by-step guide closely, ensuring each step is clear and easy to follow. Use outlines and vibrant colors to enhance the beauty.
- Pencil Peacock Drawing Easy and Beautiful: Focus on fine details using pencils. Shading and blending techniques can add depth and dimension to the drawing.
Creating a peacock drawing is a fun and rewarding experience. By following these 10 easy steps, you can produce a beautiful piece of art that showcases the elegance and vibrant colors of a peacock.
Whether you’re a beginner, a seasoned artist, or guiding kids in their artistic journey, these steps and ideas will help you create a stunning peacock drawing. Gather your materials, let your creativity flow, and start drawing today!
FAQ
What are the basic steps to start a peacock drawing?
1. Draw an oval for the head and a curved line for the neck.
2. Add a larger oval for the body.
3. Sketch the beak and eyes.
4. Draw crown feathers on the head.
How can beginners make a peacock drawing easy and beautiful?
1. Break down the drawing into simple shapes.
2. Follow a step-by-step guide.
3. Use light pencil strokes for outlines.
4. Add vibrant colors.
5. Practice regularly.
What materials are recommended for coloring a peacock drawing?
1. Colored pencils
2. Markers
3. Watercolors
4. Crayons
kzdllf