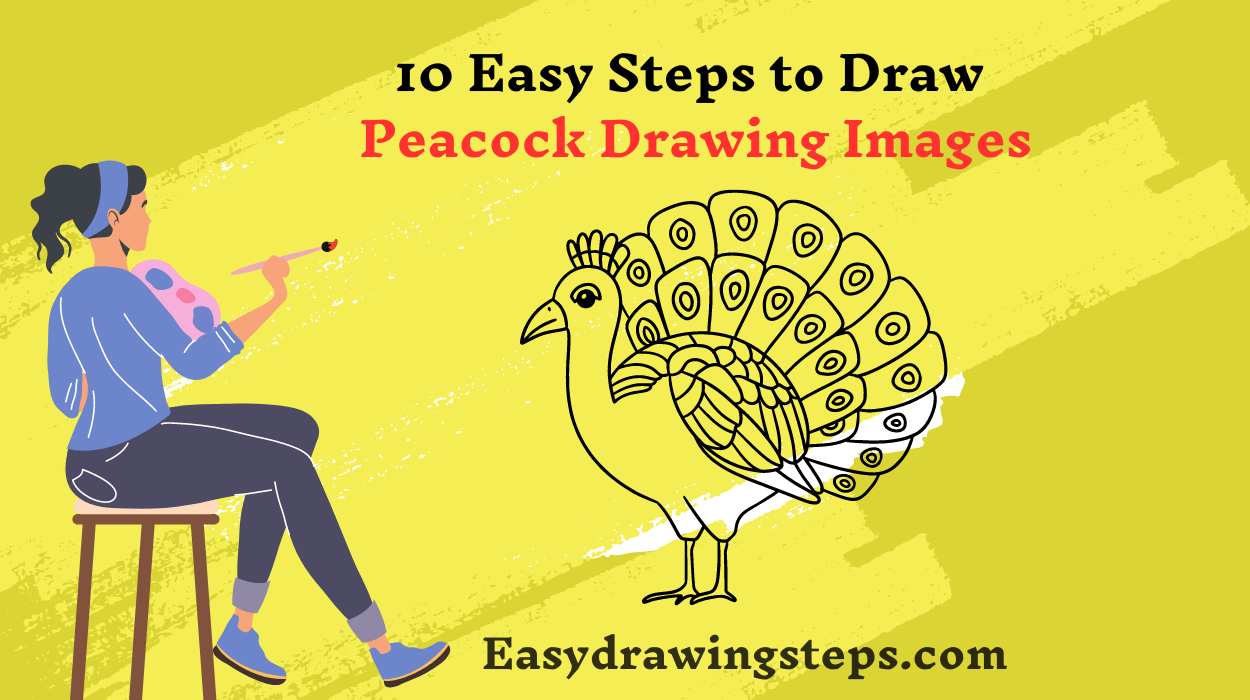
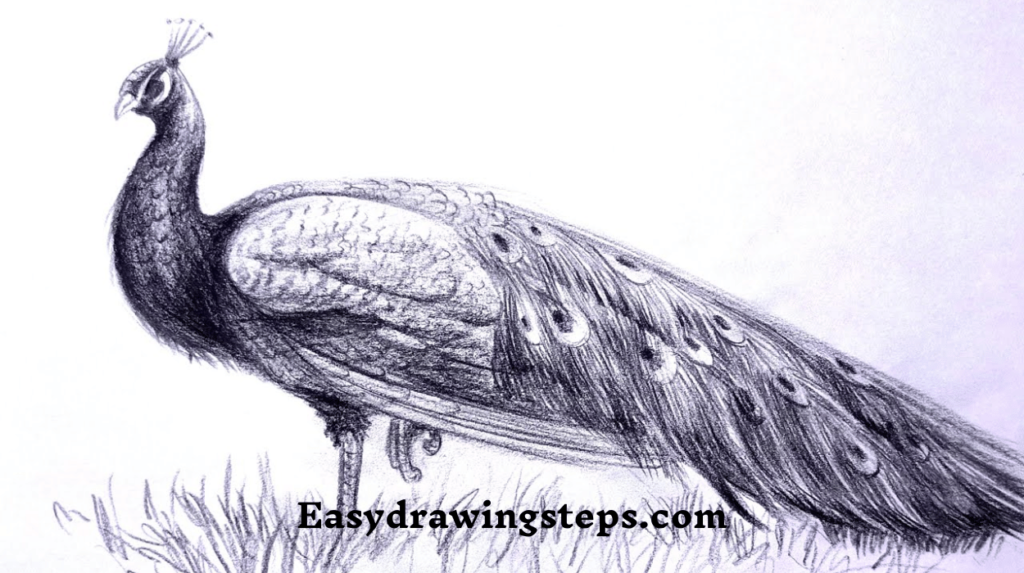
Peacock Drawing Images : Drawing a peacock can be a delightful artistic project, whether you’re aiming to create a vivid colored illustration or a classic pencil sketch. With its vibrant feathers and elegant pose, the peacock offers a fantastic subject for both beginner and advanced artists.
Here’s a step-by-step guide to help you create stunning peacock images, from initial sketches to detailed artwork.
Step 1: Start with Basic Shapes
Begin your drawing by sketching the basic shapes that form the structure of the peacock. Draw a small circle for the head and a larger oval for the body. Connect these with a smooth curved line for the neck. This foundational sketch helps set the proportions and layout of your peacock drawing.

Step 2: Define the Head and Neck
Extend the neck from the body and add the head’s features. Draw a small triangle for the beak and two small circles for the eyes. Lightly sketch these elements to ensure they are well-placed and proportionate. This step is crucial for capturing the peacock’s characteristic head and neck.
Also Read : 10 Steps to Draw Pencil Easy Peacock Drawing
Step 3: Sketch the Body Feathers
Add texture to the body by sketching the feathers. Use short, curved lines to represent the feathers starting from the neck and moving down to the tail. Overlap the lines slightly to create a natural, feathery look. This adds dimension and prepares the peacock for more detailed work.
Step 4: Draw the Tail Feathers
The tail feathers are one of the peacock’s most striking features. Draw several long, curved lines extending from the back of the body to form the tail. These lines should fan out in a semi-circle. Adjust the lengths and curves to capture the grandeur of the peacock’s tail.

Step 5: Add Detailed Feather Patterns
Enhance the tail feathers by drawing the “eye” patterns that are characteristic of peacocks. Draw small ovals with dots in the center along each tail feather. This detail adds to the peacock’s distinctive look and makes the tail feathers stand out.
Step 6: Refine Feather Texture
Refine the feather texture by adding shading and details. Use varying pencil pressures to create gradients and depth. Lightly shade the edges of the feathers and use darker tones for areas that naturally fall into shadow. Blending these shades smoothly will create a more realistic appearance.
Also Read : 10 Easy Steps to Draw Peacock Drawing For Kids
Step 7: Create Realistic Feather Patterns
Focus on adding realistic feather patterns by using a range of tones. Lightly sketch the patterns and gradually add darker shades to create contrast and texture. Vary the pressure of your pencil to simulate the different layers and textures of the feathers.
Step 8: Add Highlights and Shadows
Add highlights and shadows to give your peacock drawing a three-dimensional effect. Use an eraser to lift some shading and create highlights on the feathers. Darken shadowed areas to enhance depth. This contrast will make your drawing more dynamic and lifelike.
Also Read : 10 Easy Steps to Draw Peacock Drawing Easy And Beautiful
Step 9: Optional Coloring
If you choose to add color, start by applying a base layer of color to the feathers using colored pencils. Use light layers and gradually build up the color to achieve the desired vibrancy. Blend the colors smoothly to enhance the peacock’s natural beauty. For images that are not colored, focus on achieving contrast and texture with shading alone.
Step 10: Final Touches
Review your drawing and make final adjustments. Darken outlines where needed and refine shading to smooth out any rough spots. Ensure that all details are well-defined and that the peacock’s features are accurately represented. This final touch-up step will complete your drawing and make it ready for display.
Drawing peacock images can be a rewarding and enjoyable process, allowing you to explore various artistic techniques. By following these 10 easy steps, you can create beautiful peacock images, whether you choose to use colors or stick to a classic pencil drawing. Embrace your creativity, and enjoy the process of bringing this magnificent bird to life on paper!
Peacock Drawing Images FAQ
What are the initial steps for creating a peacock drawing?
Begin by sketching the basic shapes that define the peacock’s structure. Draw a small circle for the head and a larger oval for the body. Connect these shapes with a curved line for the neck. This foundational sketch helps set the proportions and layout of your peacock drawing, making it easier to add details later.
How can I effectively draw the tail feathers of a peacock?
o draw the tail feathers, start by sketching several long, curved lines extending from the back of the body. These lines should fan out to form a semi-circle. Adjust the lengths and curves to capture the grandeur and natural spread of the tail feathers. Adding detailed feather patterns and “eye” shapes will enhance the tail’s appearance.
What techniques can be used to add texture and depth to the feathers in a peacock drawing?
To add texture and depth, use varying pencil pressures to create gradients and shading. Lightly sketch the feathers and gradually build up darker shades for areas in shadow. Blending the shades smoothly will help simulate the natural texture and light reflections on the feathers, adding realism to your drawing.
How can highlights and shadows improve the appearance of a peacock drawing?
Highlights and shadows enhance the three-dimensional effect of your drawing. Use an eraser to lift some shading and create highlights on the feathers where light naturally hits. Darken areas in shadow to add depth and contrast. This technique will make your peacock drawing appear more dynamic and lifelike.
Can I use color pencils to enhance my peacock drawing, and if so, how should I apply them?
Yes, color pencils can enhance your peacock drawing by adding vibrancy and richness. Apply a base layer of color using light strokes and gradually build up the intensity. Blend the colors smoothly to achieve a natural look. If you prefer a monochrome drawing, focus on shading and texture to achieve a detailed and realistic appearance.


4 thoughts on “10 Easy Steps to Draw Peacock Drawing Images”