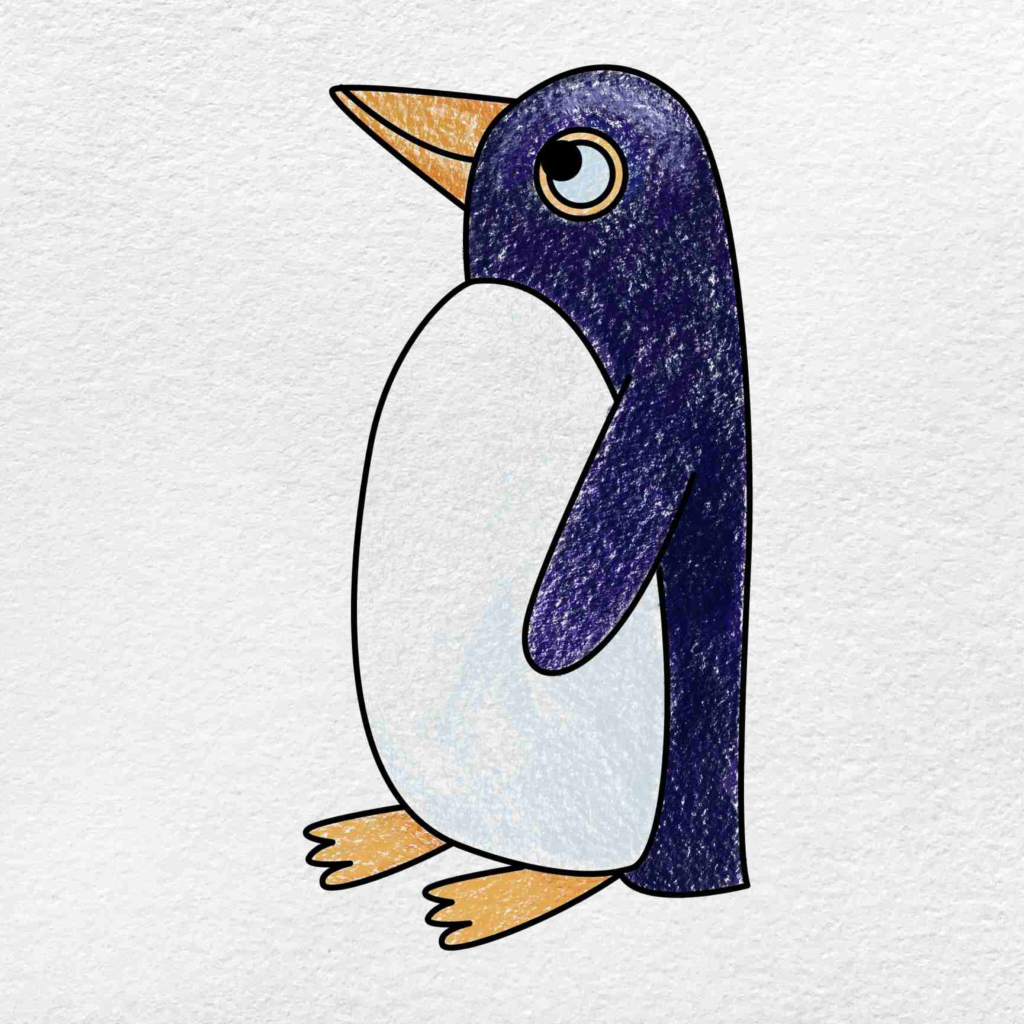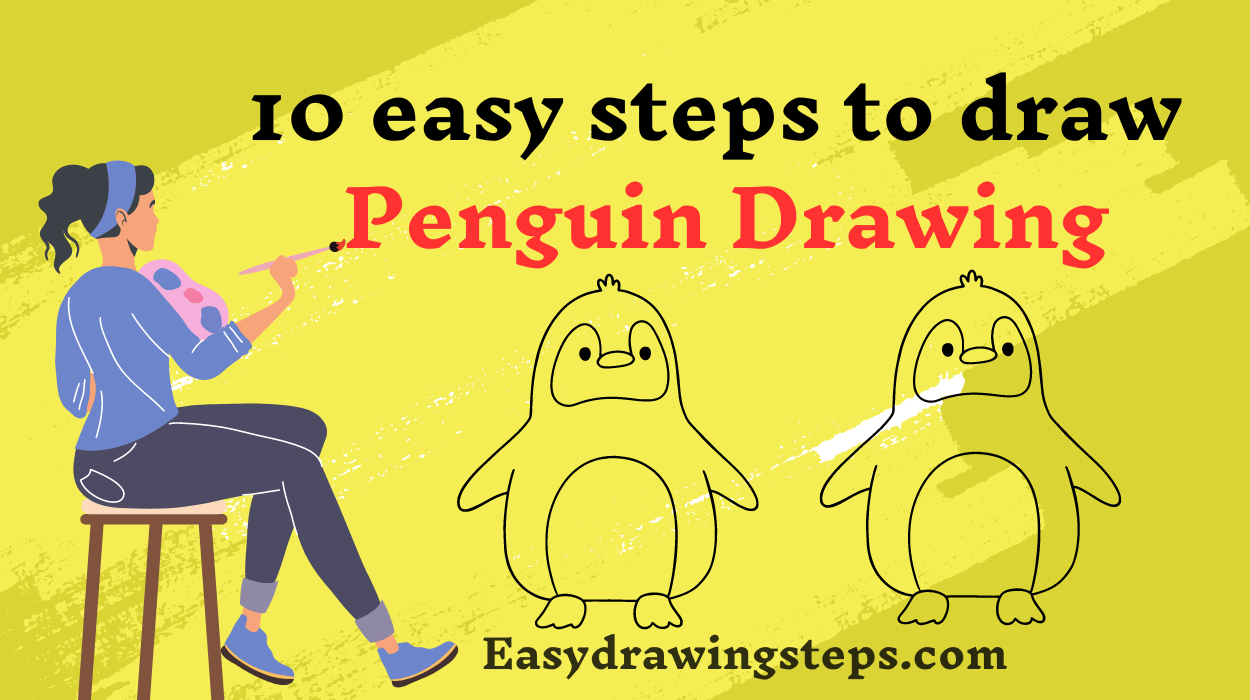
Penguin Drawing : Penguins are some of the most charming and delightful creatures to draw. Whether you’re an experienced artist or a beginner, drawing a cute penguin is a fun and rewarding project. Follow these 10 easy steps to create your own adorable penguin drawing.
Also Read : 10 Easy Steps to Draw a Sunflower Drawing
Step 1: Draw an Oval
Start by drawing a large oval shape in the center of your paper. This will be the body of the penguin. Make sure to leave enough space around the oval for the head, wings, and feet.
Step 2: Add the Head
Draw a smaller oval on top of the large oval. This smaller oval will be the penguin’s head. Overlap the smaller oval slightly with the top of the larger oval to give your penguin a smooth, connected look.
Also Read : 10 Easy Steps to Draw Computer Drawing
Step 3: Draw the Face
Inside the smaller oval, draw two small circles for the eyes. Add a tiny circle inside each eye for the pupils. Just below the eyes, draw a small, triangular shape for the beak.

Step 4: Outline the Wings
On each side of the large oval, draw two elongated oval shapes. These will be the penguin’s wings. Angle them slightly outward to give the impression of the penguin spreading its wings.
Also Read : 10 easy steps to draw Apple Drawing
Step 5: Add the Feet
At the bottom of the large oval, draw two small, rounded rectangles for the feet. Make sure they are evenly spaced and slightly angled outward.
Step 6: Draw the Belly
Inside the large oval, draw a smaller, rounded shape starting from the middle of the oval and ending just above the feet. This shape will be the white belly of your penguin.
Also Read : 10 easy steps to draw lotus flower drawing
Step 7: Add Details to the Wings and Feet
Add three small, curved lines on each foot to represent the toes. For the wings, you can add a couple of curved lines to give them more dimension and detail.
Step 8: Define the Penguin’s Beak
Draw a small line from the middle of the beak to give it a more three-dimensional look. You can also add a slight curve at the tip of the beak for added realism.
Also Read : 10 easy steps to draw marigold flower drawing
Step 9: Refine the Outline
Go over your drawing with a darker pencil or pen, refining the lines and erasing any unnecessary sketch lines. Make sure the edges are smooth and the shapes are well-defined.

Step 10: Add Color
Finally, add some color to your penguin drawing. Use black for the body, leaving the belly and face white. Color the beak and feet orange or yellow. You can also add some blue or grey shading for a more realistic look.
Tips for Penguin Drawing
- Cute Penguin Drawing: To make your penguin extra cute, focus on large eyes and a small, rounded body. Adding a slight blush to the cheeks can also enhance the cuteness.
- Penguin Drawing Easy: Keep your lines simple and avoid overcomplicating the shapes. Stick to basic ovals and circles.
- Easy Penguin Drawing: Practice drawing the basic shapes separately before combining them into a complete penguin.
- Simple Penguin Drawing: Use minimal details to keep the drawing clean and straightforward.
- Baby Penguin Drawing: Make the head proportionally larger compared to the body, and add soft, fluffy textures to the outline to depict a baby penguin.
- Penguin Drawing Cute: Experiment with different expressions and poses to bring out the personality of your penguin.
With these easy steps and helpful tips, you can create a delightful penguin drawing that will charm anyone who sees it. Happy drawing!
FAQ
What basic shapes should I start with to draw a simple penguin?
Begin with a large oval for the body and a smaller oval on top for the head.
How can I make my penguin drawing look cute?
Draw large eyes, a small rounded body, and add a slight blush to the cheeks. A playful pose also helps.
What are some tips for drawing the wings of a penguin?
Use elongated ovals for the wings, angled slightly outward. Add curved lines for dimension.
How do I add shading to my penguin drawing to make it look more realistic?
Use light and dark tones for depth, shading around edges and under the wings for a three-dimensional effect.
What colors should I use when coloring my penguin drawing?
Use black for the body, white for the belly and face, and orange or yellow for the beak and feet. Add light blue or grey for shading.


1 thought on “10 Easy Steps to Draw Penguin Drawing”