Simple Peacock Drawing : Drawing a peacock can seem daunting, but with the right approach, it can be a fun and enjoyable activity.
This guide will walk you through ten easy steps to create a simple peacock drawing that’s perfect for beginners, including kids.
We’ll explore techniques for both pencil sketches and adding color to make your peacock stand out.
Step 1: Draw Basic Shapes
Start by drawing the basic shapes that form the foundation of the peacock. Begin with a small circle for the head and a larger oval for the body. Connect these shapes with a curved line to outline the neck. This simple outline sets the stage for detailing the peacock’s features.

Step 2: Outline the Head and Neck
Refine the head and neck by adding details such as the beak and eyes. Draw a small triangular shape for the beak and add two small circles for the eyes. Smooth out the neck with flowing lines to ensure it looks natural and proportional to the body.
Also Read : 10 Easy Steps to Draw Vinayagar Drawing
Step 3: Sketch the Body and Tail Feathers
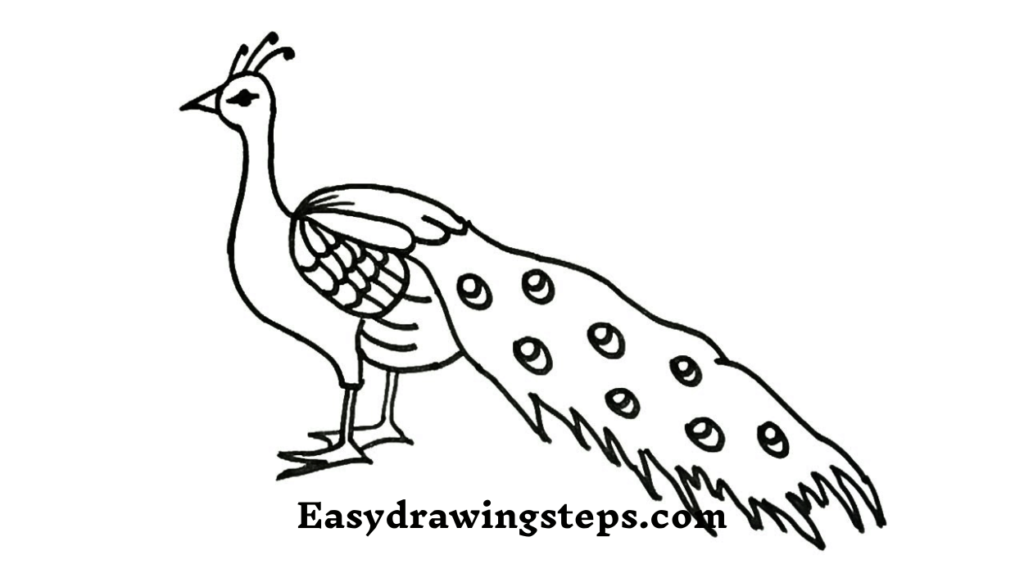
Outline the body and tail feathers. Start by sketching the body with curved lines extending from the neck. For the tail feathers, draw several long, curved lines fanning out from the back of the body. These lines will form the basis for the peacock’s elaborate tail.
Step 4: Add Feathers Details
Detail the feathers by adding lines and patterns. For each tail feather, draw a series of curved lines to represent the individual feathers. Add eye shapes or patterns within each feather to give them texture and depth. This step will make the tail feathers look more realistic and intricate.

Step 5: Refine the Outline
Go over your initial sketch with a darker pencil or a pen to define the lines more clearly. Erase any unnecessary or overlapping lines to clean up your drawing. This refined outline will serve as the basis for adding color later.
Step 6: Apply Base Colors
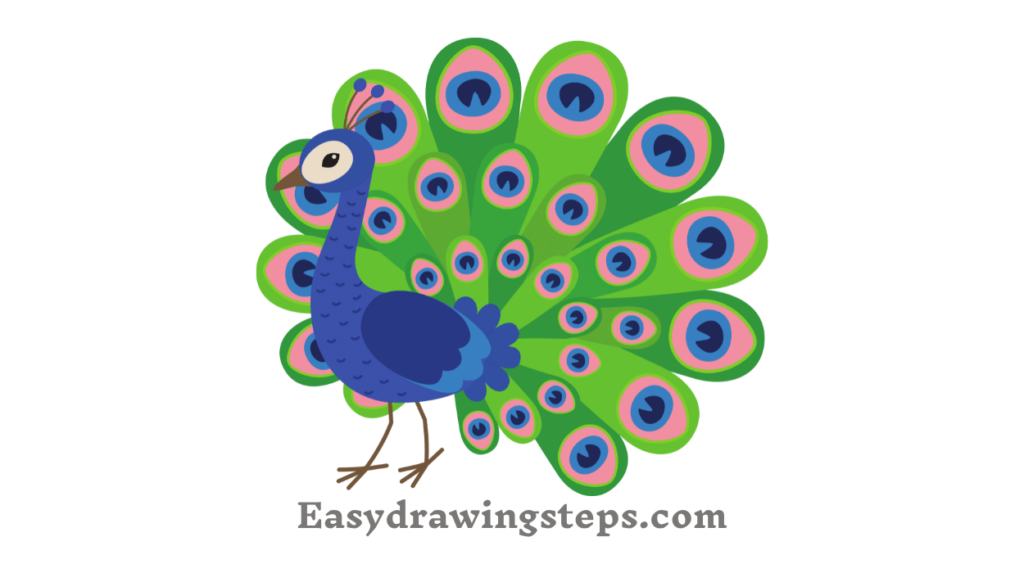
If you’re adding color, start by applying a base layer. Use light strokes to lay down the primary colors for the peacock’s feathers. Typical colors include vibrant blues and greens. For a simple peacock drawing, focus on using a few key colors to keep it straightforward and appealing.
Also Read : 10 Steps to Draw Easy Beautiful Peacock Drawing
Step 7: Blend and Layer Colors
Blend the colors smoothly to achieve a more natural look. Use a blending tool or colored pencils to merge the colors, creating a seamless transition. Layer different shades to add depth and dimension to the feathers. This technique will enhance the overall appearance of your drawing.
Step 8: Add Simple Background Elements
To give your peacock drawing a more complete look, you might want to add some simple background elements. Draw a few trees, flowers, or grass to complement your peacock. Use light colors for the background to ensure it does not overshadow the peacock.
Also Read : 10 Easy Steps to Draw Peacock Drawing Easy And Beautiful
Step 9: Add Final Details
Review your drawing and add any final touches. Highlight areas where light naturally hits the feathers to create contrast. Use a white or light-colored pencil for highlights and adjust any areas that need more color or shading. These details will bring your drawing to life.
Step 10: Complete the Drawing
Finalize your peacock drawing by ensuring all details are well-defined and the colors are well-blended. Make any last-minute adjustments to perfect the drawing. Once you’re satisfied, your simple peacock drawing is ready to be displayed or shared.
Drawing a simple peacock can be a delightful activity, whether you’re a beginner or working with kids. By following these ten easy steps, you can create a beautiful peacock drawing with minimal effort. Whether you choose to keep it a simple pencil sketch or add vibrant colors, these steps will guide you through the process and help you achieve a stunning result. Enjoy the creative process and let your artistic skills shine!
Simple Peacock Drawing FAQ
What are the initial shapes needed to start a simple peacock drawing?
Begin your drawing by sketching a small circle for the head and a larger oval for the body. Connect these shapes with a curved line to outline the neck. These basic shapes provide a foundation for outlining the peacock and ensure the proportions are correct before adding details.
How can I add details to the peacock’s feathers in a simple drawing?
To add details to the feathers, draw several long, curved lines extending from the body to form the tail feathers. Within each feather, add patterns or eye shapes to give them texture and depth. This will make the feathers look more realistic while keeping the design simple.
What is the best approach to blending colors in a simple peacock drawing?
To blend colors effectively, start by applying a base layer of color with light strokes. Then, use a blending tool or colored pencils to merge different shades smoothly. Layer colors gradually to add depth and create a seamless transition. This method enhances the visual appeal without complicating the drawing process.
How can I add a background to my simple peacock drawing?
Add background elements by sketching simple shapes like trees, flowers, or grass behind the peacock. Use light colors for the background to ensure it complements rather than overshadows the peacock. This step adds context to your drawing while keeping it simple and cohesive.
What final touches should be applied to complete a simple peacock drawing?
Final touches include reviewing the drawing for any areas that need more color or shading. Add highlights with a white or light-colored pencil where light naturally hits the feathers. Ensure all details are defined and colors are well-blended. These final adjustments will enhance the overall appearance and polish your drawing.


