Simple Scenery Drawing : Creating a simple scenery drawing is a wonderful way to explore your creativity and bring the beauty of nature onto paper.
Whether you’re a beginner or someone who enjoys drawing as a hobby, following these easy steps will help you create a beautiful landscape that can be enjoyed by all ages, especially kids.
Step 1: Gather Your Drawing Materials
Before you start, it’s important to gather all the materials you’ll need. This includes a pencil, eraser, ruler, coloring tools like colored pencils or crayons, and a sheet of drawing paper. These tools will help you in creating a neat and organized drawing.
| Materials Needed | Purpose |
|---|---|
| Pencil | For sketching the basic outlines |
| Eraser | To correct any mistakes |
| Ruler | For drawing straight lines |
| Coloring Tools | To add color and vibrancy |
| Drawing Paper | Your canvas for the scenery drawing |
Step 2: Draw the Horizon Line
Begin by drawing a horizon line across the middle of your paper. This horizontal line divides the sky from the land and serves as the foundation of your scenery. It’s a crucial step for ensuring that the elements in your drawing are well-balanced and proportionate.
Also Read : 10 easy steps to draw Water Cycle Drawing
Step 3: Sketch the Basic Elements of the Scene
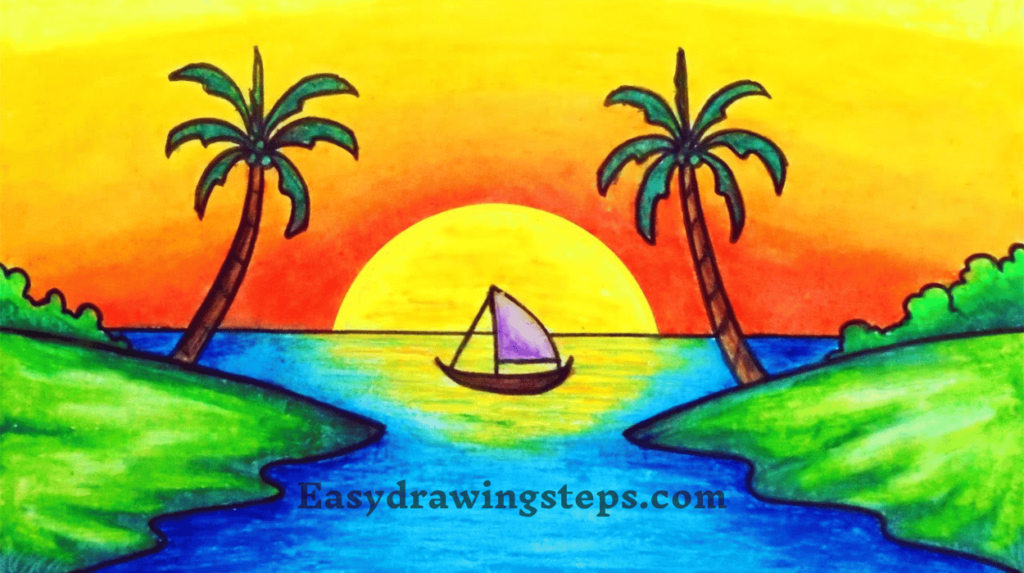
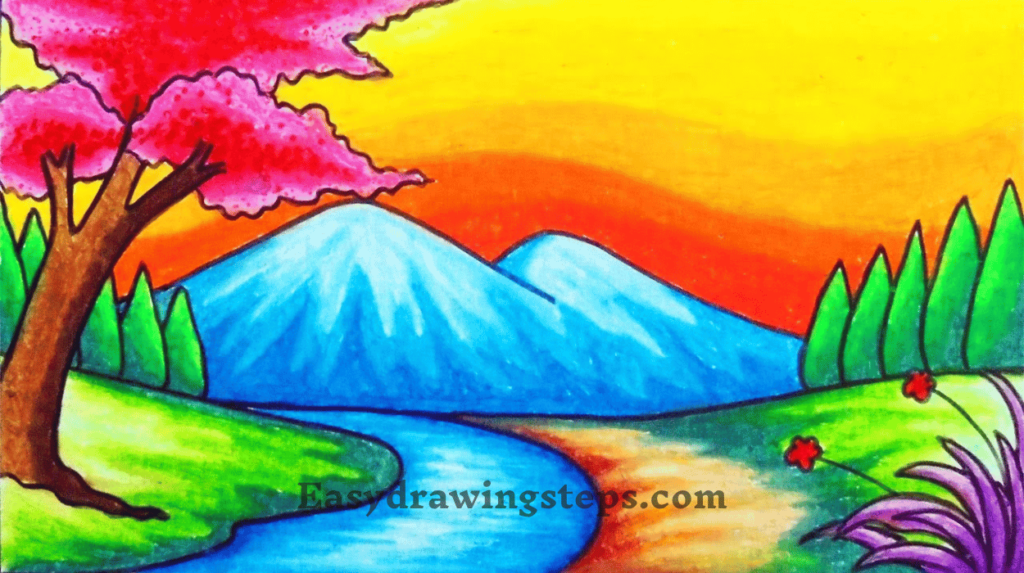
Start by sketching the basic elements on the horizon line. For a simple scenery, consider adding hills, trees, or a river. These elements are easy to draw and form the base of your landscape. For kids, keep the shapes simple and large, making them easy to color later.

Step 4: Add Details to the Sky
Enhance your scenery by adding details to the sky. You can draw a bright sun, fluffy clouds, or even a rainbow. For a more advanced drawing, you might add birds flying or a distant mountain range. These elements bring life to your sky and make the scenery more dynamic.
Also Read : 10 easy steps to draw Village Oil Pastel Scenery Drawing
Step 5: Draw the Foreground
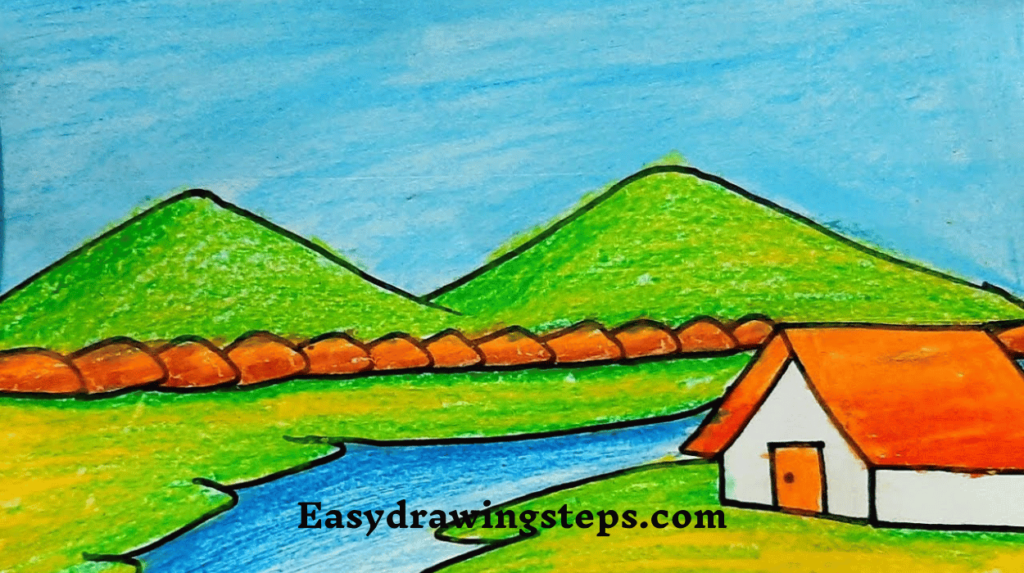
In the foreground, draw elements that are closer to the viewer, such as a path, rocks, or flowers. This part of the drawing adds depth to your scenery. If you’re drawing a village scene, you could include small houses or huts. These details make the drawing more engaging and realistic.
Step 6: Include a Waterfall
For a more captivating scenery, add a simple waterfall cascading down from one of the hills. Draw it so that it flows into a small river or pond. This addition adds movement and interest to your drawing, making it more dynamic and appealing.
Also Read : 10 easy steps to draw Easy Scenery Drawing
Step 7: Sketch the Village (Optional)
If you want to create a village scene, sketch small houses or huts near the base of the hills. Surround them with trees or fields to give it a cozy, rustic feel. This step is particularly great for those interested in drawing a village landscape, making the scenery feel more complete.

Step 8: Refine the Drawing with Pencil
Go over your initial sketches with a darker pencil to refine the lines and add details. Erase any unnecessary lines and smooth out the rough edges. This step makes your drawing look polished and professional, even if it’s a simple scenery.
Also Read : 10 easy steps to draw Night Oil Pastel Scenery Drawing
Step 9: Add Color to Your Drawing
Now it’s time to add color to your scenery. Use green for trees, blue for the sky and water, and brown for the hills and path. For a village scene, use earthy tones to capture the rustic feel. Adding color brings your drawing to life, making it vibrant and visually appealing.
| Element | Suggested Colors |
|---|---|
| Sky | Light blue, white for clouds |
| Trees | Green, brown for the trunk |
| Waterfall | Blue with white highlights |
| Village Houses | Earthy tones like brown and red |
| Flowers | Bright colors like red, yellow, or purple |
Step 10: Final Touches and Detailing
Finally, add any last details to enhance your drawing. This could include shading, adding shadows, or refining the colors. Small touches like these can make a big difference in how your drawing looks, giving it a more finished and professional appearance.
Drawing a simple scenery is a great way to express creativity and enjoy the beauty of nature on paper. By following these 10 easy steps, you can create a landscape that is both beautiful and simple, making it accessible for artists of all skill levels. Whether it’s for a class project or just for fun, this guide will help you create a stunning scenery that you can be proud of.
Simple Scenery Drawing FAQ
What is the first step in creating a simple scenery drawing?
The first step in creating a simple scenery drawing is to gather all the necessary materials. This includes a pencil for sketching, an eraser to correct any mistakes, a ruler for drawing straight lines, coloring tools like colored pencils or crayons, and a blank sheet of drawing paper. Having these materials ready ensures a smooth drawing process and helps in creating a neat and organized artwork.
How does the horizon line help in a simple scenery drawing?
The horizon line, drawn across the middle of the paper, serves as the foundation of the scenery drawing. It divides the sky from the land, helping to organize the elements of the drawing. The horizon line ensures that the different parts of the scenery, such as hills, trees, and rivers, are well-balanced and proportionate, making the overall drawing more aesthetically pleasing.
What are some elements that can be added to the sky in a simple scenery drawing?
In a simple scenery drawing, you can enhance the sky by adding elements like the sun, clouds, or a rainbow. These additions make the sky more dynamic and visually interesting. For a more detailed drawing, you might also include birds flying or distant mountains. These elements help to bring the sky to life and add depth to the overall scenery.
How can a waterfall be incorporated into a simple scenery drawing?
A waterfall can be incorporated into a simple scenery drawing by drawing it cascading down from one of the hills in the landscape. The waterfall can flow into a small river or pond, adding movement and interest to the drawing. This element not only enhances the beauty of the scenery but also makes it more dynamic and engaging.
What colors are recommended for different elements in a simple scenery drawing?
For different elements in a simple scenery drawing, it’s recommended to use the following colors: light blue for the sky, green for the trees, brown for the hills and path, and blue with white highlights for the waterfall. For village houses, earthy tones like brown and red work well, while flowers can be bright colors such as red, yellow, or purple. These colors help bring the drawing to life, making it vibrant and appealing.


3 thoughts on “10 easy steps to draw Simple Scenery Drawing”