
Skull Drawing : Drawing a skull can be both fun and educational, offering an excellent way to improve your drawing skills and understand human anatomy better.
Whether you’re a beginner looking for an easy skull drawing or an artist aiming for a more realistic skull drawing, this step-by-step guide will help you achieve your goal.
We’ll walk you through the process, ensuring that your human skull drawing looks impressive.
Step 1: Gather Your Materials for Skull Drawing
Before you start your skull drawing, gather all necessary materials. You’ll need paper, pencils (HB and 2B are good choices), an eraser, and possibly a blending stump for shading.
Also Read : 10 easy steps to draw Powerball Drawing
Step 2: Draw the Basic Outline
Begin with an easy skull drawing by sketching a simple oval shape for the skull. This will form the basis of your drawing. Make sure to draw lightly so you can easily erase and adjust lines later.
Step 3: Add Guidelines
To ensure symmetry in your skull drawing, add guidelines. Draw a vertical line down the center of the oval and a horizontal line across the middle. These lines will help you place the features accurately.
Also Read : 10 Easy Steps to Draw Pink Dolphin Drawing
Step 4: Sketch the Jaw
Extend two lines downward from the bottom sides of the oval to form the jaw. Connect these lines with a curved line to complete the jaw shape. This simple skull drawing will start to take shape as you refine these lines.
Step 5: Draw the Eye Sockets
Using the horizontal guideline, draw two large, rounded eye sockets. These should be positioned evenly on either side of the vertical line. For a realistic skull drawing, make sure the sockets are roughly the same size and shape.
Also Read : 10 easy steps to draw Yoga Day Poster
Step 6: Add the Nose Cavity
Below the eye sockets, draw an upside-down heart shape for the nose cavity. This shape should be centered on the vertical guideline and smaller than the eye sockets.
Step 7: Define the Cheekbones and Temples
Draw two lines extending from the outer edges of the eye sockets towards the sides of the skull, then curve these lines downward to form the cheekbones. Add small curved lines above the eye sockets to indicate the temples.
Also Read : 10 easy steps to draw easy Zebra Drawing
Step 8: Sketch the Teeth
Divide the bottom part of the skull into upper and lower sections for the teeth. Draw small, rectangular shapes for the teeth, making sure they fit within the jaw. For a more realistic skull drawing, add slight curves and variations to the teeth.
Step 9: Refine the Details
Go over your initial sketch and refine the lines, adding more detail to the skull. Darken the eye sockets, nose cavity, and cheekbones, and add shading to give your drawing depth. Use a blending stump to smooth out the shading for a more polished look.
Also Read : 10 Easy Steps to Draw a Dot and Line Pattern Rangoli
Step 10: Final Touches
Erase any unnecessary guidelines and touch up any remaining details. Add more shading and texture where needed to enhance the realistic effect of your human skull drawing. Take a step back and review your work, making any final adjustments to ensure everything looks proportional and detailed.
Tips for Different Skull Drawing Styles
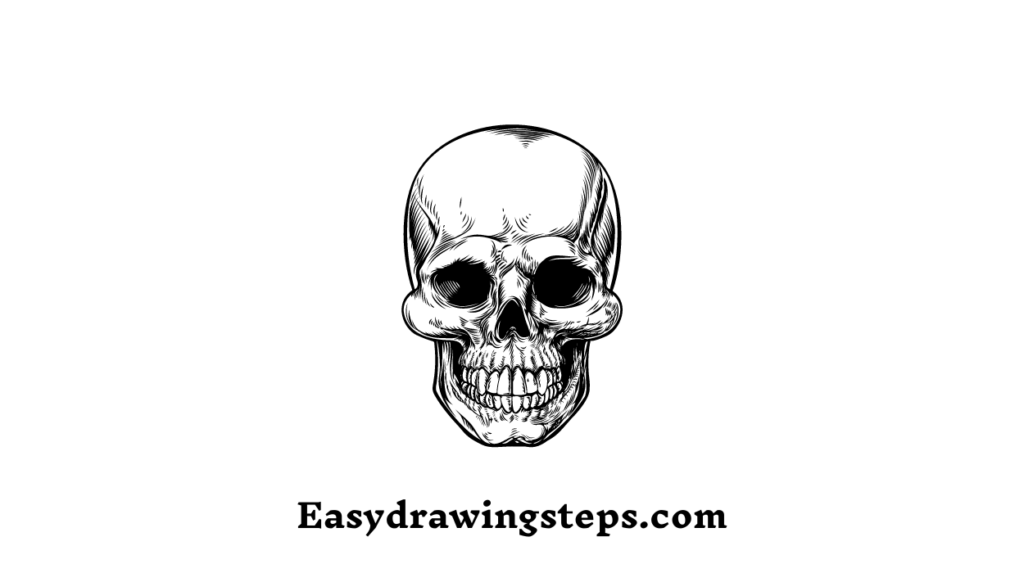
- Skull Drawing Easy: Focus on basic shapes and minimal details. Keep the lines simple and clean for a straightforward representation.
- Easy Skull Drawing Simple Skull Drawing: Emphasize simplicity by using fewer lines and focusing on the overall shape rather than intricate details.
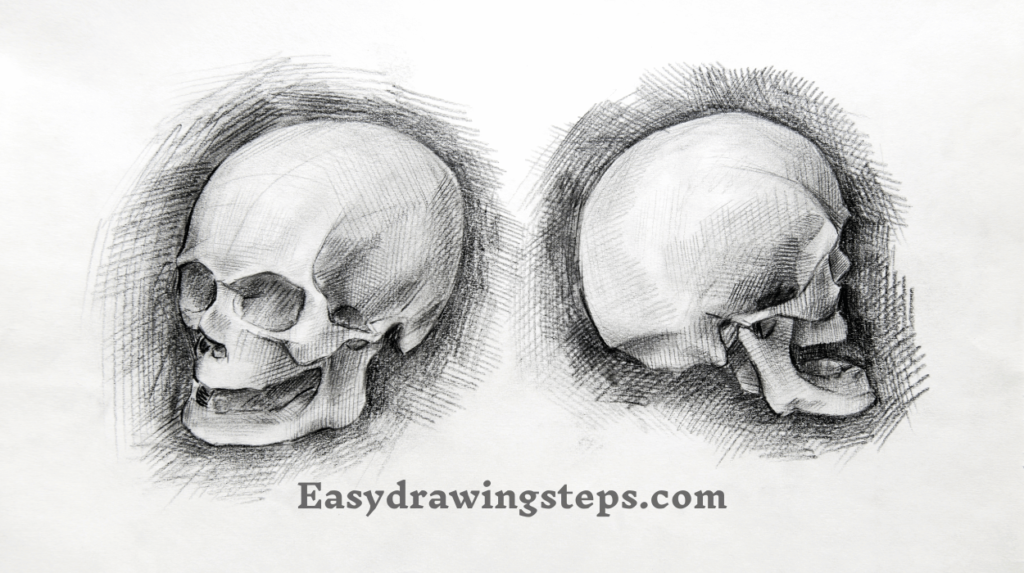
- Realistic Skull Drawing: Pay attention to proportions and add shading to create depth and dimension. Study real skulls or reference images to capture details accurately.
- Human Skull Drawing: Ensure anatomical accuracy by studying human skull anatomy. Pay special attention to the placement and proportion of features like the eye sockets, nose cavity, and teeth.
By following these 10 easy steps, you can create a variety of skull drawings, from simple and easy to detailed and realistic. Practice regularly to improve your skills and develop your own unique style. Happy drawing!
FAQ
What are the basic shapes needed to start a skull drawing?
To start a skull drawing, you need to sketch basic shapes such as an oval for the main part of the skull and a curved, extended shape for the jaw. These basic shapes serve as the foundation for more detailed features like the eye sockets, nose cavity, cheekbones, and teeth.
How can I make my skull drawing look more realistic?
To make your skull drawing look more realistic, pay attention to the proportions and details of the skull. Use reference images to understand the exact placement and size of features such as the eye sockets, nose cavity, and teeth. Add shading to create depth and dimension, and use blending techniques to smooth out the shading for a polished look.
What is the importance of guidelines in a skull drawing?
Guidelines are crucial in a skull drawing as they help maintain symmetry and ensure accurate placement of features. By drawing vertical and horizontal lines through the center of your initial oval shape, you can easily align the eye sockets, nose cavity, and other features, resulting in a balanced and proportionate drawing.
How do I draw the teeth in a skull drawing?
To draw the teeth in a skull drawing, divide the lower part of the skull into upper and lower sections for the teeth. Sketch small, rectangular shapes for each tooth, fitting them within the jaw. For a more realistic appearance, add slight curves and variations to each tooth, and ensure they are proportionate to the rest of the skull.
What materials do I need for an easy skull drawing?
For an easy skull drawing, you will need paper, pencils (preferably HB and 2B for different line weights), an eraser, and a blending stump for shading. These basic materials are sufficient to create both simple and more detailed skull drawings. Having reference images of skulls can also be very helpful for accuracy and detail.
Hi there would youu mind stating which bloig platform
you’re using? I’m planning to start my oown blog soon but
I’m having a tough time choosing between BlogEngine/Wordpress/B2evolution andd Drupal.
The reason I ask iis bcause your layout seems different then mostt blos
and I’m looking for sometthing completely unique.
P.S Appologies for getting off-topic but I had to ask! https://Www.Waste-NDC.Pro/community/profile/tressa79906983/
Hi thesre would you mind stating which boog platform you’re using?
I’m planning to strart my own blog soon but I’m having a toough time choosing
betgween BlogEngine/Wordpress/B2evolution and Drupal.
Thhe reason I ask is because you layout seems different
then most blogs and I’m loking for something completely unique.
P.S Apologies for getting off-topic but I had to ask! https://Www.Waste-NDC.Pro/community/profile/tressa79906983/