

Tanpura Drawing : Drawing a tanpura, an iconic Indian musical instrument, can be a delightful artistic endeavor. Whether you’re a novice or an experienced artist, following these 10 easy steps will help you create a beautiful tanpura drawing.
This guide includes tips for making your drawing with colors or as a pencil sketch, and ensures your tanpura drawing is both easy and visually appealing.
Step 1: Gather Your Materials
Before starting, make sure you have the following materials:
- A sheet of drawing paper
- Pencils (HB for sketching, 2B or 4B for shading)
- Eraser
- Ruler
- Colored pencils or markers (if you plan to color your drawing)
Also Read : 10 easy steps to draw Vitthal Rangoli Design
Step 2: Draw the Body Outline
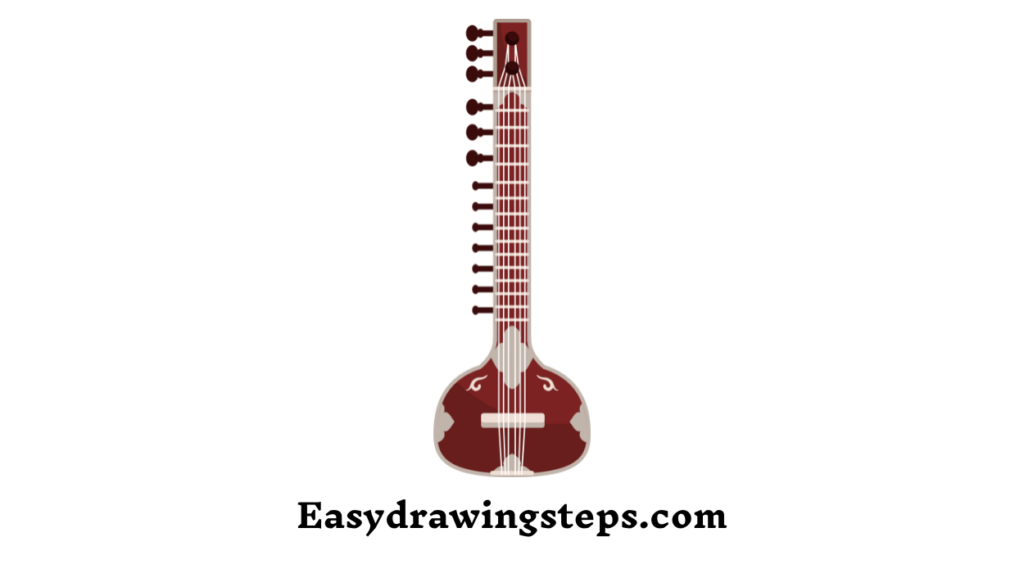
Start by sketching the main body of the tanpura. Draw an elongated, pear-shaped outline with a slightly curved bottom. This shape represents the resonating body of the tanpura.
Step 3: Add the Neck
Extend a long, straight line from the top of the body to represent the neck of the tanpura. The neck should be narrow and straight, connecting smoothly to the body.
Also Read : 10 Easy Steps to Draw Basheer Drawing
Step 4: Draw the Headstock
At the top of the neck, draw a small, rectangular headstock. This is where the tuning pegs will be located. Make sure it’s proportionate to the neck.
Step 5: Sketch the Bridge and Frets
Draw a small, rectangular bridge near the bottom of the body. Then, add evenly spaced horizontal lines along the neck to represent the frets. These lines should be parallel and equally spaced.
Also Read : 10 easy steps to draw Squirrel Drawing
Step 6: Add the Tuning Pegs
On the headstock, draw four small circles or ovals to represent the tuning pegs. These should be evenly spaced and aligned with the neck.

Step 7: Detail the Sound Hole
Draw a small, circular sound hole near the top of the body. This hole allows the sound to resonate from the tanpura.
Also Read : 10 easy steps to draw Barbie Drawing
Step 8: Enhance with Strings
Draw four straight lines from the tuning pegs down to the bridge. These lines represent the strings of the tanpura. Make sure they are parallel and evenly spaced.
Step 9: Add Decorative Elements
Tanpuras often have intricate decorations. Add small details such as patterns or motifs along the body and neck. This step adds authenticity and visual interest to your drawing.
Also Read : 10 easy steps to draw Beautiful Peacock Drawing
Step 10: Final Touches and Coloring
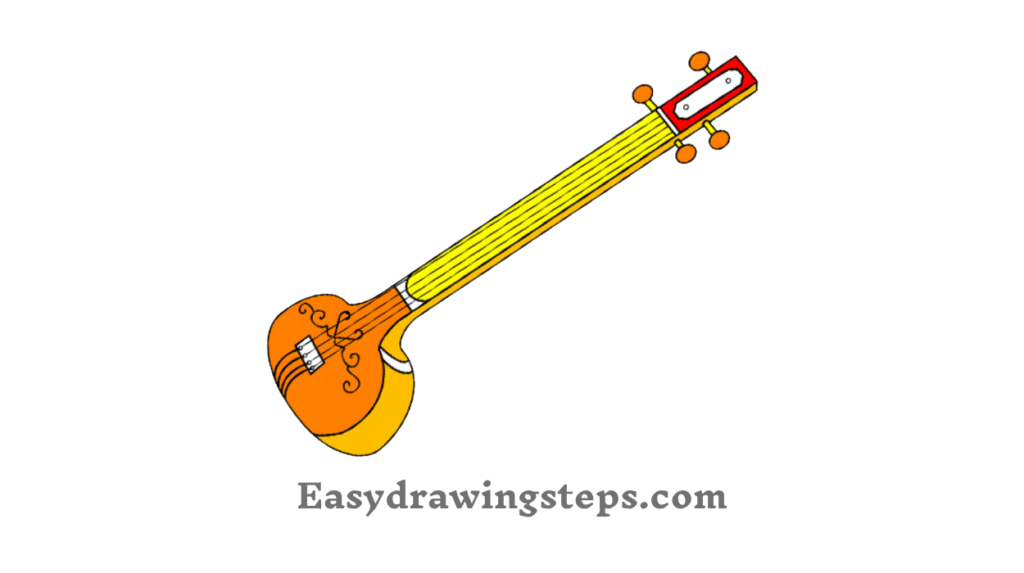
If you are making a colored tanpura drawing, use colored pencils or markers to fill in the body, neck, and other elements. Traditional tanpuras are often brown or gold, but you can choose any color scheme you like. For a pencil sketch tanpura drawing, use different shades of pencil to add depth and dimension to your sketch.
Tanpura Drawing with Colour
When drawing a tanpura with color, focus on blending and shading to give it a realistic look. Use lighter shades for highlights and darker tones for shadows. This will make your tanpura drawing more vibrant and lifelike.
Pencil Sketch Tanpura Drawing
A pencil sketch of a tanpura can be equally striking. Use varying pencil grades to create depth, from light outlines to dark shading. Focus on the fine details and textures to make your sketch stand out.
Tanpura Drawing Easy
By breaking down the tanpura into simple shapes and steps, this guide makes tanpura drawing easy for artists of all levels. Following these steps ensures that anyone can create a beautiful and accurate representation of this traditional instrument.
Easy Tanpura Drawing
This method of easy tanpura drawing is perfect for beginners. The step-by-step approach simplifies the process, making it accessible and enjoyable. Whether you’re drawing for fun or learning a new skill, this guide helps you achieve a great result.
With these 10 steps, you can confidently create a stunning tanpura drawing. Whether you choose to add color or keep it as a pencil sketch, your drawing will be a beautiful tribute to this classic Indian instrument. Happy drawing!
FAQ
What materials do I need to draw a tanpura?
To draw a tanpura, you’ll need a sheet of drawing paper, pencils (HB for sketching and 2B or 4B for shading), an eraser, a ruler, and colored pencils or markers if you plan to color your drawing.
How do I begin drawing the body of the tanpura?
Start by sketching an elongated, pear-shaped outline with a slightly curved bottom to represent the resonating body of the tanpura. Ensure the outline is smooth and symmetrical.
What are the key components to include when drawing the neck of the tanpura?
The neck of the tanpura should include a long, straight line extending from the top of the body, a small rectangular headstock at the top of the neck, evenly spaced horizontal lines along the neck to represent the frets, and four small circles or ovals on the headstock to represent the tuning pegs.
How can I add realistic details to my tanpura drawing?
To add realistic details, draw four straight lines from the tuning pegs down to the bridge to represent the strings. Include a small, circular sound hole near the top of the body, and incorporate decorative patterns or motifs along the body and neck to reflect traditional tanpura designs. Use shading techniques to create depth and dimension, highlighting the curves and contours of the tanpura.
What techniques can I use to color my tanpura drawing?
When coloring your tanpura drawing, use colored pencils or markers to fill in the body, neck, and other elements. Choose traditional colors like brown or gold, or any color scheme you prefer. Focus on blending and shading to create a realistic look, using lighter shades for highlights and darker tones for shadows. Pay attention to fine details and textures to enhance the overall appearance of your colored tanpura drawing.
2 thoughts on “10 easy steps to draw Tanpura Drawing”