Traffic Light Drawing : Traffic lights are an essential part of urban life, guiding us safely through intersections. Drawing a traffic light can be a fun and educational experience, especially for kids.
In this guide, we will take you through 10 easy steps to create a traffic light drawing. Grab your drawing materials and let’s get started!
Materials You Will Need
Before we dive into the steps, make sure you have the following materials ready:
- A sheet of paper
- A pencil
- An eraser
- Black marker or pen (for outlining)
- Colored pencils or markers (red, yellow, green)

Step 1: Draw the Outline
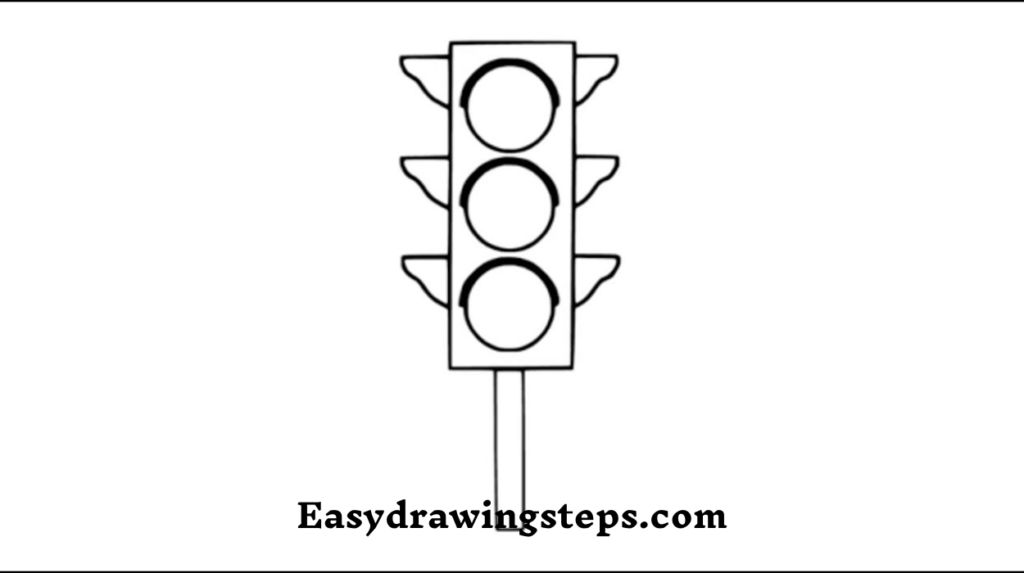
Begin by drawing a tall rectangle in the center of your paper. This rectangle will form the body of the traffic light. Make sure it’s nice and even!
Step 2: Create the Lights
Inside the rectangle, draw three smaller circles stacked on top of each other. These will represent the lights. Leave enough space between each circle to make it look neat.
Also Read : 10 Easy Steps to Draw Zenitsu Drawing
Step 3: Add a Base
At the bottom of the tall rectangle, draw a slightly wider rectangle. This will be the base of the traffic light, giving it stability.
Step 4: Draw the Light Circles
Inside each of the three circles, draw a smaller circle to create the inner part of the light. This will make the lights look more realistic.

Step 5: Outline the Shape
Using a black marker or pen, outline the entire shape of the traffic light, including the circles and the base. This step will make your drawing stand out.
Step 6: Color the Lights
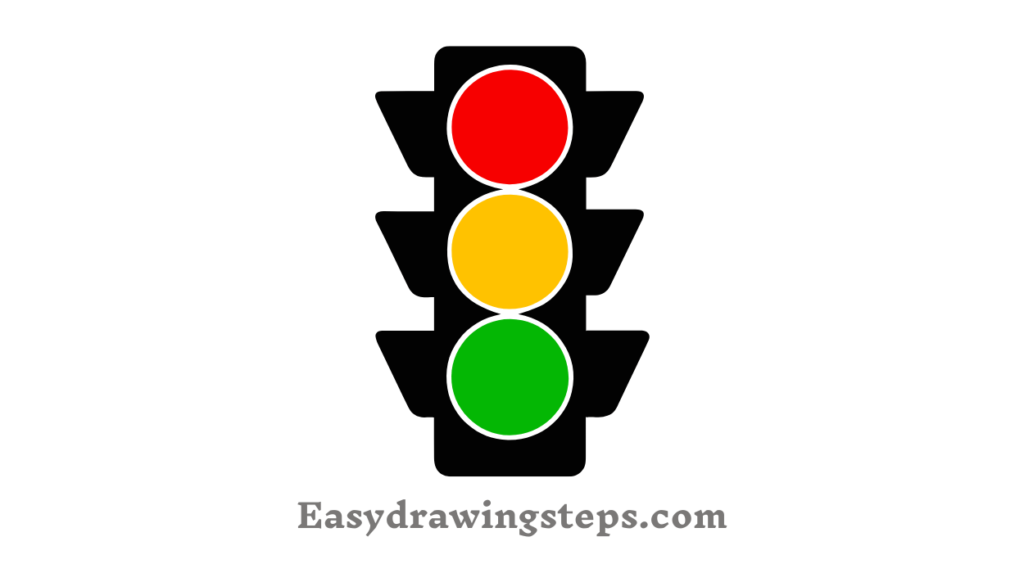
Now it’s time to add some color! Start with the top circle, coloring it red. Use a bright red to signify “stop.”
Also Read : 10 Easy Steps to Draw Veer Gatha Drawing
Step 7: Color the Middle Light
Next, take your yellow colored pencil or marker and fill in the middle circle. Yellow signifies “caution,” so make sure to color it evenly.
Step 8: Color the Bottom Light
Finally, color the bottom circle green. This signifies “go.” Use a vibrant green to make it pop!
Also Read : 10 Easy Steps to Draw Balloon Seller Drawing
Step 9: Add Details
To make your traffic light drawing more interesting, you can add small details. Draw tiny light reflections on each colored circle to give it a glossy look. You can also add a simple background, like a road or trees.
Step 10: Final Touches
After you’re satisfied with your drawing, erase any pencil lines that are still visible. You can add additional details like a pole or a crosswalk sign if you want to make your drawing more elaborate.
Congratulations! You’ve successfully drawn a traffic light. This easy drawing project not only teaches basic shapes and coloring techniques but also provides a fun way to learn about traffic rules. Share your drawing with friends or family, and encourage them to try it too!
Tips for Improvement
- Practice drawing from different angles to enhance your skills.
- Experiment with different backgrounds to create a scene.
Now that you’ve learned how to draw a traffic light, try incorporating it into larger drawings, like a busy street or an intersection. Happy drawing!
Traffic Light Drawing FAQ
What materials do I need to draw a traffic light?
To draw a traffic light, you’ll need a sheet of paper, a pencil, an eraser, a black marker or pen for outlining, and colored pencils or markers in red, yellow, and green.
How do I make my traffic light drawing look more realistic?
You can make your traffic light look more realistic by adding small details such as light reflections on the colored circles and incorporating a background like a road or other traffic signs. Outlining your drawing with a marker also helps it stand out.
Can I modify the drawing style of the traffic light?
Absolutely! Feel free to modify the drawing style. You can experiment with different shapes for the body and lights, or add artistic elements like a cartoonish style, a 3D effect, or additional decorative features.
What is the significance of each color in the traffic light?
Each color in a traffic light has a specific meaning: red means “stop,” yellow means “caution” or “prepare to stop,” and green means “go.” These colors help regulate traffic flow and ensure safety on the roads.
Is this drawing suitable for kids?
Yes! This traffic light drawing is easy and suitable for kids. It helps them develop their drawing skills while also learning about traffic rules in a fun way.


