

Zoro Drawing : Drawing Roronoa Zoro, the legendary swordsman from “One Piece,” can be an exciting challenge.
This guide will walk you through ten easy steps to bring Zoro to life on paper.
Whether you’re a beginner or an experienced artist, these steps will help you capture his fierce and determined look with ease.
Step 1: Gather Your Materials for Zoro Drawing
Before starting, ensure you have all the necessary materials:
- Drawing paper
- Pencils (HB, 2B, 4B)
- Eraser
- Sharpener
- Ruler
- Color pencils or markers (optional)
- Reference images of Zoro
Also Read : 10 easy steps to draw Madara Uchiha Drawing
Step 2: Outline the Basic Shape
Begin by lightly sketching the basic shape of Zoro’s head. Draw an oval and add a vertical line down the middle and a horizontal line halfway to guide the placement of his facial features.
Step 3: Draw the Face
Using the guidelines, sketch Zoro’s eyes, nose, and mouth. His eyes are sharp and intense, reflecting his determined nature. Add his distinctive scar over his left eye and his serious expression. Draw his eyebrows and mouth with firm lines to convey his tough demeanor.
Also Read : 10 easy steps to draw Hinata Drawing
Step 4: Outline the Hair
Draw Zoro’s spiky, green hair. Start with the hairline and outline the shape of his spiky strands. Make sure to capture the wild, unkempt look of his hair which is one of his defining features.
Step 5: Sketch the Body
Sketch the outline of Zoro’s body. Start with his neck and shoulders, then draw his muscular torso and arms. Zoro is often depicted in his swordsman attire, so outline his shirt and the iconic haramaki (waistband) around his waist.
Also Read : 10 easy steps to draw Luffy Drawing
Step 6: Add Details to the Clothing
Detail Zoro’s clothing by adding folds and creases to his shirt and haramaki. Draw the swords he carries at his side, making sure to capture the details of the hilts and the scabbards. Add his earrings and any other accessories that are part of his usual attire.
Step 7: Refine the Features
Refine the sketch by darkening the lines and adding more details. Use a darker pencil (2B or 4B) to enhance the lines and make the features stand out. Ensure that his facial features, hair, and clothing are sharp and clear.
Also Read : 10 easy steps to draw Sukuna Drawing
Step 8: Add Shading and Texture
Add shading to create depth and texture. Lightly shade areas like his hair, face, and clothing to add dimension. Use a blending tool or your fingers to smooth out the shading for a more natural look. Highlight areas where light would naturally hit, such as the high points of his muscles and the folds of his clothing.
Step 9: Add Color (Optional)
If you want to add color, use color pencils or markers. Zoro’s hair is green, his eyes are brown, and his swords and clothing have distinct colors. Color his skin and any other details to bring your drawing to life.
Also Read : 10 easy steps to draw Gojo Drawing
Step 10: Final Touches
Review your drawing for any final touches or adjustments. Ensure that all details are accurate and that the shading and colors are well-blended. Make any necessary corrections to enhance the overall appearance of your drawing.
Exploring Different Aspects of Zoro Drawings
Zoro Drawing Easy
- For an easy Zoro drawing, focus on the basic shapes and most recognizable features. Simplify the details and avoid intricate shading. This approach is perfect for beginners or younger artists who want to draw Zoro.
Roronoa Zoro Drawing
- Drawing Roronoa Zoro involves capturing his fierce and determined look. Focus on his sharp eyes, muscular build, and distinctive clothing. Pay attention to his iconic three-sword style and his overall tough demeanor.
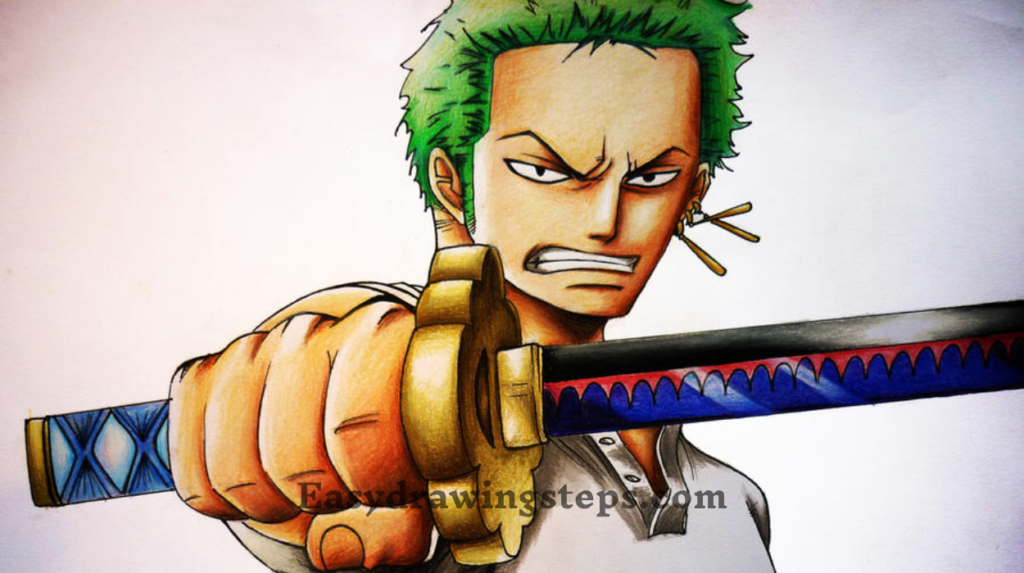
Badass Zoro Drawing
- To create a badass Zoro drawing, emphasize his intense expression, dynamic pose, and the details of his swords. Use bold lines and dramatic shading to highlight his strength and fighting spirit. A dynamic action pose can add to the badass feel of the drawing.
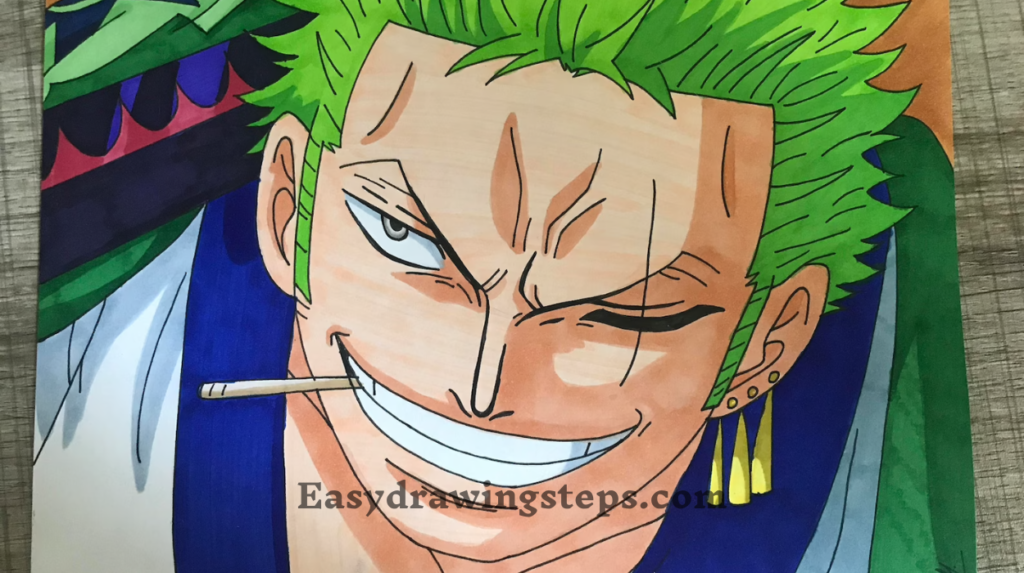
Zoro Drawing Color
- Adding color to your Zoro drawing brings it to life. Use color pencils or markers to capture the green of his hair, the brown of his eyes, and the colors of his clothing and swords. Proper coloring can enhance the overall impact of your drawing and make it more vibrant.
By following these 10 easy steps and exploring different styles, you can create an impressive drawing of Zoro. Enjoy the process and let your creativity shine!
FAQ
How can I accurately depict Zoro’s facial features?
Accurately depicting Zoro’s facial features involves focusing on his sharp, intense eyes, his scar over the left eye, and his serious expression. Start by sketching a light oval for his head and using guidelines to place his eyes, nose, and mouth correctly. Zoro’s eyebrows and mouth should be drawn with firm lines to reflect his tough demeanor. Don’t forget his earrings and the distinctive scar to complete his look.
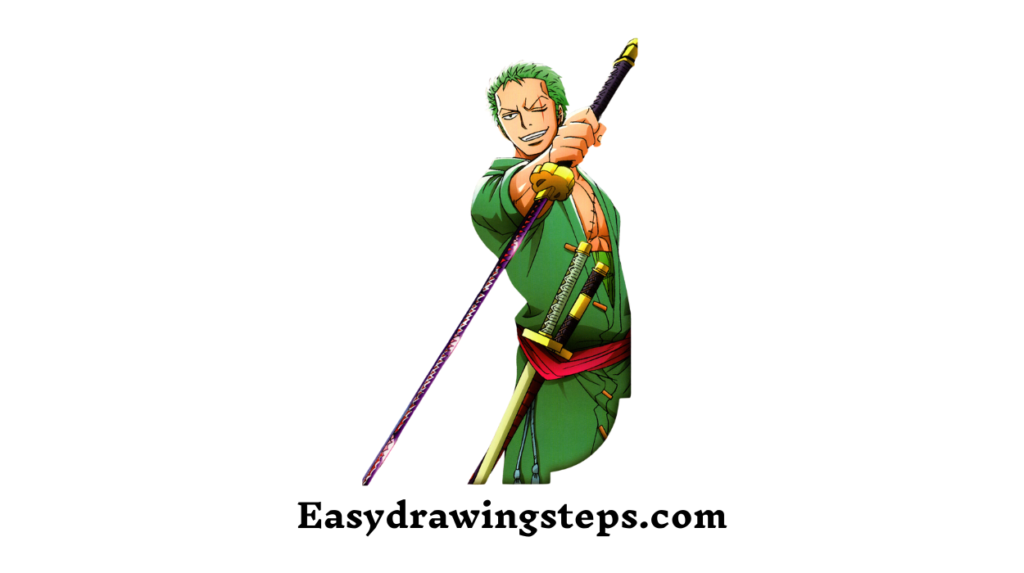
What are the key steps to drawing Zoro’s full body?
Drawing Zoro’s full body starts with outlining the basic shapes and proportions. Begin with his head and sketch his neck and shoulders. Outline his muscular torso and arms, paying attention to his swordsman attire. Draw his shirt and haramaki (waistband) around his waist. Add the swords he carries at his side, making sure to capture the details of the hilts and scabbards. Finally, refine the lines, add folds and creases in his clothing for realism, and apply shading to give depth and dimension to the drawing.
How can I achieve realistic shading in my Zoro drawing?
To achieve realistic shading in your Zoro drawing, start with light pencil strokes to build up gradients and shadows. Use a range of pencils (HB, 2B, 4B) to create depth, focusing on areas like his hair, face, and clothing. Blend the shading with a blending tool or your fingers to smooth out transitions and create a three-dimensional effect. Highlight areas where light naturally hits, such as the high points of his muscles and the folds of his clothing, to enhance realism. Consistency in the direction of the light source is crucial for effective shading.
What tips can help with drawing Zoro in dynamic poses?
When drawing Zoro in dynamic poses, start with a stick figure outline to establish the pose and ensure accurate proportions. Focus on capturing the movement and fluidity of his form, especially in action scenes. Pay attention to the flow of his clothing and the placement of his swords, which should move naturally with his actions. Emphasize his intense expression and the energy conveyed through his body language. Use bold lines and dramatic shading to highlight the power and agility of his movements, making the dynamic pose come alive on the paper.
3 thoughts on “10 easy steps to draw Zoro Drawing”