


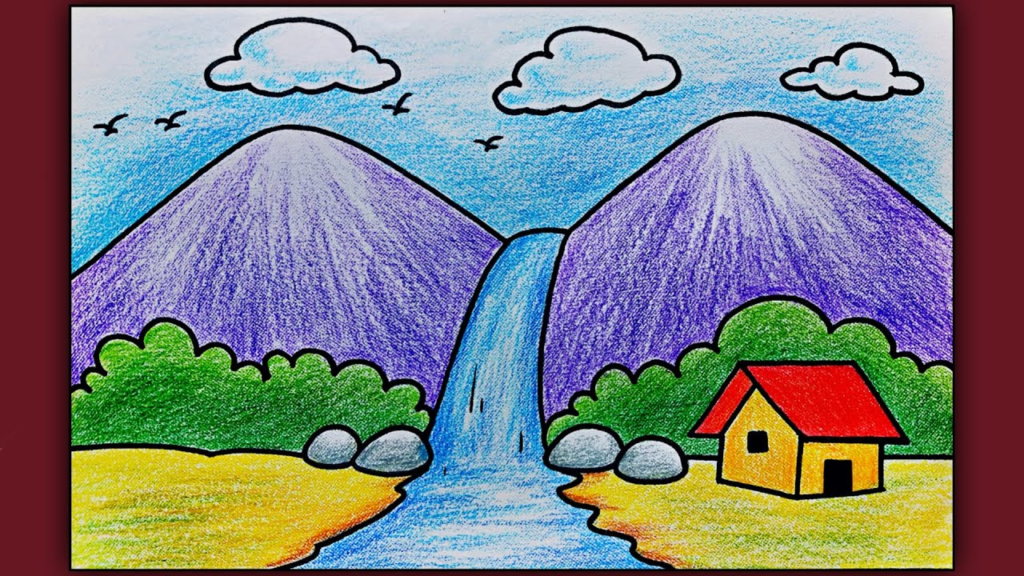
Scenery Drawing : can be a fun and creative activity for kids of all ages. Whether they’re imagining a sunny day at the beach or a colorful countryside, creating their own landscapes allows them to explore their artistic talents and express their imagination. In this step-by-step guide, we’ll walk through 10 easy steps to help kids draw their own beautiful scenery.
Step 1: Gather Your Materials for Scenery Drawing
Before we begin, make sure you have all the necessary materials:
- Paper
- Pencil
- Eraser
- Colored pencils or crayons (optional)
Step 2: Start with the Horizon Line
- Draw a horizontal line across the middle of your paper. This line represents the horizon where the sky meets the ground.
Step 3: Sketch the Background
- Above the horizon line, sketch the background elements such as mountains, trees, or buildings. Keep the shapes simple and use light, gentle strokes.
Also Read : 10 Steps to draw cute girl drawings for kids
Step 4: Add the Sky in Scenery Drawing
- Color the area above the horizon line with blue for the sky. Blend the colors gently to create a smooth transition from light blue at the horizon to darker blue at the top.
Step 5: Draw the Foreground
- Below the horizon line, sketch the foreground elements like grass, flowers, or a pathway. Again, keep the shapes simple and use light pencil strokes.
Step 6: Detail the Background
- Add details to the background elements such as texture to the mountains, leaves to the trees, or windows to the buildings. Use your imagination to make the scenery come to life.
Step 7: Color the Foreground
- Color the foreground elements using green for grass, brown for dirt or pathway, and any other colors you like for flowers or other details. Feel free to get creative with colors!
Step 8: Enhance the Sky
- Add some clouds to the sky using white or light gray. You can draw fluffy clouds or thin wispy clouds, whatever you prefer. This adds depth and interest to the sky.
Step 9: Final Details
- Add any final details to your drawing, such as birds flying in the sky, a sun or moon, or any other elements you like. This is your chance to make the scenery uniquely yours!
Step 10: Sign Your Masterpiece
- Finally, don’t forget to sign your drawing with your name or initials. This lets everyone know who the talented artist behind the beautiful scenery is!
Drawing scenery is a wonderful way for kids to explore their creativity and imagination. With this easy 10-step guide, they can create their own beautiful landscapes and have fun expressing themselves through art.
Encourage them to experiment with different colors, shapes, and details to make each Scenery Drawing unique. Who knows, they might discover a passion for art that lasts a lifetime!
1 thought on “10 steps draw scenery drawing for kids easy”