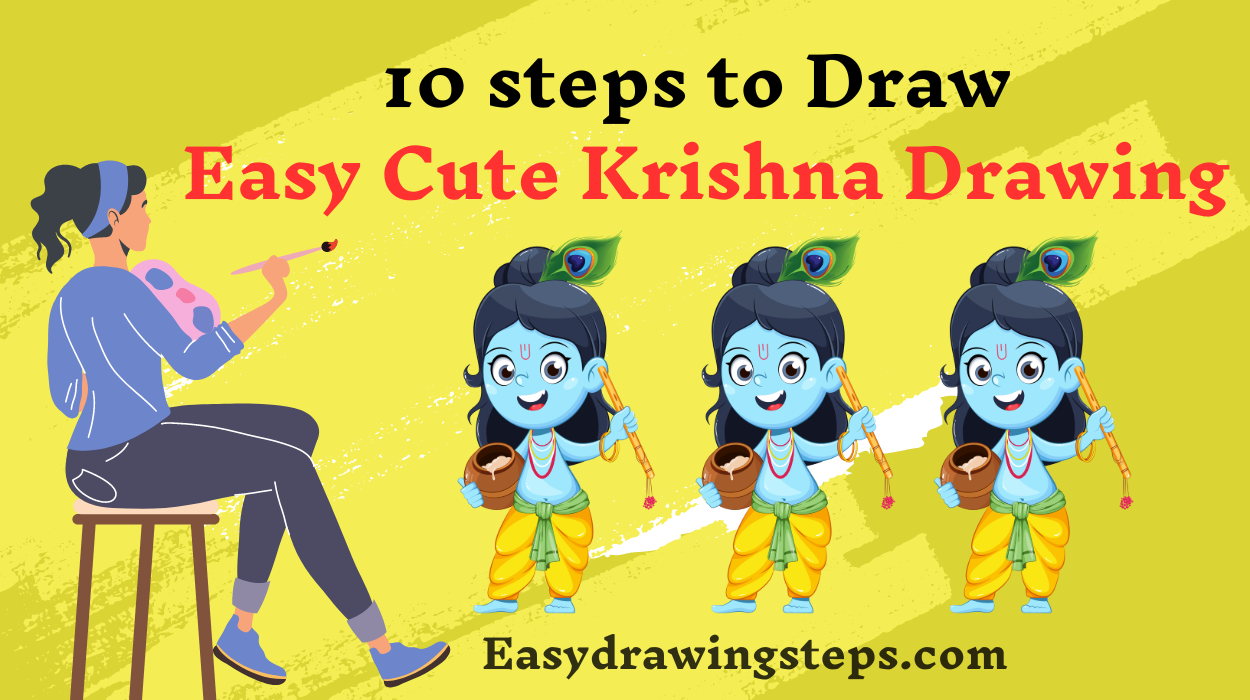
Easy Cute Krishna Drawing : Drawing a cute Krishna can be a delightful experience, especially for those looking to create art that resonates with the innocence and charm of baby Krishna.
Whether you’re preparing for Janmashtami or simply want to bring this beloved deity to life on paper, this guide will walk you through ten easy steps to draw a cute Krishna.
Step 1: Start with the Head and Face Outline
Begin by drawing a simple circle for Krishna’s head. Add light guidelines within the circle to help you place the facial features later. The circle should be slightly flattened at the bottom to create a more natural face shape.
Step 2: Draw Krishna’s Eyes
Krishna’s eyes are large and expressive, conveying his playful nature. Draw two big oval shapes for the eyes, slightly tilted upwards at the outer corners. Add small circles within these ovals for the pupils, leaving a tiny white spot for the highlight, which gives the eyes a lively sparkle.
Also Read : 10 Easy steps to draw Krishna Drawing
Step 3: Sketch the Nose and Mouth
Below the eyes, draw a small curved line for Krishna’s nose. Then, draw a simple, curved smile that reflects his playful character. Add a small dimple at each end of the mouth to enhance the cuteness of the drawing.

Step 4: Add Krishna’s Hair and Crown
Krishna’s hair is usually depicted as curly and abundant. Sketch the outline of his hair, allowing it to frame his face in soft, wavy lines. Next, draw a small crown or a peacock feather on the top of his head, as these are symbolic of Krishna. The crown can be simple, with a few curved lines representing its structure.
Also Read : 10 Steps to Draw Radha Krishna Drawing Easy
Step 5: Draw the Ears and Earrings
On either side of Krishna’s head, draw two small, curved shapes for his ears. Add a simple hoop or drop-shaped earrings to each ear, which is a common element in Krishna’s depictions. The earrings should be small and delicate, complementing the overall cuteness of the drawing.

Step 6: Outline Krishna’s Body
Below the head, sketch a small, rounded body for Krishna. Since this is a cute version, keep the proportions slightly exaggerated, with a larger head and a smaller, chubby body. Draw the arms and legs as simple, curved lines with rounded hands and feet.
Also Read : 10 Steps to Draw Janmashtami Drawing Easy
Step 7: Draw Krishna’s Flute
In one of Krishna’s hands, draw a straight line to represent the flute, an essential element in any Krishna drawing. The flute should be slightly longer than his body, with small circular holes along its length. You can add a tassel or decorative band to the flute for added detail.

Step 8: Add Krishna’s Outfit
Krishna is usually depicted wearing a simple dhoti. Draw a short, curved line across his waist to represent the dhoti’s waistband. From there, sketch the fabric draping down in soft, flowing lines. You can add a small scarf or waistband around his shoulders or waist to complete the outfit.
Also Read : 10 Easy Steps to Draw Bansuri Drawing
Step 9: Use Pencil Shading for Depth
To give your Krishna drawing depth, start shading lightly with your pencil. Focus on areas like the hair, the folds in his clothes, and the flute. Shading around the eyes and mouth can also add dimension and bring more life to Krishna’s face.
Step 10: Add Color to Your Krishna Drawing
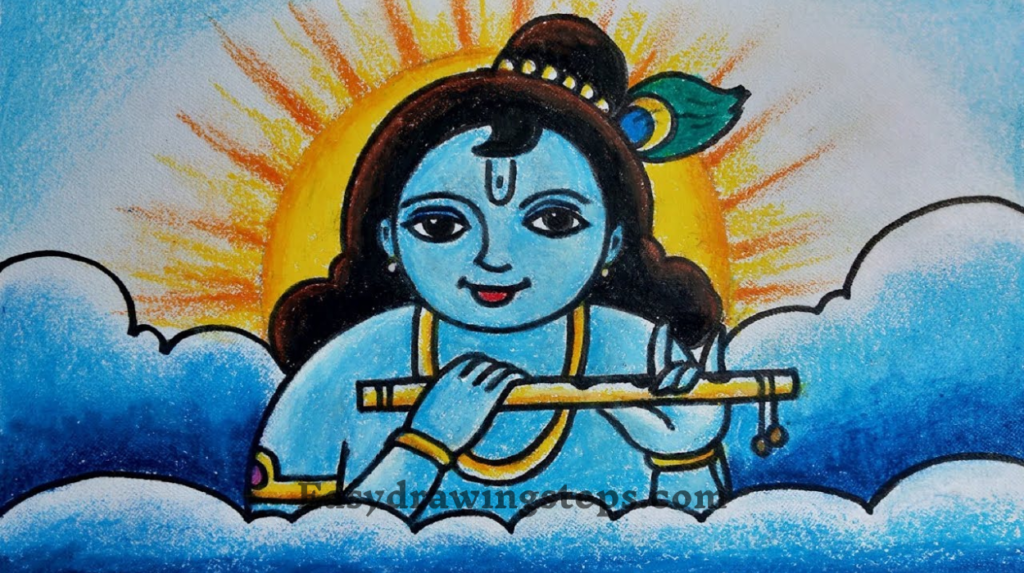
If you’re adding color, begin with soft blues for Krishna’s skin, which is traditionally depicted in a light blue shade. Use bright colors like yellow or orange for his dhoti, and add green or blue for the peacock feather. Use gold or yellow for the crown and earrings, and don’t forget to add a touch of pink to his cheeks to emphasize the cuteness.
Pencil Easy Cute Krishna Drawing
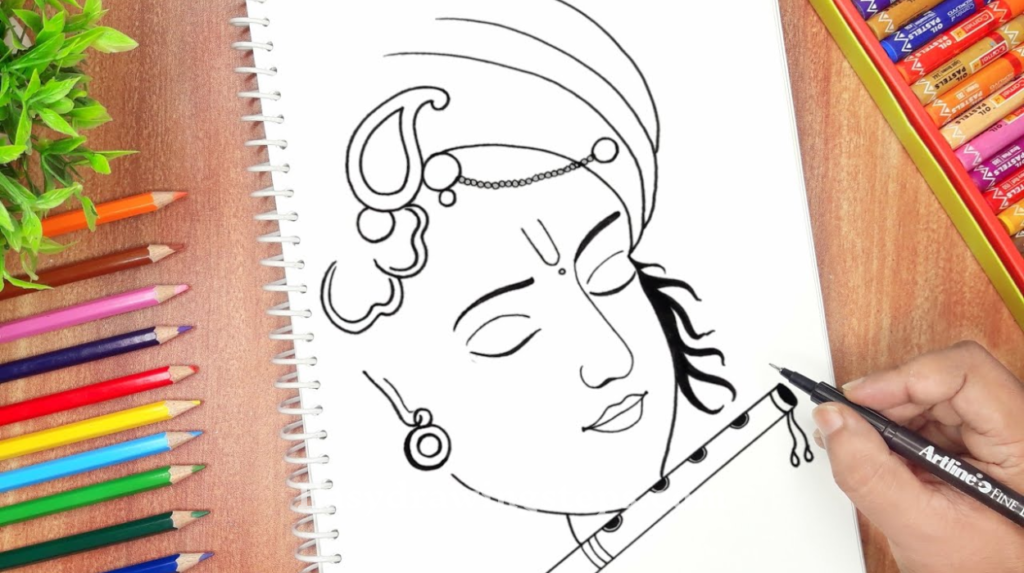
- Starting with pencil sketches allows you to outline Krishna’s basic features and make adjustments as you go. Using a pencil gives you control over shading and detail, allowing you to gradually build up the depth and texture of the drawing.
Janmashtami Easy Cute Krishna Drawing
- This drawing can be particularly special for Janmashtami, as it captures the essence of Krishna’s playful and innocent nature. Whether you’re creating this as a part of a Janmashtami celebration or simply as a personal project, the steps above will help you draw a festive and joyful Krishna.
Radha Easy Cute Krishna Drawing
- To complement your Krishna drawing, you might want to add Radha beside him. Drawing Radha involves similar steps, focusing on capturing her graceful and loving presence. Together, Radha and Krishna create a harmonious and beautiful scene, perfect for depicting their divine relationship.
Easy Cute Krishna Drawing with Colour
- Adding color to your Krishna drawing brings it to life. Traditional colors like blue for Krishna’s skin, yellow for his clothes, and vibrant shades for the peacock feather help in creating an authentic and visually appealing drawing. The use of color can make your artwork stand out and resonate with the cultural depictions of Krishna.
Janmashtami Pencil Easy Cute Krishna Drawing
- For a more traditional approach, you can stick with pencil drawings, which are perfect for Janmashtami cards or decorations. The simplicity of a pencil drawing highlights the details and can be a beautiful, minimalist representation of Krishna.
Baby Pencil Easy Cute Krishna Drawing
- Drawing baby Krishna emphasizes his innocence and charm. By focusing on softer features, larger eyes, and a playful expression, you can capture the essence of baby Krishna. This version is perfect for younger children or anyone looking to depict Krishna in his most endearing form.
Drawing a cute Krishna is an enjoyable way to connect with his divine persona and celebrate his playful nature. Whether you’re drawing for a special occasion like Janmashtami or just for fun, these 10 steps will guide you through creating a beautiful and charming Krishna drawing. Let your creativity flow, and enjoy the process of bringing Krishna to life on paper!
Easy Cute Krishna Drawing FAQ
What is the best way to start Easy Cute Krishna Drawing for beginners?
Beginners should start by sketching a simple circle for Krishna’s head, adding light guidelines to help place the facial features like eyes, nose, and mouth. This foundational step ensures that the proportions are correct and that the facial features are aligned properly before moving on to more detailed parts of the drawing.
How can I make my Krishna drawing look more cute and playful?
To make your Krishna drawing look cute and playful, focus on drawing large, expressive eyes with a sparkle, a small curved smile, and rounded cheeks. Adding playful elements like a peacock feather in his hair or a small flute in his hand also enhances the cute and mischievous look that Krishna is known for.
What colors should I use to make my Easy Cute Krishna Drawing more vibrant?
For a vibrant Krishna drawing, use a soft blue for Krishna’s skin, which is traditionally depicted in this color. For his clothes, yellow or orange works well, and a bright green or blue for the peacock feather adds a pop of color. Gold or yellow can be used for his crown and earrings, and don’t forget a hint of pink on the cheeks to emphasize his cuteness.
How can I incorporate Radha into my Krishna drawing?
To incorporate Radha into your Krishna drawing, draw her beside Krishna using similar steps. Focus on graceful and delicate features for Radha, with soft, flowing hair and traditional clothing. Positioning Radha close to Krishna, possibly holding his hand or standing beside him, creates a harmonious and beautiful scene that depicts their divine connection.
What are some tips for shading and adding depth to a Krishna drawing using a pencil?
When shading a Krishna drawing with a pencil, focus on areas like the folds of his clothes, around the eyes, and the contours of his face. Use light strokes to build up the shading gradually, creating a smooth transition between light and dark areas. This technique will add depth and make your drawing appear more three-dimensional and lifelike.


1 thought on “10 Steps to Draw Easy Cute Krishna Drawing”