Owl Drawing : Owls, with their big eyes and expressive faces, are a favorite subject for artists of all ages. Drawing an owl can be a fun and rewarding experience, especially when you break it down into simple steps. Whether you’re a beginner or just looking to draw a cute owl.
This guide will help you create a delightful owl drawing with ease.
Step 1: Gather Your Drawing Supplies
Before you start, gather the materials you’ll need:
- A pencil (HB or 2B is ideal)
- Eraser
- Drawing paper
- Sharpener
- Ruler (optional)
Having everything ready will make the drawing process smoother and more enjoyable.
Step 2: Draw the Owl’s Head
Begin by drawing a large oval or circle in the center of your paper. This shape will form the owl’s head. Keep the lines light so you can easily erase and refine them later. If you’re drawing an owl for kids, this basic shape will make it easier for them to follow along.
Also Read : 10 easy steps to draw Rabbit Drawing
Step 3: Sketch the Owl’s Body
Below the head, draw a larger oval that slightly overlaps with the bottom of the head. This oval will represent the owl’s body. Make sure the body is proportionate to the head, giving the owl a balanced and cute appearance. The simple shapes used in this step make the owl drawing easy and approachable for beginners.

Step 4: Add the Eyes
Owls are known for their large, round eyes. Draw two big circles inside the head oval. Then, add smaller circles within the eyes to create the pupils. The size of the eyes should convey the owl’s alertness and charm, making it a cute owl drawing that’s both expressive and engaging.
Also Read : 7 Easy steps to draw Butterfly Drawing
Step 5: Draw the Beak
Between the eyes, draw a small, curved triangle or a “V” shape for the beak. The beak should be centered and just below the eyes. This simple addition brings the owl’s face to life and adds to its overall cuteness.

Step 6: Sketch the Wings
On each side of the owl’s body, draw a curved line that extends from the top of the body oval to the bottom. These lines will form the owl’s wings. Keep the wings simple and slightly curved to maintain the easy and approachable style of the drawing.
Also Read : 10 easy steps to draw Deer Drawing
Step 7: Add the Feet
At the bottom of the body oval, draw two small, curved lines for the owl’s feet. Each foot can have three little toes. The feet are simple but essential, grounding the owl and completing the basic structure of your drawing.
Step 8: Detail the Feathers
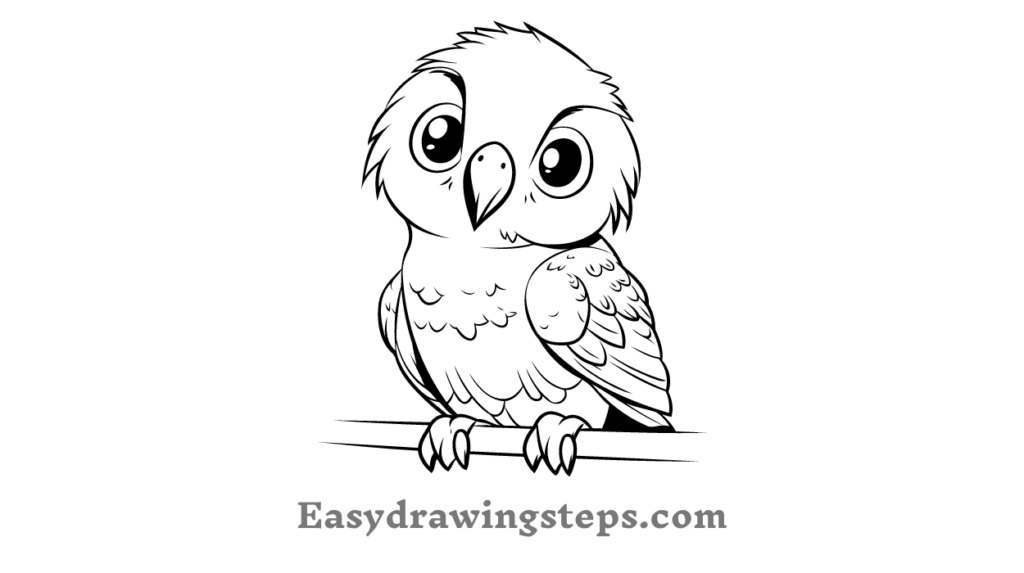
Now, it’s time to add some feather details. Lightly sketch small, curved lines along the wings, body, and head to suggest feathers. For a sketch owl drawing, keep the feather details minimal and focus on the overall shape and texture.
Also Read : 10 easy steps to draw Lion Face Drawing
Step 9: Refine the Drawing and Add Shading
Go over your drawing and refine the lines, erasing any unnecessary marks. Add shading to the eyes, wings, and body to give your owl some depth and dimension. If you’re going for an easy simple owl drawing, keep the shading light and subtle, emphasizing the natural contours of the owl’s shape.
Step 10: Final Touches and Color (Optional)
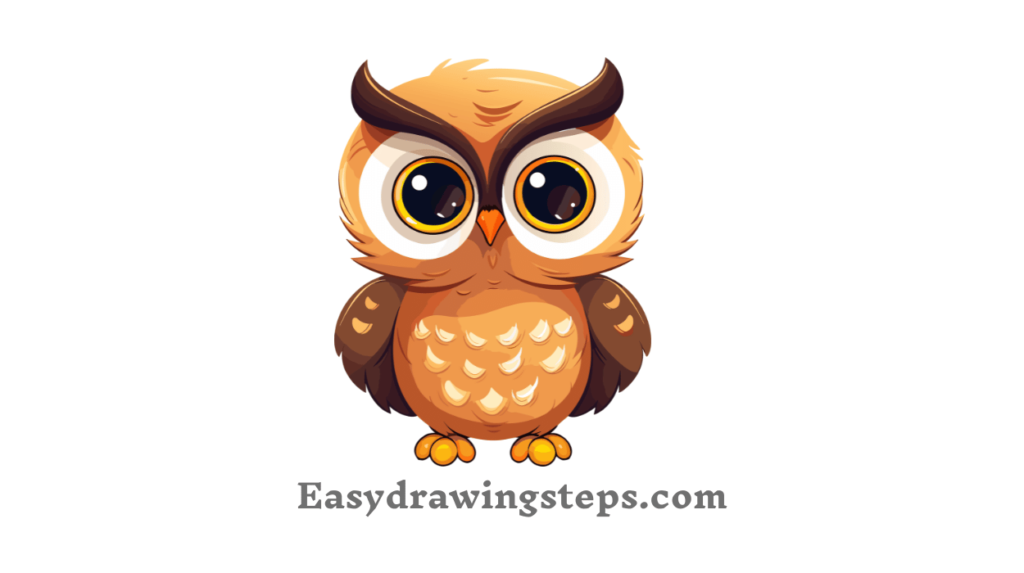
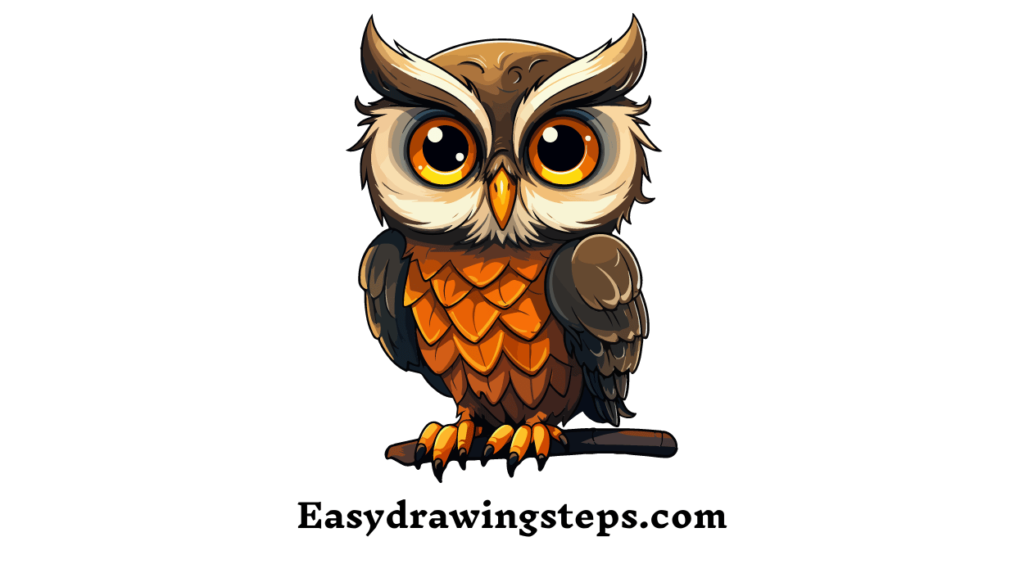
Finally, add any final touches to your drawing. If you want to add color, consider using soft, earthy tones like browns, grays, and creams. Coloring your owl can make it more vibrant and bring out its character, especially if you’re aiming for a cute owl drawing that appeals to kids.
Owl Drawing for Kids
- This guide is designed to be kid-friendly, with easy-to-follow steps that make it accessible for young artists. The use of basic shapes and simple lines ensures that kids can create a charming owl drawing with minimal effort.
Owl Drawing Easy
- The entire process is broken down into manageable steps, making it an easy owl drawing project for beginners. The focus on simple shapes and gradual refinement helps build confidence in drawing.
Cute Owl Drawing
- By emphasizing large eyes, a small beak, and a rounded body, this guide helps you create an adorable and cute owl drawing. The owl’s expressive face and soft features make it endearing and fun to draw.
Easy Simple Owl Drawing
- The simplicity of this guide is perfect for those looking for an easy and straightforward drawing experience. The steps avoid complex details, focusing instead on creating a recognizable and appealing owl figure.
Sketch Owl Drawing
- If you prefer a more minimalist approach, this guide allows you to create a sketch owl drawing with minimal details. The emphasis is on capturing the essence of the owl through basic lines and shading.
Drawing an owl doesn’t have to be complicated. With these 10 simple steps, you can create an easy owl drawing that’s both charming and fun. Whether you’re drawing for a child, practicing your sketching skills, or just looking for a relaxing art project, this guide will help you achieve a delightful result.
Embrace your creativity and let your imagination take flight with this easy and enjoyable owl drawing!
Owl Drawing FAQ
What are the essential materials needed to draw an easy owl?
To draw an easy owl, you’ll need basic materials such as a pencil (HB or 2B), an eraser, drawing paper, and a sharpener. Optional materials include a ruler for precise lines and colored pencils or markers if you want to add color to your drawing.
How can this owl drawing guide be suitable for kids?
This owl drawing guide is perfect for kids because it breaks down the drawing process into simple, easy-to-follow steps. The use of basic shapes like ovals and circles makes it accessible for young artists, helping them create a cute and recognizable owl without getting overwhelmed by complexity.
What makes this owl drawing ‘cute’?
The owl drawing is considered cute because it features large, round eyes, a small beak, and a rounded body. These features give the owl an expressive and endearing look. The simplicity of the design also contributes to its charm, making it appealing to both kids and adults.
How can I add details to make the owl drawing more realistic?
To add more realistic details to your owl drawing, you can include small, curved lines to represent feathers on the wings, body, and head. Adding shading to areas like the eyes, wings, and body can also give the drawing more depth and dimension, making it appear more lifelike.
Can this owl drawing be used as a sketch or does it need to be colored?
This owl drawing can definitely be used as a sketch. The guide focuses on creating a strong, simple outline that works well as a sketch. However, if you want to add color, you can use soft, earthy tones like browns and grays to bring the owl to life. The choice between keeping it as a sketch or coloring it is entirely up to you.


1 thought on “10 Steps to Draw Owl Drawing”