Rose Drawing Easy : Drawing a rose may seem complicated at first, but it can be broken down into simple steps that anyone can follow.
Whether you’re an experienced artist or just starting, this guide will help you create a beautiful rose with ease. In just 10 steps, you’ll be able to draw a delicate, detailed rose that’s perfect for any artwork.
Let’s get started!
Step 1: Draw a Small Circle
Begin by drawing a small circle in the center of your paper. This will represent the innermost part of the rose where the petals are tightly packed. Keep the circle small and light as you will add more details later.

Step 2: Add a Spiral Inside the Circle
Next, inside the circle, draw a spiral. The spiral doesn’t have to be perfect. It represents the tightly folded petals in the center of the rose. The more fluid and relaxed your spiral, the more natural your rose will look.
Also Read : 10 Easy Steps to Draw Ganesh Rangoli Designs
Step 3: Draw the First Petal Around the Spiral
Now, draw a slightly curved petal around the outside of the circle. The petal should follow the shape of the spiral but extend beyond it. This is the beginning of the outer rose petals that are starting to bloom.
Step 4: Add More Petals Around the First
Continue drawing more petals around the first one. Each petal should overlap slightly with the previous one, mimicking the layered look of a real rose. The petals should get larger as you move outward from the center.

Step 5: Define the Petal Shapes
As you add more petals, make sure to define their shape by curving them outwards at the top and narrowing them at the base. This will give the rose a realistic, blooming appearance. Continue adding petals until the rose begins to take shape.
Step 6: Add Outer Petals
For the outer petals, make them slightly larger and more open than the inner ones. These petals will curl away from the center of the flower, showing that the rose is in full bloom. Draw about 4-5 outer petals, ensuring they have a gentle, curved shape.
Also Read : 10 Easy Steps to Draw Radha Rani Drawing
Step 7: Draw the Stem
Now that the rosebud is complete, add a stem to the bottom of the flower. The stem should be straight and slightly thicker at the base. You can also curve it slightly for a more natural look.
Step 8: Add Leaves
Draw two or three leaves on either side of the stem. Rose leaves are typically oval with a pointy tip and have small jagged edges. Make sure the leaves are in proportion to the size of the rosebud.
Also Read : 10 Easy Steps to Draw Frog Drawing
Step 9: Refine the Details
Go over your drawing and refine the details. Erase any extra lines from the initial sketch and define the edges of the petals. You can also add a few veins on the leaves to make them look more realistic.
Step 10: Color Your Rose (Optional)
Finally, if you want to add color, use red for the petals to create a classic rose look. Green can be used for the stem and leaves. You can experiment with different shades to add depth and dimension to your drawing. Alternatively, you can leave it as a pencil drawing for a simple, elegant effect.
Cute Rose Drawing Easy
- Creating a cute rose drawing can be easy by focusing on rounded shapes and smooth lines. Keep the petals simple, with soft curves, and add some playful details like a smiley face in the center to give it a cartoonish appearance. Using bright colors like red or pink can also add a fun and cute look to the rose.
Rose Drawing Easy for Kids
- For kids, simplifying the steps is key. Start with a basic spiral and build a few easy petals around it. Encourage them to focus on drawing large, rounded petals and keeping the shape of the flower simple. Using bold, bright colors can make the drawing process more engaging for children.
Step by Step Rose Drawing Easy
- Following the step-by-step instructions is the easiest way to achieve a beautiful rose drawing. By breaking down each part of the rose—starting with the center spiral, then adding layers of petals, stem, and leaves—anyone can follow along and succeed.
Small Rose Drawing Easy
- For a small rose drawing, keep your initial circle and spiral tight, and draw fewer petals. This will create a compact, small rose that looks delicate. You can add tiny leaves and a shorter stem to match the size of the flower.
Simple Cute Rose Drawing Easy
- A simple, cute rose drawing can be made by drawing rounded petals that aren’t too detailed. The key is in creating a symmetrical yet soft design. You can make the rose “cute” by adding softer lines, brighter colors, and even little facial expressions on the petals for a cartoon-style flower.
Red Rose Drawing Easy
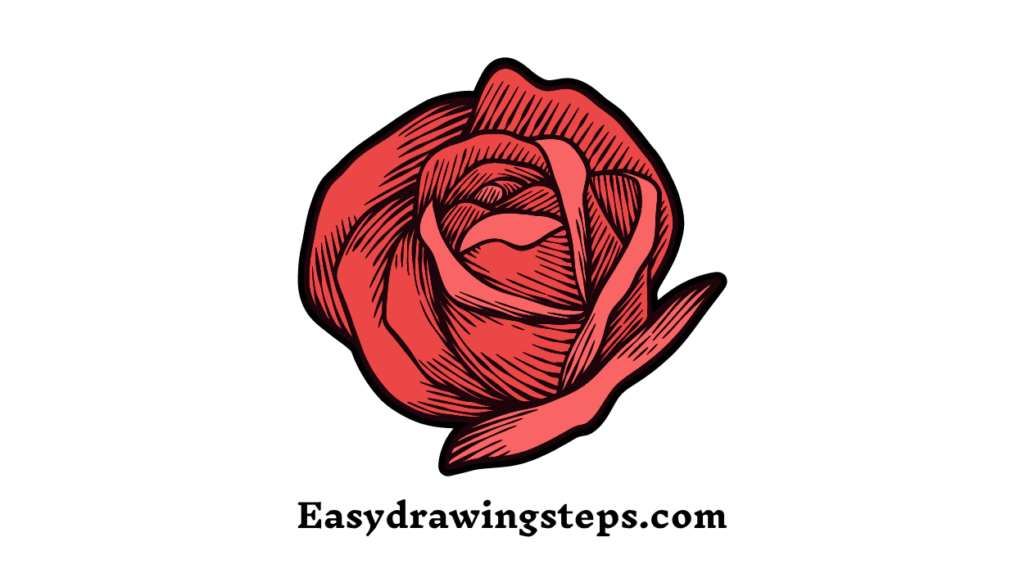
- To create a classic red rose drawing, follow the same 10-step process and use various shades of red for the petals. You can add darker tones towards the center for a more realistic effect and lighter shades around the outer petals to create a blooming look. Make sure the green stem and leaves contrast with the vibrant red petals.
By following these 10 easy steps, you’ll be able to create a beautiful rose drawing, perfect for beginners and artists of all ages. Whether you want to draw a simple rose for kids, a cute cartoon version, or a more detailed red rose, this guide will help you achieve your goal with ease. Happy drawing!
Rose Drawing Easy FAQ
What are some tips for drawing a cute rose easily?
To draw a cute rose easily, focus on simple, rounded shapes for the petals. Use soft curves and avoid intricate details. Adding bright colors and playful elements, like a smiley face or heart-shaped petals, can enhance the cuteness of the rose.
How can I make a rose drawing easy for kids?
For kids, simplify the rose drawing process by breaking it down into basic steps. Start with a small circle for the center, add a few large, rounded petals, and finish with a simple stem and leaves. Use bold colors and encourage creativity to keep the process fun and engaging.
What should I do if I want to create a step-by-step rose drawing that’s easy to follow?
Create a step-by-step rose drawing by outlining each phase clearly. Start with the center spiral, then add petals around it, followed by the stem and leaves. Break down each step into simple instructions and use basic shapes to guide the drawing process.
How can I draw a small rose easily?
To draw a small rose easily, begin with a tiny circle for the center and add a few compact petals around it. Keep the petals short and rounded. Draw a short stem and small leaves to match the size of the rose. This approach helps maintain proportion and simplicity.
What are some techniques for creating a simple and cute rose drawing?
For a simple and cute rose drawing, use smooth, rounded lines for the petals and avoid too much detail. Stick to a few large petals and a minimalistic stem. Use cheerful colors and light shading to give the rose a friendly, approachable look. Adding small, whimsical elements can also enhance the cuteness.


