

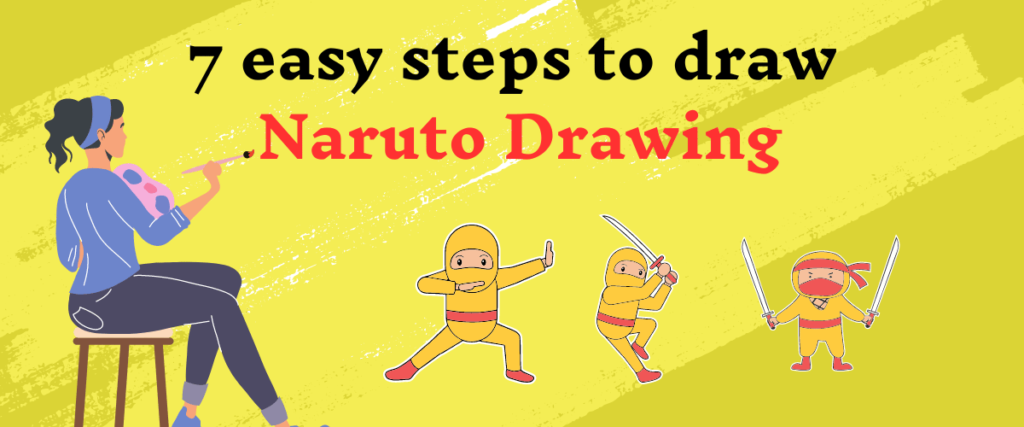
Naruto Drawing
Naruto Drawing : Welcome to our beginner’s guide on how to draw Naruto! Whether you’re a fan of the iconic anime series or just looking to improve your drawing skills, this step-by-step tutorial will help you create your very own Naruto Drawing.
Naruto Drawing may seem daunting at first, but with these simple steps, you’ll be able to capture the essence of this beloved character in no time.
Step 1: Basic Outline of Naruto Drawing
- Begin by sketching a rough outline of Naruto’s head and body. Keep the shapes simple—an oval for the head and basic lines for the body. This will serve as the foundation for your drawing.
Step 2: Facial Features
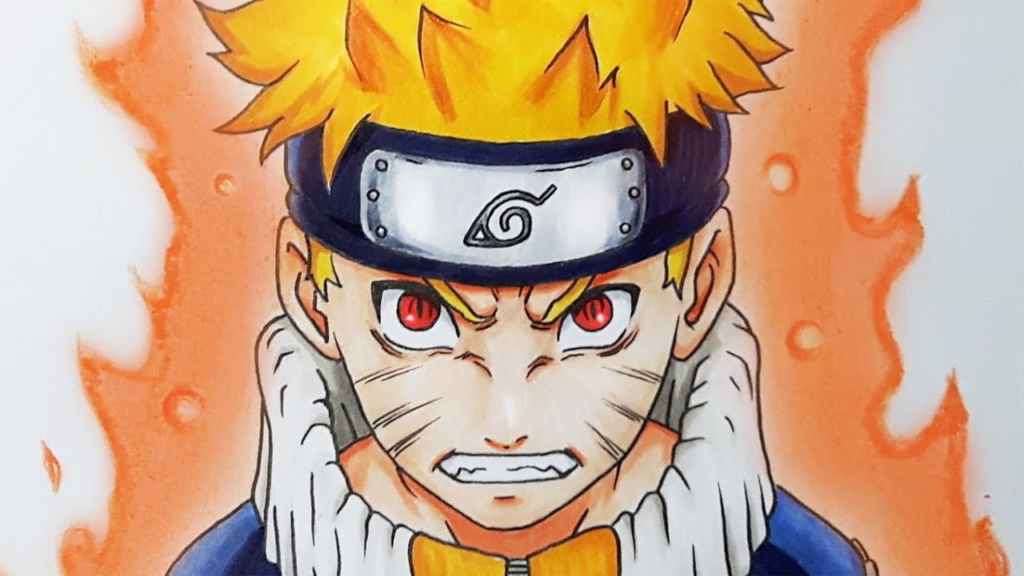
- Next, add Naruto’s facial features. Draw two large circles for his eyes, with smaller circles inside to represent his pupils.
- Place a small dot in the center for his nose, and sketch his signature spiky hair using pointed strands.
Also Read : 7 Easy steps to draw Butterfly Drawing
Step 3: Headband
- Naruto’s headband is a crucial part of his look. Draw a band across his forehead, with a metal plate in the center.
- Don’t forget to add the distinctive swirl symbol on the plate—it’s a defining characteristic of Naruto’s attire.
Step 4: Draw Clothing Details of Naruto Drawing
- Now, it’s time to add details to Naruto’s clothing. He typically wears an orange jumpsuit with black accents.
- Use curved lines to indicate creases and folds in the fabric, giving the outfit depth and texture.
Step 5: Draw Arms and Hands
- Naruto Drawing arms and hands according to the pose you’ve chosen. Remember to include fingers and thumbs for a more realistic look.
- Pay attention to the positioning of the arms—they should flow naturally with the rest of the body.
Step 6: Legs and Feet
- Draw Naruto’s legs and feet, making sure they are proportionate to the rest of the body. His legs should be sturdy, and his feet should be adorned with his trademark black sandals.
Step 7: Final Details
- Add the finishing touches to your drawing. This could include facial expressions, shading, or additional accessories like Naruto’s ninja headband symbol on his arm.
- Take your time to refine the details until you’re satisfied with the result.
Drawing Naruto is a fun and rewarding experience, even for beginners. With these 7 easy steps, you can bring this beloved character to life on paper. Remember, practice makes perfect, so don’t be afraid to keep honing your skills and experimenting with different techniques. Who knows, you might even discover your own unique artistic style along the way! Happy drawing!
1 thought on “7 easy steps to draw Naruto Drawing”