


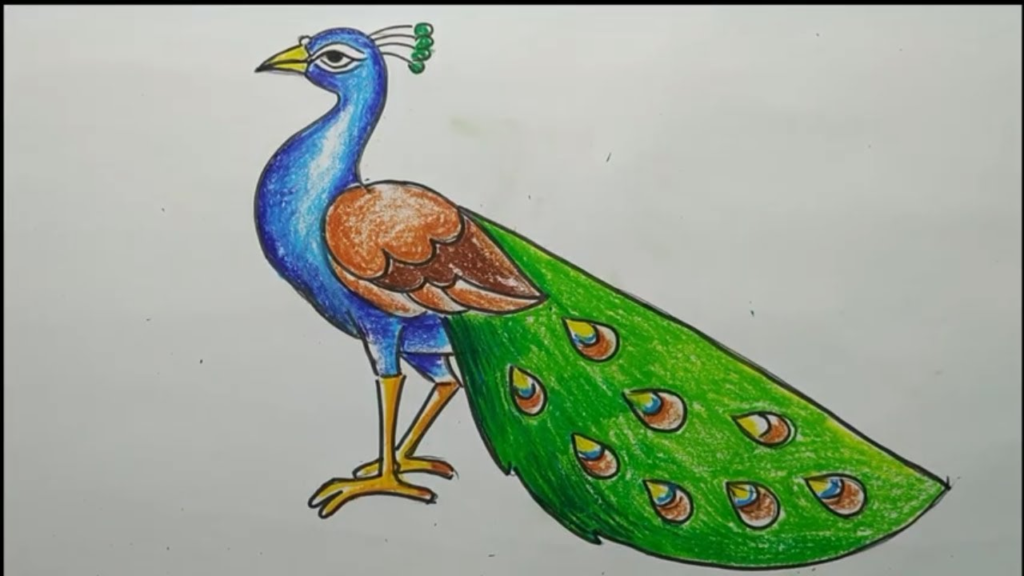
Peacock Drawing : Are you ready to embark on a colorful journey into the world of art? Drawing a peacock can be a delightful way to unleash your creativity and explore the beauty of nature’s vibrant plumage.
In this step-by-step guide, we’ll walk through seven easy steps to create your own stunning peacock drawing.
Step 1: Draw the Outline of Peacock Drawing Body
Begin by sketching a large oval shape to represent the body of the Peacock Drawing. This oval will act as the core structure upon which you will build the rest of your drawing. Try to keep the shape relatively smooth and symmetrical.
Step 2: Draw the Head of Peacock
- From the top of the body oval, lightly draw a smaller oval or circle to indicate the peacock’s head. This circle should be proportionate to the body and placed slightly towards the front. Below the head, add a short, curved line for the beak.
- Peacock beaks are usually quite small and pointy. Then, draw a small circle for the eye, positioning it towards the front of the head.
Also Read : Easy Drawing – (easydrawingsteps.com)
Step 3: Add the Neck and Tail
- Connect the head to the body by drawing a long, graceful curve, representing the peacock’s neck. This curve should flow smoothly from the back of the head down to the body.
- Next, draw a sweeping arc extending from the back of the body to create the tail. Peacock tails are known for their elaborate display feathers, so feel free to make this arc long and elegant.
Step 4: Sketch the Feathers
- Now comes the fun part! Using light, flowing strokes, begin to add the intricate details of the peacock’s tail feathers.
- Start from the base of the tail and work your way outward, drawing long, slender shapes that curve gracefully.
- These shapes should gradually increase in length and size as they move away from the body.
- Remember to leave some space between each feather to create a realistic effect. The key is to keep the lines fluid and organic, mimicking the natural flow of feathers.
Step 5: Detail the Body
- To add texture and dimension to the body, sketch in some smaller feather shapes along the chest and belly.
- These feathers should be shorter and more tightly packed than those on the tail, giving the body a softer appearance.
- You can also add a few lines or curves to suggest the contours of the peacock’s physique.
Step 6: Add the Legs
- Peacock legs are relatively thin and delicate, so draw two slender lines extending downwards from the bottom of the body. These lines should curve slightly outward to suggest the natural stance of the bird.
- At the bottom of each leg, sketch in a small oval shape for the foot, adding a few simple lines to indicate the toes.
Step 7: Final Touches
- To finish off your drawing, take a moment to add any remaining details or embellishments. You can add more feathers to the neck or head, or even incorporate some decorative patterns or designs.
- Experiment with different shading techniques to add depth and realism to your drawing.
- Drawing should be an enjoyable and creative process, so feel free to let your imagination soar.
Remember, practice makes perfect, so don’t be discouraged if your first attempt doesn’t turn out exactly as you’d hoped. Keep refining your skills and experimenting with different techniques, and before you know it, you’ll be drawing peacocks like a pro!
1 thought on “7 Easy Steps to Draw Peacock Drawing”